
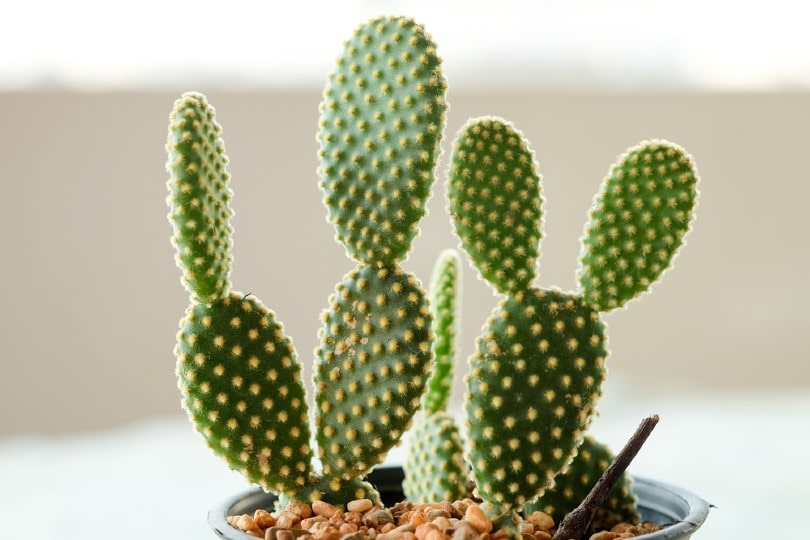
Bunny ears cactus (Opuntia microdasys) is a member of the greater cactus family characterized by bunny-ear-like thick succulent pads. The pads grow in pairs and are covered with glochids or short-hairy spines that easily blow away under slight disturbance. Glochids irritate the skin and are the plant’s main defense system.
Despite a few turn-offs, the cactus is a popular choice among succulent plant lovers. It is hardy, an attribute it acquired to survive in its native home, the Mexican desert, and is easy to propagate. This article is going to explain how to propagate and take care of the bunny ear cacti.

What Is the Importance of Propagating Your Own Bunny Ear Cactus?
While you can source young bunny ear cactus from garden stores, propagating is the cheapest means of spreading these plants. You will spend only a few dollars on containers and the growing medium.
When Is the Best Time to Propagate Cacti?
Early spring and summer are the best times to propagate bunny ear cactus. At this time, there will be enough sun and warmth to allow the plant to develop roots before the brutal winter sets in. In addition, the plant’s natural clock triggers the rapid growth and development of roots.
The 6 Steps to Propagating Bunny Ear Cacti
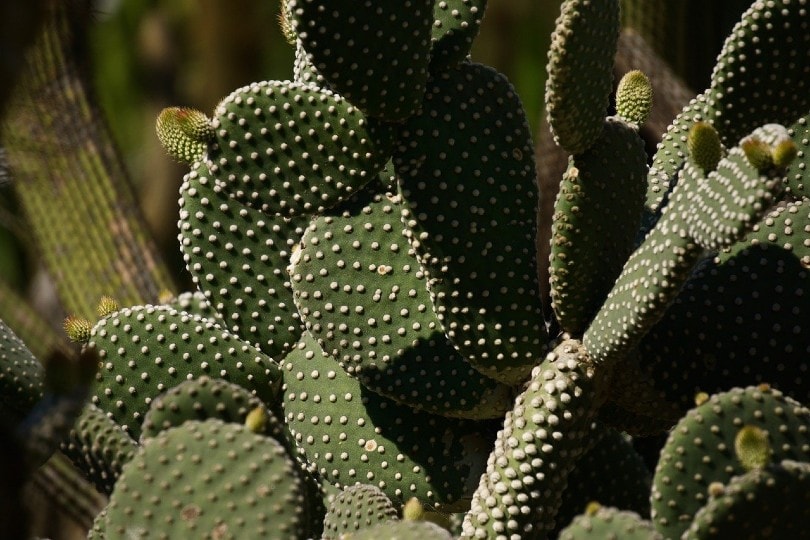
1. Pick healthy parent plants to harvest pads from
Healthy cactus plants are spotless, have vibrant pads, and are free of diseases and insects. Find them in their native North Mexico regions.
If the distance is a problem, visit the nearest agricultural office and ask for recommendations. You may also talk to neighbors and friends for leads.
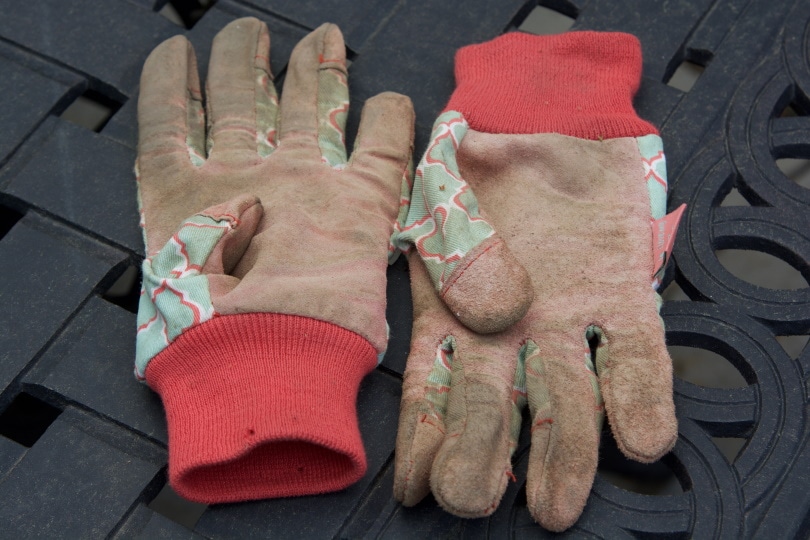
2. Wear gloves and harvest a few pads
Before harvesting pads, protect your hands with a pair of gardening gloves to prevent the thorny spikes from pricking your skin.
Next, separate several large pads from the mother plant. Always go for fresh, large pads and separate them at the point where they join the mother segment or pad. The mother segment is the pad from which the harvestable pad sprouts.
To do this, twist and turn the pad at the joint. It will easily come off. You can also use a pair of scissors or a sharp knife at the joint.
3. Let it form a callus for 2 to 4 days
Callusing is the process of allowing the injured part to form a waterproof layer. This is essential to prevent the cacti from rotting and being affected by bacteria after planting.
4. Plant the cactus
Take a 3-gallon pot, drill quarter-inch-wide holes, and fill it with a 1 to 2-inch-thick layer of pebbles. Finalize by filling up the pot with a nutrient-rich mixture of soil and organic matter. A good potting mixture should have peat moss or perlite to improve drainage and aeration.
Using a trowel or your fingers, dig a small 4 to 5-inch deep hole and plant the cactus.
5. Take care of the plant to encourage rooting
Cacti need water to develop roots, but take care not to overdo it. Start by thoroughly watering the potting mixture until excess water drains away. Repeat with a shallow watering round when the topsoil is completely dry. This may be after a week.
Remember: At this stage, we just want to keep the soil moist and not wet.
6. Protect the plant against insects
Succulent plants are susceptible to insects, and you need to protect them against scale and mealybug infestations. Rubbing alcohol and water on a ratio of 1:1 on the plant using cotton swabs kills most insects. Do it gently and cautiously to cover every cranny and crevice.
What Are the Conditions Necessary for the Rooting of Bunny Ears Cactus?
Temperature
A cactus is a desert plant and thrives well in dry conditions. Keep the plant at temperatures between 60 and 100 degrees Fahrenheit. In winter, take the bunny ears indoors.
Moisture
For a plant that lives in areas where water is hard to come by, the bunny ears cactus can do well with limited moisture. Water the plant once every 7 to 14 days.
As winter sets in, stop watering completely. This is because the cactus responds to cold weather by draining away water from the cells to protect itself from freezing. Watering at this time will kill the plant.
If your plants are part of the outdoor landscaping project, protect them against frost using burlaps and frost blankets. But, first, construct a framework over the plants. Allowing plants to contact sheets is as equal as pouring ice over the cacti.
Sunlight
Bunny ears cactus is a sun lover. The plant will be happy to stay under the sun for up to 14 hours daily.
For indoor plants, take them to patios or near windows where they will receive maximum sunlight. On cold dark days, supplement natural light with full-spectrum LEDs.
Fertilizer
During the propagation of bunny ears, fertilization should be the least of your concerns for several months. The plants will grow well in a potting mixture provided it is well aerated.
After a year, use nitrogen and potash-based fertilizer. Nitrogen is good for shoot development, while potash or potassium encourages the growth of roots.
The best time to apply fertilizer is in the early spring to boost the next rapid growth stage.
Repotting
Using a small pot and later transferring the new plant to a bigger container is efficient if you want to propagate hundreds of plants.
Transfer the new plant to a bigger pot every 1–2 years to create more room for roots and ensure the plant has a fresh nutrient reservoir.
In Conclusion
Propagating bunny ears cactus is very easy when you harvest pads from a healthy plant and allow them to form a callus for 2–3 days. Next, plant them in moist soil and wait for roots to develop. As the plants start growing, do not overwater and ensure the cactus is receiving sufficient sunlight.
Featured Image Credit: Phawat, Shutterstock
Contents
