
If you have a moldy bathroom ceiling, you are not alone. Mold is extremely common and bathrooms are a perfect breeding ground for mold, as they are humid and often have poor air circulation.
Thanks to constant moisture, grime from soap, and other body lotions and fluids, mold can quickly grow from being a small, unnoticeable spot to a moldy ceiling. The good news is that there are several ways to get rid of the mold and prevent it from growing back in the future.

What Causes Mold on a Bathroom Ceiling?
Mold on a bathroom ceiling is caused by moisture that has nowhere to escape. Hot showers and baths result in steam rising to areas that often get neglected in daily cleaning and are tough to notice or reach. If moisture remains for too long, unsightly mold spores will likely begin to grow.
Types of Mold
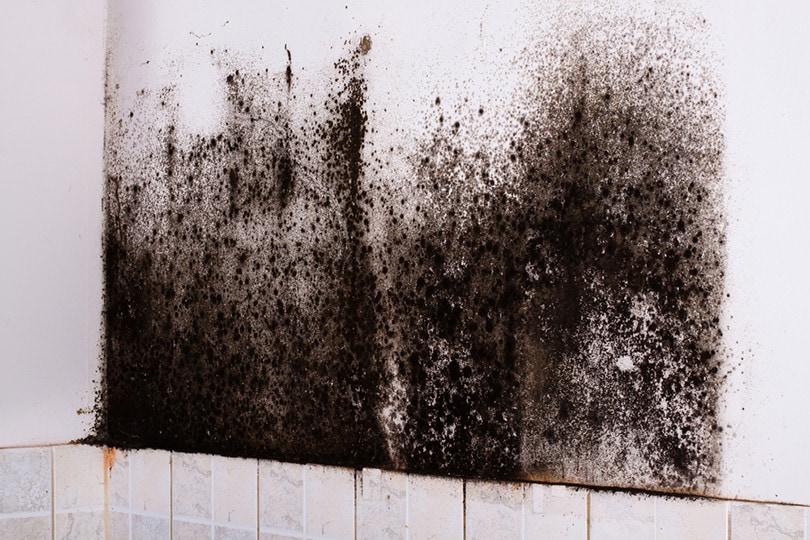
You may want to know what type of mold you may be dealing with on your bathroom ceiling. The most common types are Aspergillus, Cladosporium, Talaromucosis (also known as Penicillium), and the least common yet most dangerous being Stachybotrys Chartarum (referred to as black mold).
The most obvious way to tell the difference between the types of mold is the color of the mold. Testing to see which mold you are dealing with is possible, although it is not necessary as it can get expensive and should be removed regardless of the type. The most concerning mold is often referred to as black mold and should be removed immediately. Black mold is not only unpleasant looking but can also cause health issues such as:
- Coughing and other throat issues
- Nasal irritation
- Eye irritation
- Skin irritation
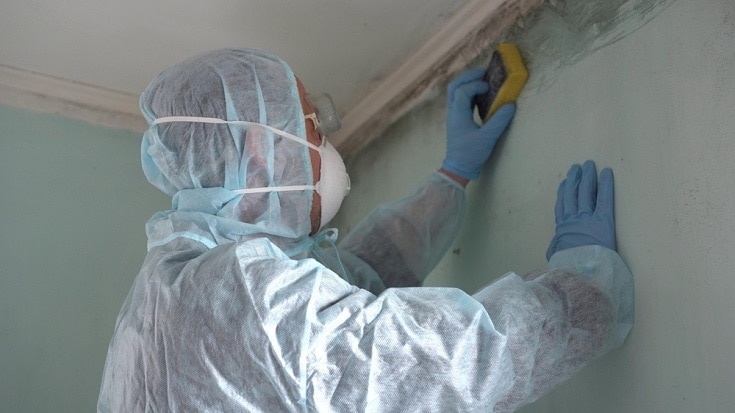
Preparation and Materials
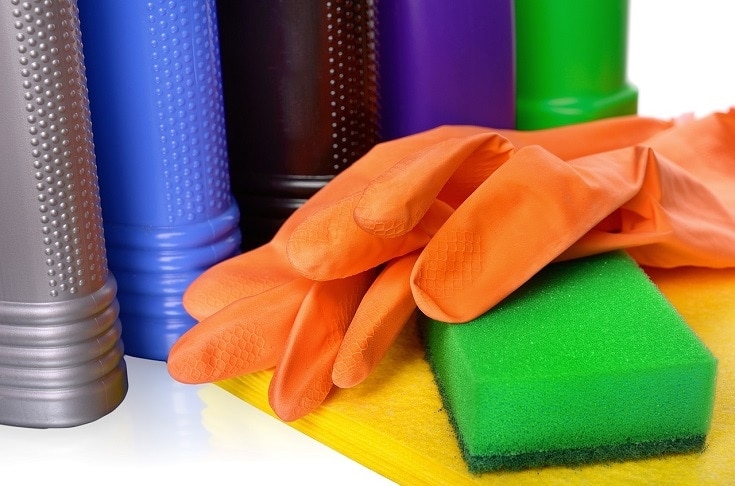
Before you get started with ridding your bathroom ceiling of mold, there are several materials and protective equipment that you will need:
- Protective equipment such as a facemask, goggles, and gloves
- Sturdy step ladder
- Wash bucket
- Brush and sponge
- Microfibre cloth
- Spray bottle
- Bleach
- Soap/dishwashing liquid
- Vinegar
The 4 Steps on How to Remove Mold from a Bathroom Ceiling
1. Cleaning With Soap
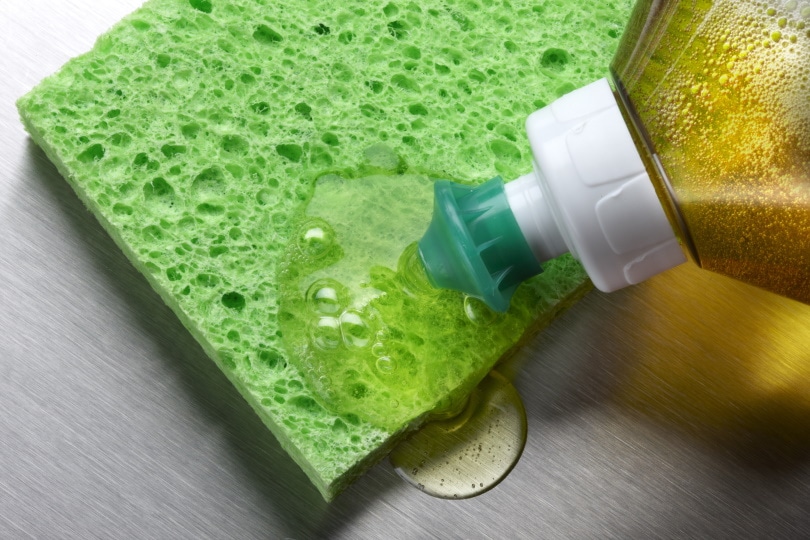
Start by washing the moldy area with a mixture of dish soap and water and allow it to dry completely. You can use a sponge to scrub the stain, but be sure to wear your gloves and eye protection. If the stain is not above a shower or bathtub, you can use a drop cloth to catch the drips.
2. Using a Bleach Solution
Crack a window or turn on a fan for ventilation, and ensure that you are wearing your protective equipment. Mix ¼ cup of bleach with 1 quart of water and apply the affected area using a spray bottle or sponge.
3. Using Vinegar as an Alternative
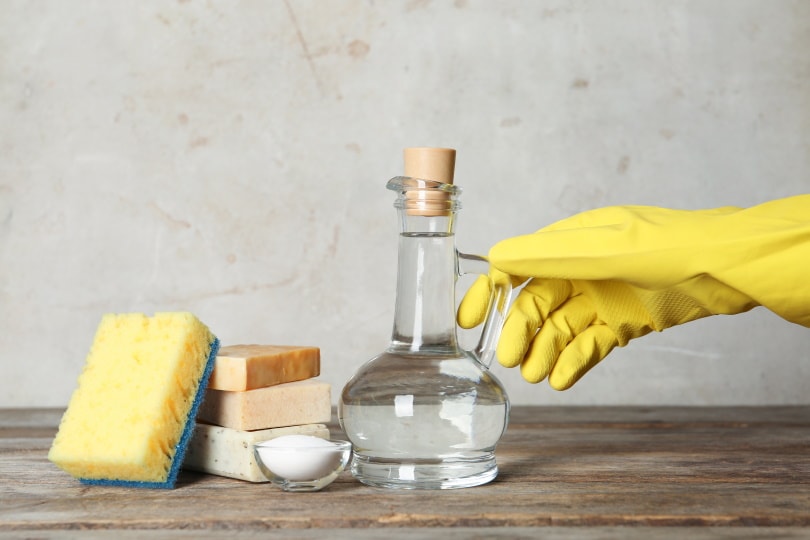
If you are uncomfortable using bleach and prefer to opt for a more natural solution, use white vinegar instead. If using white vinegar, do not dilute it with water. Spray the moldy spot and allow it to sit for an hour before wiping it clean and allowing it to dry.
4. Inspecting the Results and Repeating the Process
Once the area has dried completely, inspect it for mold. If stains remain, repeat the process until they are fully removed.
How To Prevent Black Mold from Growing
Ideally, it is a much better tactic to ensure that you are not creating an environment for mold to grow and thrive. Eliminate excess moisture and humidity levels by ensuring that you run an exhaust fan for at least half an hour after a bath or shower.
This can also be done by opening any windows in your bathroom. It is also essential to regularly clean your shower and bathtub, using a squeegee after each shower. Keep your floor dry and regularly wash shower curtains, liners, and bath rugs.
 Conclusion
While mold should not be ignored, it is common in every household (old or new) and is usually easily cleaned if noticed early enough. If the mold continues to return or seems like it might infiltrate further into your ceiling, it may be worth contacting a professional.
Featured Image Credit: Image Credit: Fevziie, Shutterstock
Contents
