
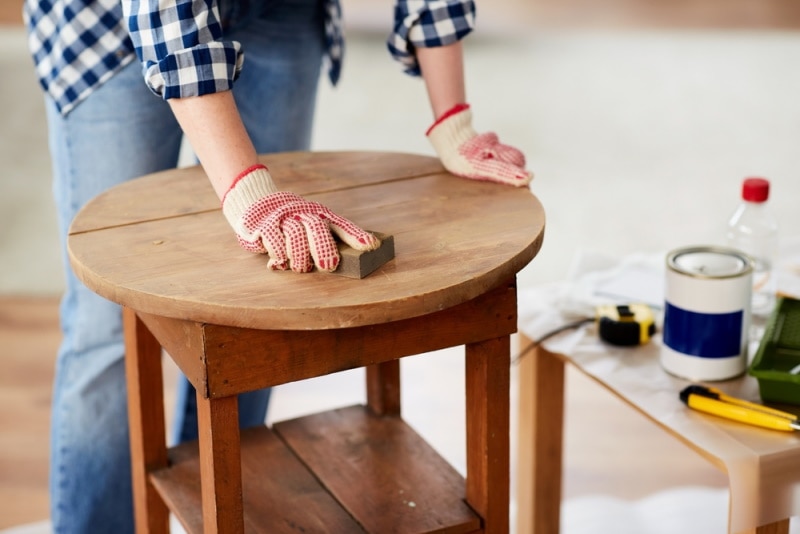
Be it a new table or an old DIY bench you want to clean and give a new makeover, the sight of tape residues and glue is disappointing. It is always the beginning of a grueling task ahead because these stubborn residues require special cleaning solutions and solvents. Furthermore, removing them is time-consuming.
To understand why tape residues are difficult to remove, you need to look at its ingredients. Normally, tape residues are made from synthetic products such as silicon, natural rubber, butyl rubber, polyvinyl acetate, vinyl acetate-ethylene copolymer, and other polymers. One thing about these ingredients is they don’t dissolve in water. Naturally, any residue that does not dissolve in water after sticking on a surface is difficult to clean. That is why there are special solvents and home DIY solutions formulated for this task.
Are you in a sticky situation? Through this guide, you will learn how to remove tape and glue residues from wooden surfaces without ruining them. Let’s get started.

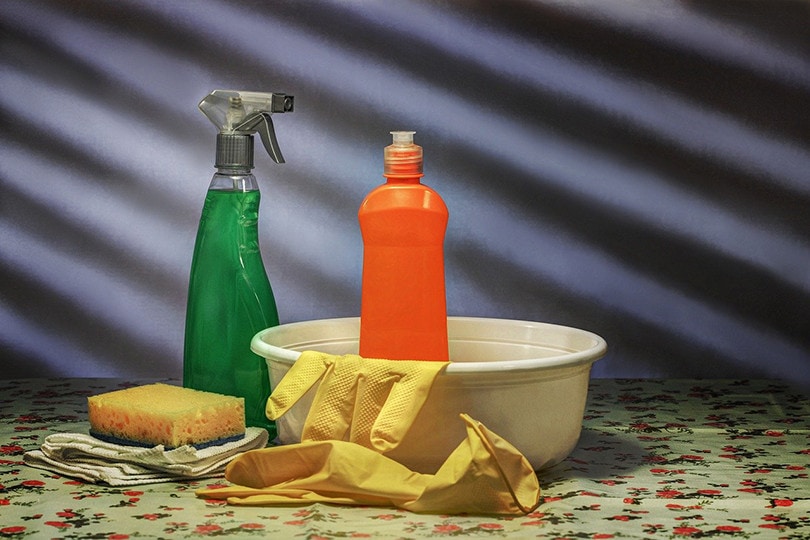
What Do You Need to Clean off Tape Residue?
- A towel
- A basin with warm water
- Dish soap
- An adhesive remover such as cooking oil, vinegar, acetone, alcohol, mineral oil, d-limonene (citrus fruit peels), or WD-40.
The 5 Steps to Remove Tape Residue From Wood
1. Prepare the Ingredients and the Table
Before doing anything, you need to prepare in advance to be successful. The same applies to removing glue from wood.
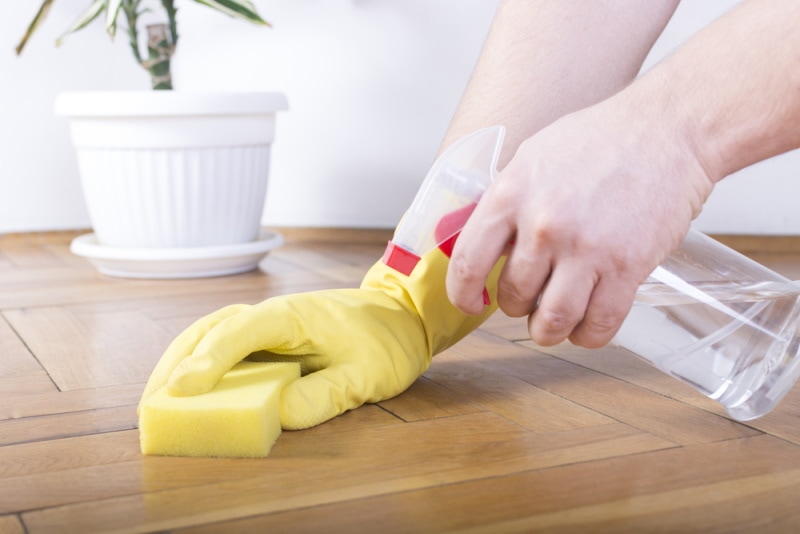
Assemble and bring all the necessary cleaning solutions and tools closer to the working area. You will need clean, warm water in a basin or dish, a rug or towel, and soap. You will also need your preferred glue solvent.
If the glue has permanently stuck on the surface, you will need a scrubber which can be a knife, scalpel, sandpaper, or chisel.
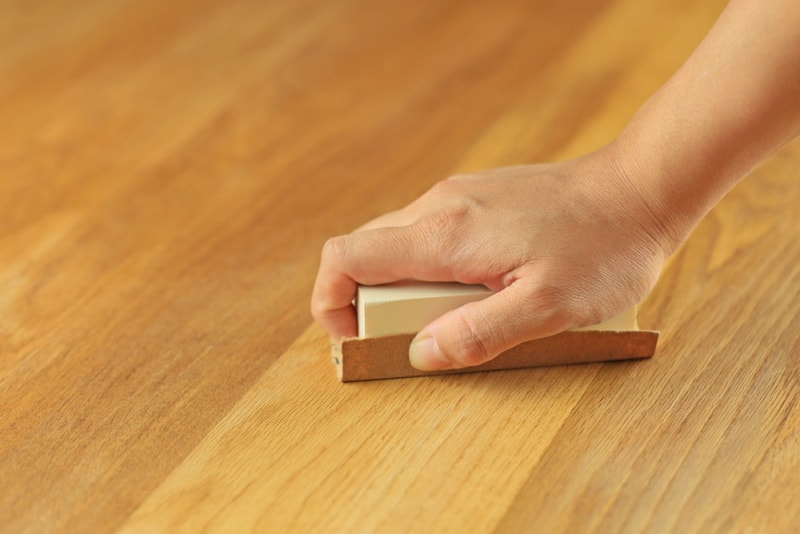
2. Scrape the Glue off the Surface
After assembling all the supplies, you need to reduce residues on the surface by scrubbing them off. Though this step is not a must, it reduces the amount of time and solvent used.
Holding a knife or chisel at an angle, followed by slow back-and-forth movements, gently scrape off tape residue from wood. After the knife has removed some of the residues, use sandpaper to finalize the cleaning.
Caution: Using sharp objects on wood may damage it. Either use a blunt knife or be gentle with sandpaper. Another option is to use fine-grit sandpaper (200 to 220). Extra fine grit sandpaper of 320+ is also fine, however, it will take some time. Fit the sandpaper on an orbital sander to work faster.
If the wooden surface is painted, you will have to avoid this step. Instead, rub a towel across the affected area in a circular motion. The towel will remove some of the residues. This method has proven to be successful on smooth surfaces, removing up to 100% of the residue without solvents.
3. Spot Test the Wood
Wood, being a natural material, reacts or absorbs most cleaning solvents. If this happens, it may stain the precious piece beyond repair.
Squeeze one to two drops of your preferred solution, be it a DIY solution like vinegar or professional glue removers, on a hidden spot. Spread it to cover a 1-inch-wide area and let it settle. Do the same to other solutions if you have several of them to find out how they perform.
To get proper results, leave the area undisturbed for 24 hours. But if time is not on your side, a 15-minute to 1-hour duration is enough. Wipe the solvent with warm soapy water and observe changes. Solvents that leave behind visible spots should not be used. Additionally, avoid any product that removes paint or glossy varnish.

4. Treat the Surface
Similar to the previous step, add a few drops of your selected adhesive remover (one with fewer negative effects) on the surface and spread it. Ensure all the residues are under a layer of the remover. Residue removers work by softening or dissolving polymers; thus, patience is vital to allow them to do their job.
Let the remover settle for 15 to 30 minutes before wiping the surface with a towel. You may also try rubbing the towel in a circular motion, as mentioned before.
If the residues are from duct tape and prove to be stubborn to get rid of, add a fresh layer of the solvent.
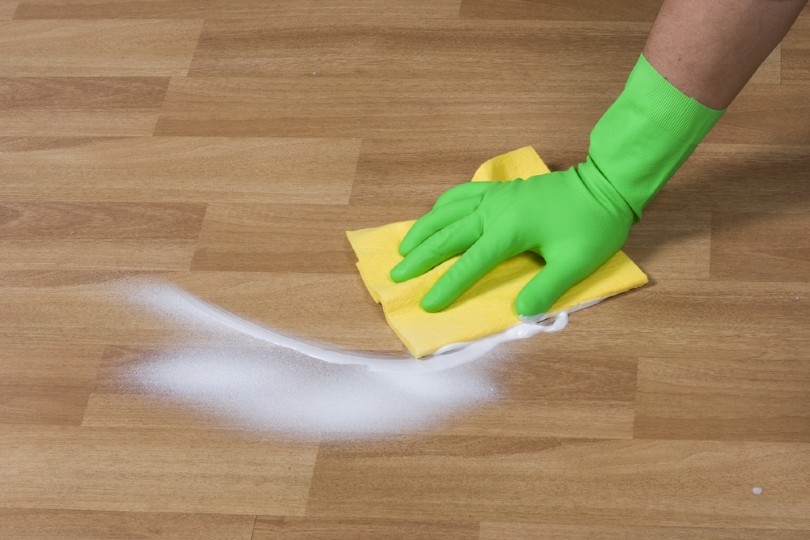
5. Remove Adhesive Remover Residues
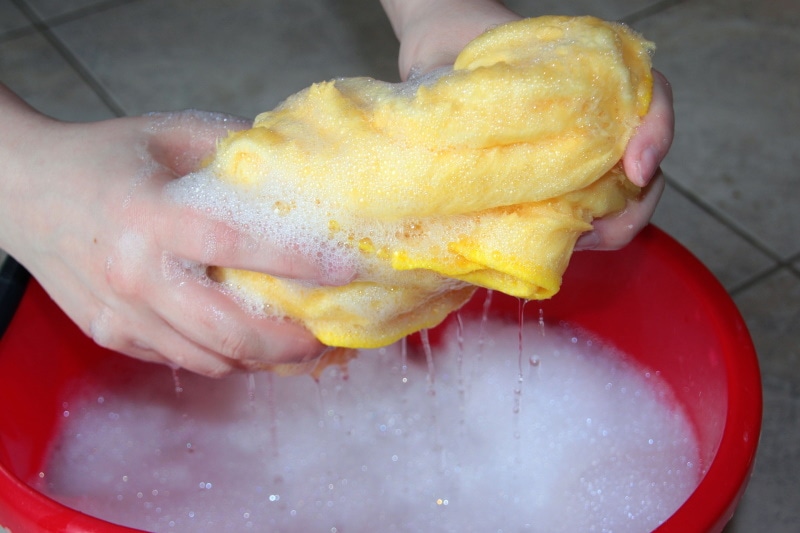
Take a clean towel and soak it in soapy water. Squeeze out excess water and use a damp towel to clean the wooden surface. Emphasize the areas with tape residues. Let the surface dry up before applying a degreaser.
A degreaser can be orange oil concentrate, which disinfects and deodorizes the surface, or a typical dishwashing liquid.
How Do You Prevent Tape Leaving Residue?
Now that removing tape residue has taken some of your time and probably money, here are ways of preventing the residue from sticking to the wood.
1. Clean the Surface
Cleaning the surface removes impurities and allows the tape to stick properly on the wood. In addition, the tape will easily come off the surface.
2. Heat-Treat the Tape
If you really want to remove a tape without it leaving behind residues, consider heat treatment. Simply supply a constant stream of hot air from a hair dryer. The heat will break bonds in the adhesive, making it easy to remove. This method is highly effective and rarely leaves behind tough residues.

In Conclusion
To remove tape residue, use adhesive solvents and soapy water. After removing the residue successfully, avoid doing the same job next time by cleaning the wood and using heat to remove the tape.
Featured Image Credit: Ground Picture, Shutterstock
Contents
