House Grail is reader-supported. When you buy via links on our site, we may earn an affiliate commission at no cost to you. Learn more.
How to Remove Thinset From Concrete (5 Expert Tips)
Pete Ortiz
Last updated:
Thinset mortar is stock and standard when you’re working with tile, but its main strength is also its weakness: durability. Dried thinset can be a serious hassle to clean up, but it doesn’t have to be that way.
We’ve scoured the web for the best ways to clean up dried thinset mortar on concrete and detailed them for easy reference. No matter the tools on hand, we’re sure one of them will work for you.
The 5 Tips on How to Remove Thinset From Concrete
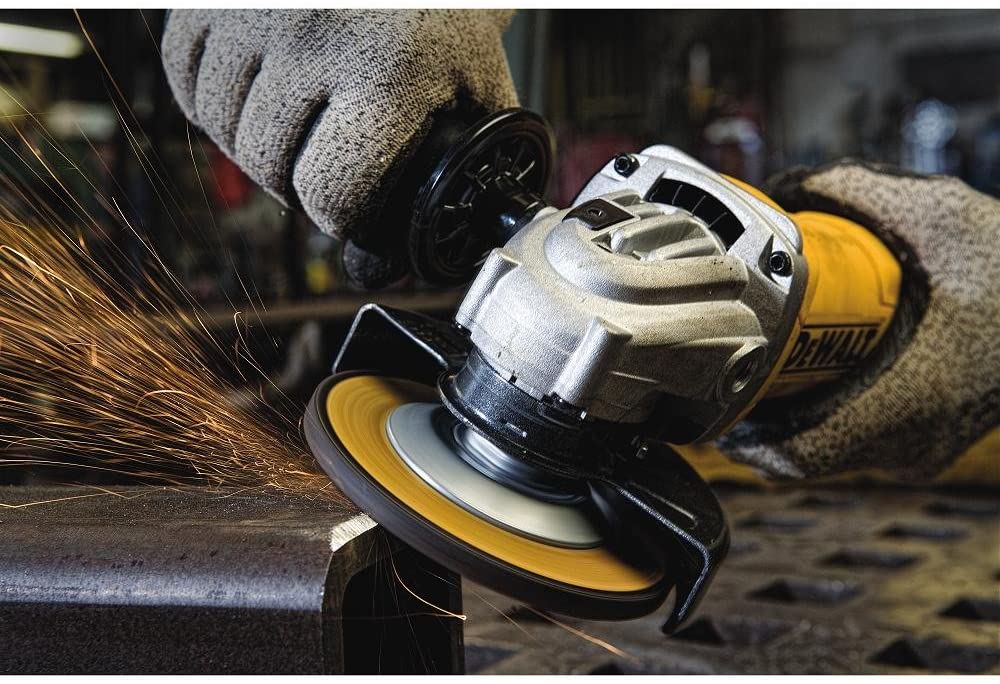
1. Angle Grinder for Easy Removal
If you’re not worried about damaging the concrete underneath, you can quickly and easily remove thinset mortar with a handy-dandy angle grinder. Before you get too trigger-happy, you’ll need to wet the thinset first. Pour a pot of hot or boiling water over the dried thinset and let it sit for a few minutes. This helps soften it up and prevents dust from flying into your face and everywhere else.
Use an abrasive pad or stiff steel brush for the grinder and get to work. Start slowly and use light passes over the dried thinset, cleaning up as you go. Painter’s plastic helps a ton here, but there should be relatively little mess if you soaked the mortar well enough. Don’t rush and wear out your grinder, and take your time for a job well done.
2. Mallet/Chisel Method
A more labor and time-intensive method that requires fewer tools is the classic mallet/chisel method. Tried and true for nearly any surface with stuck-on debris, it also works wonders for thinset mortar. Once again, you want to soak the surface with hot water beforehand, and perhaps some dish soap or degreaser to help speed things along a bit.
Put the chisel at a 45-degree angle and press as firmly into the edge of the dried mortar as possible, and carefully tap the end with a mallet or hammer. You can apply more or less force as needed to deal with difficult bits, but slow and steady wins the race here as well.
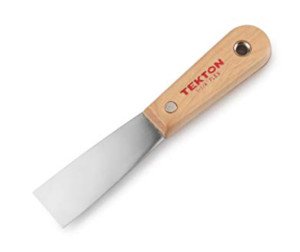
3. Scrape It Off With a Putty Knife
This is a good secondary method but poor for dealing with large splatters of thinset because it’s pretty slow going compared to other techniques on this list. If you have small splatters of dried thinset, though, consider just taking out the ol’ putty knife. Soaking helps reduce dust, and you can simply take the knife at a 45-degree angle to carefully scrape mortar off your concrete surface.
4. Hammer Drill Method
A hammer drill with a chisel bit is just as good as an angle grinder at getting thinset off but covers less surface area at a time. If possible, use a hammer drill for extremely tough chunks of thinset and a grinder for covering big areas at the same time. In a pinch, a hammer drill can work for removing thinset, but beware that it’ll take more time.
To use this technique, insert the tip of your chisel bit at a 45-degree angle into the thinset and use short bursts of the trigger. It’s slower, but pulsing the trigger is safer than holding it down and praying for the best. Readjust the angle of the chisel tip as needed and chip away until you’re all done.
Before using them, soak them in soapy hot water and wait for them to soften. Very carefully chip away a little mortar at a time, being sure not to chisel into the grout or tiles.
This is a more niche method just for grout, so feel free to combine it with any other methods above to get the job done.
Pete has been working in the trades since high school, where he first developed a passion for woodworking. Over the years, he has developed a keen interest in a wide variety of DIY projects around the home. Fascinated by all sort of tools, Pete loves reading and writing about all the latest gadgets and accessories that hit the market. His other interests include astronomy, hiking, and fishing.
As the founder of House Grail, Pete's primary goal is to help consumers make educated decisions about DIY projects at home, in the garage, and in the garden.