
Removing grout isn’t rocket science, but it can work up a serious sweat. Most times, grout removal is messy, and the wrong techniques can damage your tile surface. This is especially true if you have lackluster handyman skills.
If you’re having trouble removing grout from your tile surface, worry not. Keep reading to learn the most efficient way to remove grout from your tiles. But first, what is tile grout?

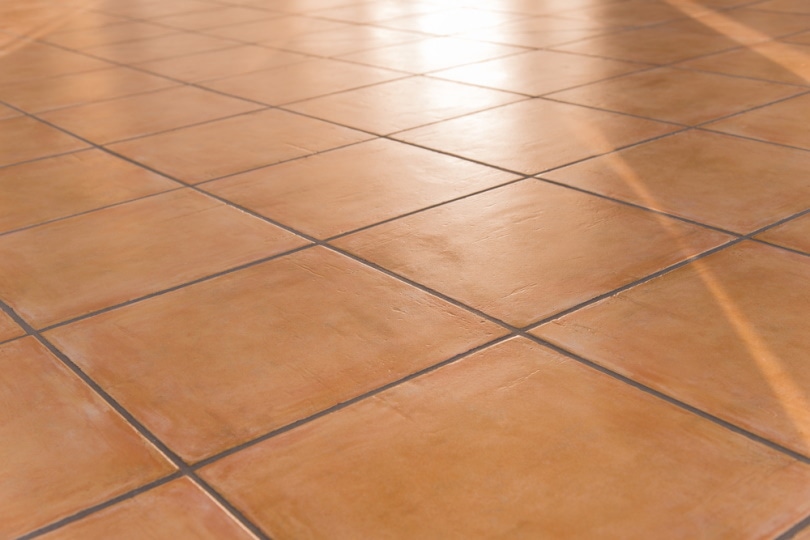
What Is Tile Grout?
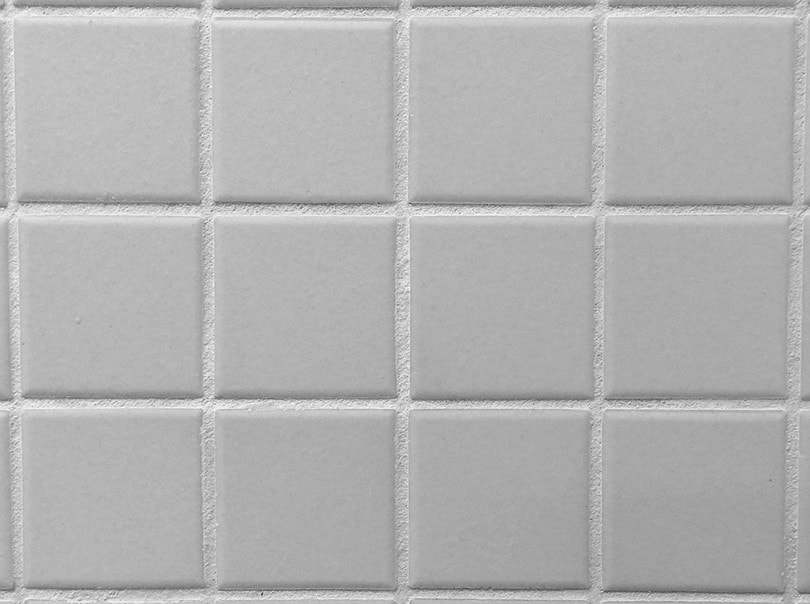
Grout is a construction material used to fill the joints between tiles. Grout consists of water, cement, and sand, and it’s used to hold tiles in place. It comes in different colors, so you can choose one that matches your tile color or goes with the design of your room.
- Cement-based grout
- Epoxy grout
Cement-based grouts are made of Portland cement and other ingredients, while epoxy grouts are made of two parts epoxy resin and hardener. Whatever the type, grout must be sealed to protect it from stains and water damage.
Reasons to Remove Tile Grout
It’s not every day that you decide to wake up and remove grout. However, sometimes removing tile grout is necessary. Here are a couple of reasons why you might want to do so.
Dirty and Moldy Grout
Grout can become stained and dirty over time, especially in areas that get a lot of traffic or are constantly exposed to water. In kitchens and bathrooms, for example, mold and mildew can grow in the grout if it’s not properly sealed. If you notice your grout is looking dirty or discolored, you might want to try cleaning it first. If that doesn’t work, you can always remove and replace it.
To Change the Grout Color
Maybe you want to go for a different look or are just tired of looking at the same old thing. Whatever the reason, changing the grout color is easy to do and doesn’t require a lot of time or effort.
The Grout Is Damaged and Falling Off
Grout can chip and fall out over time, especially if it wasn’t applied correctly in the first place. If the grout is chipped or damaged, it might be best to remove it and start from scratch. This will help ensure that your tile surface looks its best.
How to Remove Tile Grout
Now that we’ve gone over what tile grout is and why you might want to remove it, let’s get into the nitty-gritty of how to do so.
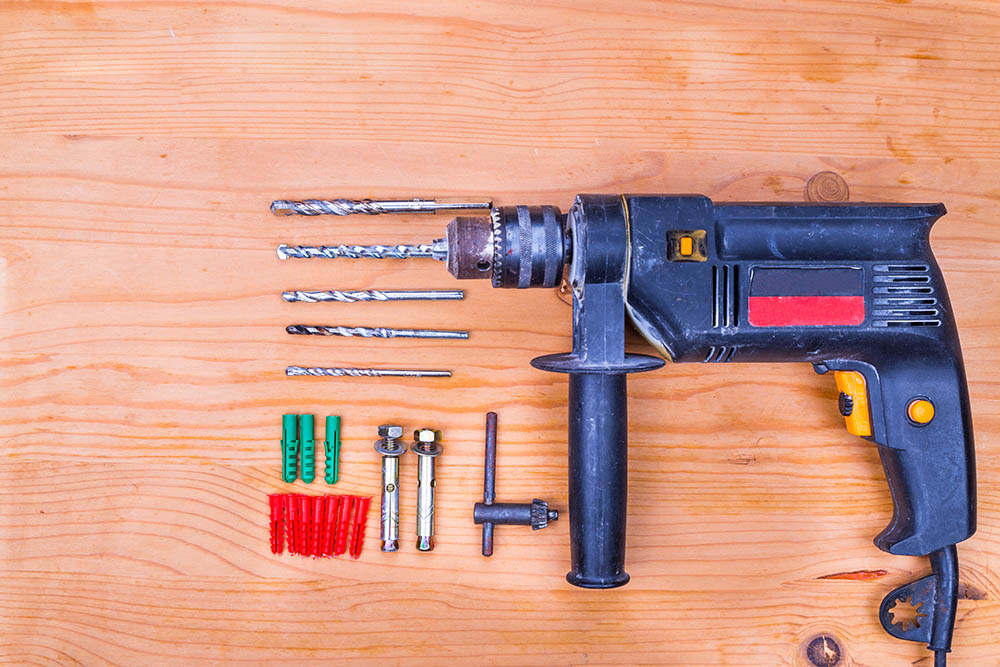
The Tools
Removing grout from your tile surface is a breeze if you have the right tools and know how to do it the right way.
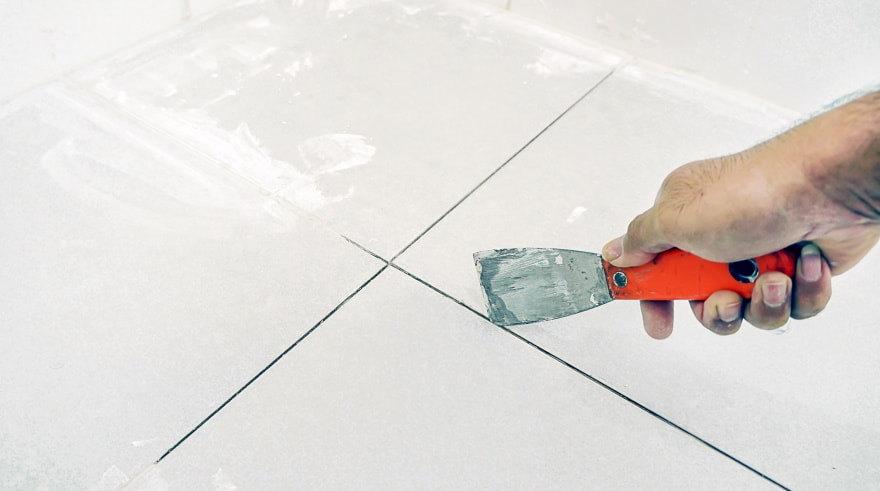
- A putty knife
- A grout saw
- A drill with an attachment
- Gloves and safety goggles
- Shop vacuum
- Garbage bag
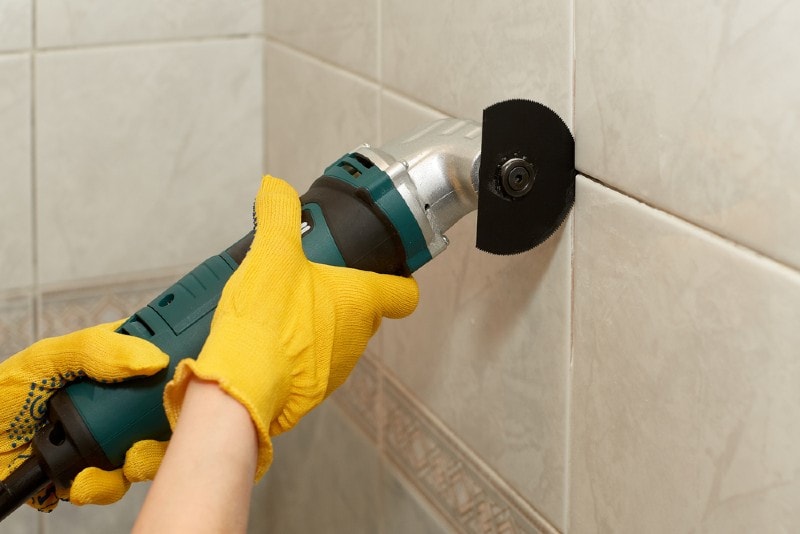
If you don’t own a drill with an attachment, an oscillating tool will work even better. That’s because the force of this tool is just enough to expel the grout but not enough to damage the surrounding tiles.
Preparation
Before removing the grout, you’ll have to prepare the work area for the task. This will give you the confidence to work and help you complete the work on time. Here’s how you prepare for the grout removal.
Clean and the Work Area
First things first, clean the work area and remove any dirt, dust, or debris. This will give you a clean slate to work on and help you avoid making a bigger mess. Once the area is clean, tape off any areas that you don’t want grout removal debris to get on.
This includes baseboards, cabinets, walls, and floors. You can use painter’s tape or masking tape for this purpose. Just make sure that the tape is firmly attached to the surface.
Wet the Grout Lines
The next step is to wet the grout lines with water. This will help soften the grout and make it easier to remove. Use a spray bottle or sponge to wet the area.
The Removal
Once you slap on your gloves and safety goggles, it’s now time to remove the grout.
1. Grind the Grout Straight On
Using your drill with the attachments, start grinding the grout out of the joints. Hold the tool horizontally, turn it on and press the blade onto the grout. Do it lightly at first to ensure you’re on the right track, then increase the pressure. The power tool should do most of the work, so there’s no need to use excessive force. Work slowly to avoid damaging the tiles.
2. Tilt the Drill to Grind the Grout at an Angle
If the grout is still not budging, try tilting the drill at a 45-degree angle and grinding the grout out that way. This method will take longer, but it’s more effective in getting rid of tough grout. Also, be sure to use a gentle hand.
If you feel your hands getting a bit tired, try resting them on your toolbox while grinding the grout. Alternatively, you can use your weak hand to support your strong hand to reduce the load on the latter.
3. Use the Saw for Stubborn Grout
For areas where the grout is especially stubborn, use the grout saw. The sharp teeth on the grout saw will make quick work of even the most difficult-to-remove grout.
As with all power tools, take your time and be extra careful not to damage the tile surface. The grout saw is incredibly sharp, so one wrong move could easily damage your tiles or hurt you.
4. Vacuum the Mess
Once you’ve removed all the grout, it’s now time to clean up the mess. Use a shop vacuum to suck up all the dust and debris left behind. Alternatively, you can use a broom and dustpan. Be sure to dispose of the grout properly.
Manual Grout Removal
If you don’t have handy tools, you can still remove the grout manually. However, this is much more difficult, but not impossible.
- Grout removal tool (preferably with a triangular carbide)
- Gloves and goggles
- Hammer
- Flathead screwdriver
- Vacuum with crevice tool
- Chisel
1. Score the Grout With the Carbide-Tipped Grout Removal Tool
After wearing your safety gear, score the grout with the carbide-tipped grout removal tool. You’ll want to make sure that you only score the grout and not the tile.
2. Insert the Screwdriver Into the Grout Line
You’ll then need to insert a flathead screwdriver into the grout line and tap it with a hammer. Do this all along the grout line until the grout is loosened.
3. Use the Chisel to Remove the Grout
Once the grout is loosened, use a chisel to remove it from the surface. Start at one end and work your way down. Remember to only chisel the grout and not the tile.
4. Vacuum up the Debris
Once you’ve removed all the grout, it’s now time to vacuum up the debris. Use a shop vacuum with a crevice tool attachment to get all the nooks and crannies. Alternatively, you can use a broom and dustpan.
Removing Epoxy Grout
Epoxy grout is a lot harder to remove manually because it’s more difficult to score. But with the right tools, you can easily remove epoxy grout without breaking a sweat.
- Wooden paint stirrer
- Epoxy stripper
- A pitcher of cool water
- Nylon scrubber
- Stiff-bristled brush
- Paintbrush
- Trisodium phosphate (3 tablespoons)
- Paper towels
- A gallon of hot water
1. Apply the Epoxy Stripper
To remove epoxy grout, you’ll need to first apply an epoxy stripper. You can find this at your local hardware store. Apply the stripper with a paintbrush, making sure to get into all the nooks and crannies.
2. Wait for the Stripper to Work
After you’ve applied the stripper, wait for it to work its magic. After 30 minutes, the epoxy grout will start to bubble and loosen.
3. Scrape the Grout With a Wooden Stirrer
Once the stripper has had time to work, use a wooden paint stirrer to scrape the grout off the surface. This is where having a triangular carbide-tipped grout removal tool comes in handy.
4. Rinse With Cool Water
After you’ve scraped off the grout, rinse the surface with cool water. Be sure to do this before the stripper has a chance to dry.
5. Repeat as Necessary
If there are still areas of grout remaining, repeat steps one through four until all the grout is removed. Don’t stop until you get every nook and cranny.
6. Clean Up With TSP
Once you’ve removed all the grout, it’s now time to clean up the mess. To do so, mix three tablespoons of trisodium phosphate with a gallon of hot water. Use this solution and a stiff-bristled brush to scrub the surface clean.
7. Rinse With Water and Dry
After you’ve scrubbed the surface, rinse it with water to remove any residue. After that, dry it with paper towels or a clean cloth. And that’s it! Your tiles are now epoxy grout-free.
Tips for Caring and Cleaning New Grout
Once you’ve removed the old grout, it’s now time to install new grout. But before you do, here are a few tips for caring and cleaning your new grout.
- Wait before you walk- After applying the grout, wait at least 24 hours before walking on it. This will give the grout time to set and cure properly.
- Clean up after yourself- Grout can be a pain to clean, so it’s important to clean up as you go. Use a wet sponge to wipe away any excess grout from the tile surface.
- Seal the grout- Once the grout has had time to set, it’s now time to seal it. Sealing the grout will help protect it from spills and stains.
- Be careful with chemicals- Chemicals can damage grout, so avoid using them if possible. If you must use them, be sure to dilute them properly and rinse the surface afterward.
Final Thoughts
Tile grout removal doesn’t have to be difficult. With the right tools and a little elbow grease, you can easily remove tile grout without damaging your tiles.
Even if you have little experience, the steps outlined above will help you ace it like a pro. Remember to take it slow and be extra careful with power tools like drills and the rest. All the best!
Featured Image Credit: Dmitry Melnikov, Shutterstock
Contents
