How to Replace a Window Sill in 6 Steps
-

- Last updated:

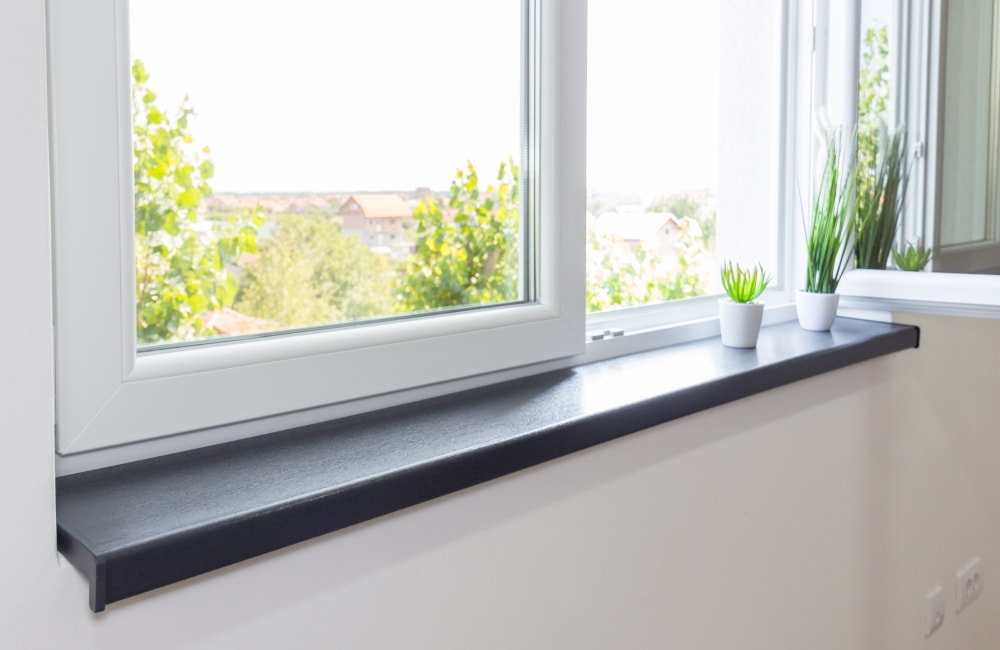
The window sill is the bottommost part of the window and runs horizontal to the jam, and rests just against the window sash. Unfortunately, most window sills are made from wood and can rot or follow apart over time as a result.
If your window sill is beginning to fall apart, you will need to replace it ASAP. Below, you will find six steps to replace your window sill this season.

Getting Started
To replace a window sill, you will need to gather all your materials, remove the broken old window sill, and replace it with a new one. Overall, replacing a window sill is suitable for intermediate builders.
It is not recommended to replace a window sill if you have no carpentry or building experience under your belt. This is because the window sill is an essential part of your home for structural and insulation purposes. Plus, you will need a few more advanced tools, which beginners might not have yet.

What You’ll Need
- Utility knife
- Carpenter’s pencil
- Leveler
- Table saw
- Chisel
- Jigsaw
- Screwdriver
- Tape measure
- Protractor
- Crowbar
Tools Materials
- Cleaning cloths
- Sandpaper
- Caulk
- Epoxy wood filler
- Cedar or pressure-treated board (2×4 inch)
- Cedar or pressure-treated board (2×6 inch)
- Weatherproof wood screws (2 inches)
Safety Materials
- Work gloves
- Safety glasses
- Safety mask
The 6 Steps to Replace a Window Sill
Once you gather all your needed items, here are the six steps to replace a window sill in your home:
1. Remove the old window sill.
To begin the process, you will need to remove the old window sill. Use your utility knife to remove any remaining sealants holding the old sill to the window frame. You might need to use a hammer in some cases. Then, use a crowbar or chisel to pry the sill from the window.
If you can, keep the old window sill in one piece. That way, you will be able to use it as a model whenever you are cutting your new sill.
If your window sill is sloped downwards, you will also need to remove the wooden supports that were holding it up. In other words, remove anything attached to the old window sill, including decorative pieces.

2. Repair your frame.
With the old window sill removed, you will want to clean and repair the window frame. Clean off the debris using a rag and utility knife. If any caulk remains, use solvents or sandpaper to remove it thoroughly. If any caulk remains, use solvents or sandpaper to thoroughly remove it.
If there is some rot in the frame, use an epoxy mixture to fill it in. It should be easy to find wood fillers for this purpose. If the entire frame is rotted, you will, unfortunately, need to replace it after consulting a professional to determine the extent of the rot.
3. Draft your new window sill.
Now, it’s time to focus on your new window sill. Using the old sill that you kept in one piece, make a template on the new pressure-treated boards. This should be easy if the old sill was kept in one piece. Just use your carpenter’s pencil to draw the new sill on the boards.
Unfortunately, not all old sills will come out in one piece. If yours is broken, you can measure out the sill in the window frame using a tape measure.

4. Cut the new window sill.
Using the draft from Step 3, you will want to cut the new window sill. You will need a table saw for main cuts and a jigsaw for secondary cuts or shaping purposes. If your original still had a slope design, you will want to mimic that slope to the best of your abilities. Otherwise, grab your protractor to create the proper angle.
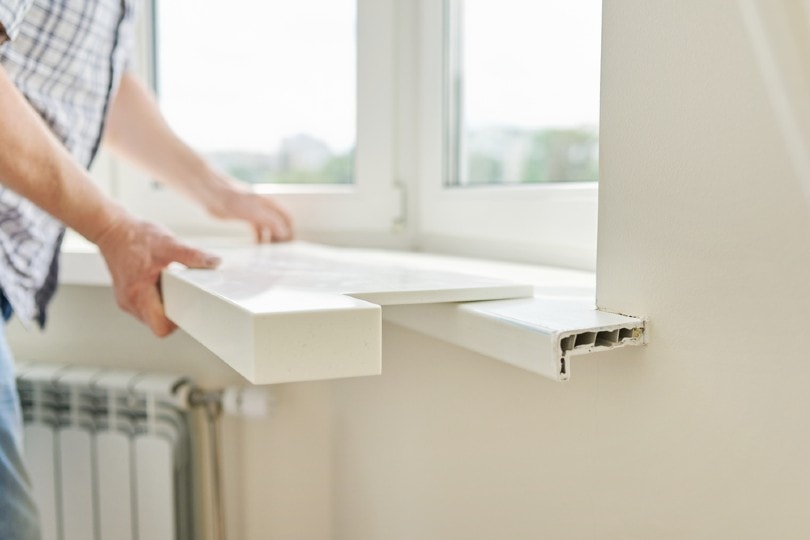
5. Attach the new sill to the frame.
With the new window sill made, you have to attach it to the frame now. You can do this by nailing or screwing it into place. For best results, space crew 6 inches apart so that they are strongly in place. At this point, you can add any other decorations or items to the window sill too.

6. Apply caulk.
Finally, the last thing to do is to use a caulk gun to caulk the edges of the sill down. Use an outdoor caulk that is specifically designed for water repellent. You can also add caulk to any screwheads to hide them from obvious viewing.
- related read: How Often Should You Caulk Your Windows?
How Much Does It Cost to Replace a Window Sill?
How much it costs to replace a window sill largely depends on the materials you use and how many need to be replaced. If you replace the window sill on your own, you can expect to pay anywhere between $1.49 and $2.24 per sill, assuming you already have all the needed tools but not materials. Obviously, you will have to buy any tools you don’t have yet.
If you cannot replace a window sill yourself, you will have to hire a professional to do it for you. This will often cost between $60 and $90 per sill. For example, replacing six sills often costs around $450 when done by a professional.

Conclusion
Replacing a window sill is not too difficult. If you have some carpentry skills and the required materials on hand, the project shouldn’t take too long, and it is quite affordable. Especially in comparison to hiring a professional, making the window sill yourself is a much more economically friendly choice.
If you are a bit nervous about repairing your own window sill, we recommend buying a little extra board. That way, you have some wiggle room in case you mess up. With a lot of patience and persistence, you should be able to get the job done relatively easily.
Featured Image Credit: Samir Lyctum, Shutterstock
Contents


