
If you have sliding or pull-out closet doors, you know the finger pulls can wear out and need replacing. If they are metal, they can also get tarnished or discolored. Luckily, it’s not too difficult to replace finger pulls, so if you have trouble with yours and need help, you’ve come to the right place. Here, we’ll provide a step-by-step guide for replacing closet finger pulls in just a few steps. Keep reading as we cover everything from the setup to the cleanup to help you be better informed.

Replacing a Closet Door Finger Pull
Preparation
A little preparation can help you ensure you have everything you need. There are many brands of closet fingers, but they are all essentially the same. The closet door manufacturer removed some of the material to insert the finger pull. A screw, nail, glue, or tab will keep the finger pull in place, so you will need to clean and inspect it carefully to know how to proceed.
Assemble Your Tools and Materials
You will know which supplies you need once you have cleaned and inspected the area. Here is a short list of common candidates:
- Nail setter
- Needle-nose pliers
- Putty knife
- Measuring tape
- Glue
- Screwdriver
- Offset screwdriver
- Pry bar
- Sandpaper
- Wood Filler
How to Replace a Closet Door Finger Pull (4 Steps)
1. Remove the Finger Pull
Screws
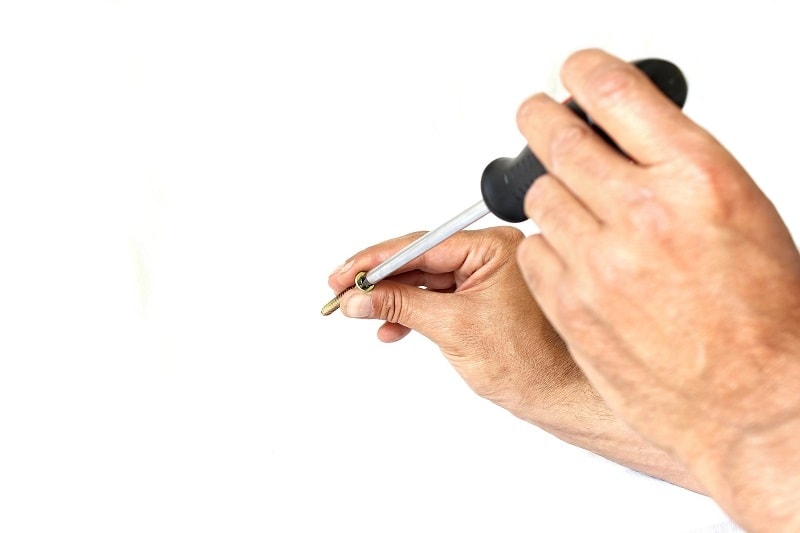
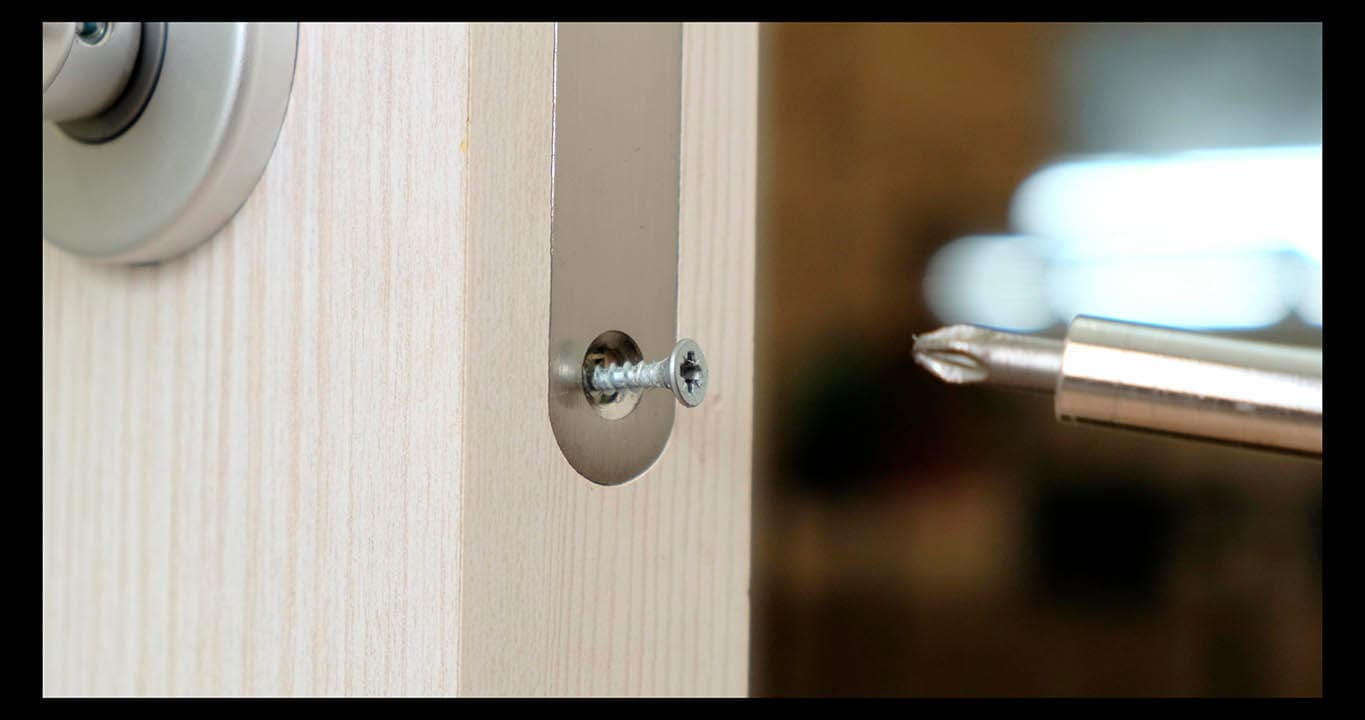
Once you have all your tools, remove the old closet finger pull. Many models will have one or two screws keeping it in place, so all you need to do is remove them, and the finger pull should fall out. The screw might be at a difficult-to-reach angle, so you may need to try a few screwdrivers. Offset screwdrivers are great at removing such screws.
Tabs
Some finger pulls have metal tabs built into the component to hold them in place. These tabs flex out of the way as you push the finger pull into place, but they grip the wood so they won’t fall out. In some cases, you might need to get a small flathead screwdriver to pull the tab inward to remove the finger pull. However, it will usually be easier to pry it out with a small pry bar, and doing so won’t result in any damage.
Glue or Nails
If you don’t see anything holding the finger pull in place, the glue must be doing the trick. It’s also common for tiny nails to hold it in place. The best way to remove these is to use a small putty knife or pry bar to lift them out gently. Be patient, and use a hammer to gently tap the putty knife or pry bar to break the glue bond or lift the nails without causing much damage.
2. Fix Any Damage
Wood Filler
If the closet door is old or there was damage done to it, you need to make repairs before you continue. If your finger pull was malfunctioning because of stripped screws or you noticed rotten wood behind it, you will need to fill it with a wood filler the best you can. Wood filler will help create a smooth surface for your new finger pull to rest.
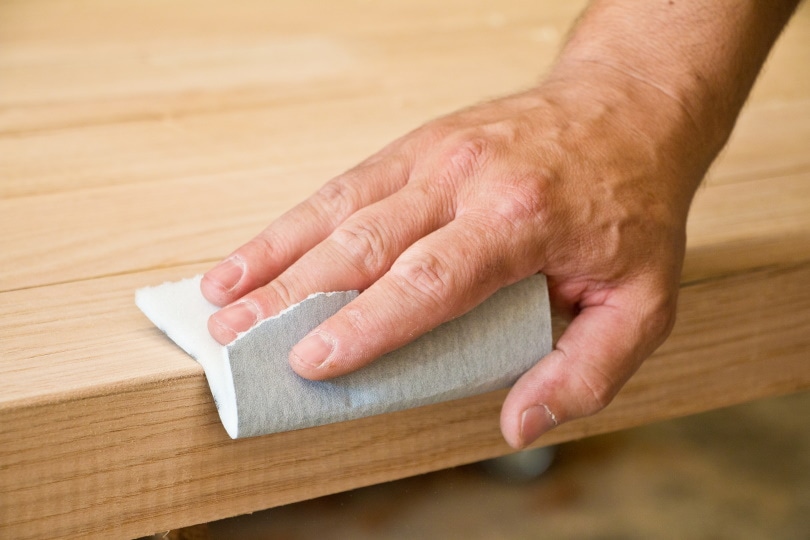
Sanding
If the old finger pull used glue or you had to add wood glue, there is a good chance that you will need to sand the surface to make it smooth again. Sandpaper should work fine in most cases, and it is also the perfect job for a rotary sander if you have one.
3. Purchase a Replacement
You will need a replacement pull, and the best time to purchase it is after you remove the old one because you can take it to the hardware store to find something that is the right size. There are many brands, so you should be able to find a replacement in a different color or even a different design if you want something new. If you are comfortable taking measurements, you can purchase your replacement finger pull online.
4. Install the Replacement
Screws
Once you have the replacement, it is relatively easy to install it. Screws are the easiest because you can install the replacement and tighten the screws in the same place. If stripped or missing screws were the reason for the replacement, you might need to install longer screws to keep them from falling out again. If the finger pull is round, you can install the screws from a different angle.
Tabs
If your replacement finger pull uses tabs, you will only need to use a small hammer to tap it into position gently. The tabs will hold it in place; no other work is required.
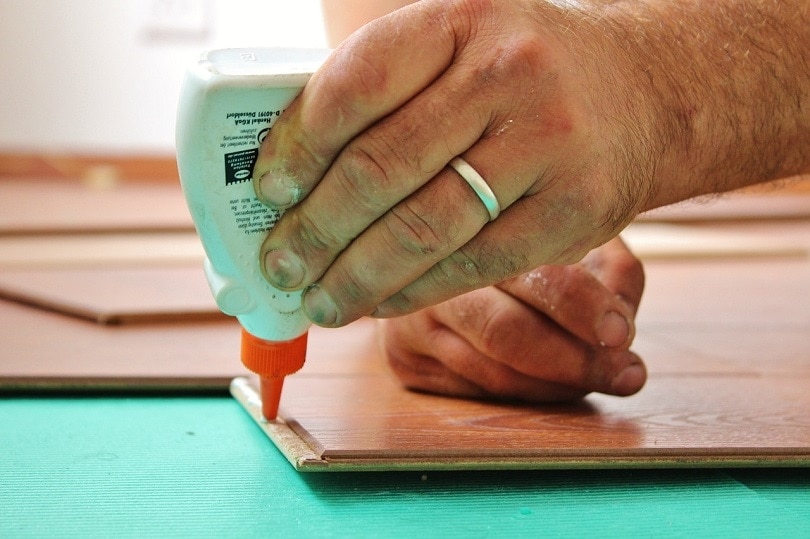
Glue and Stickers
Some finger pulls come with a self-adhesive back that makes them exceptionally easy to install, while other brands will require you to supply the adhesive. We recommend reading the instructions on the package carefully to see if it states that you must use anything specific.
Otherwise, Super Glue or Krazy Glue are the best options because they are relatively inexpensive and easy to find. When using these adhesives, it will only take a few drops to get a tight bond but apply it all around the edge to ensure that the finger pull is stable.
Nails
Nails are technically the most difficult to replace because they are usually small finishing nails that you often need to install at strange angles. The best way to install these nails is to use a pair of needle-nose pliers to hold them steady. You may also need a special nail setter tool to get the nails flush with the surface.
Summary: Replacing Closet Door Finger Pulls
Certain types of finger pulls work better than others. The type that uses tabs seems to fall out more often because they don’t have a good grip on the wood. The kinds that use glue can also fall out frequently, depending on the type of wood and glue used. Nails and screws work best, but the holes they create are permanent and get larger over time, so you may need to use more wood filler.
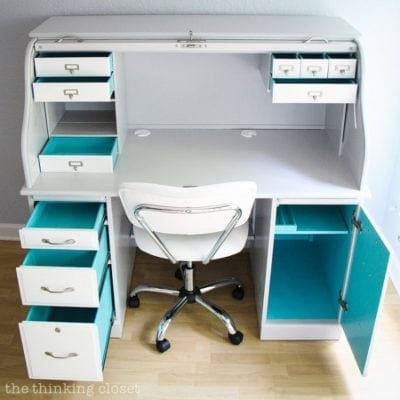
Featured Image Credit: The Thinking Closet
Contents
