
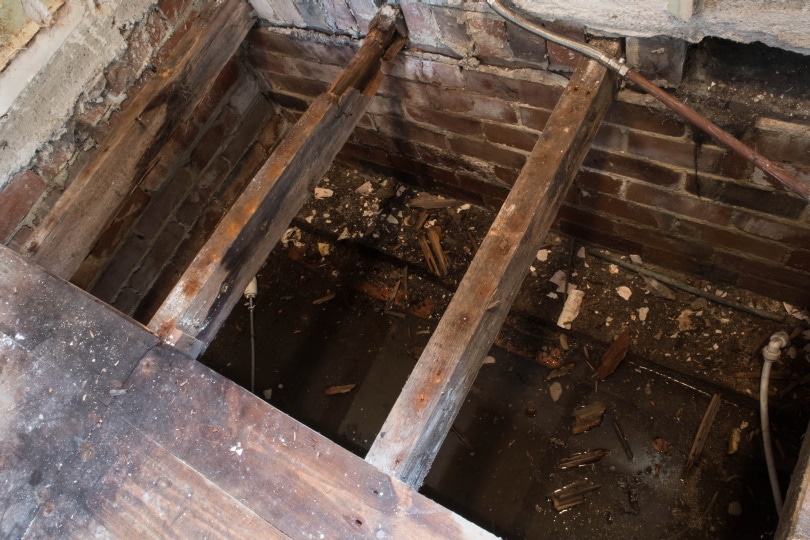
Whether you’re fixing up an older home or doing repairs on a home you’ve been living in forever, you may need to replace the floor joists at some point. While the joists are made to function for a very long time, like everything, they will eventually need to be replaced. Furthermore, not installing them correctly the first time can make it even more likely that the joists will fail.
You can usually tell that the joists must be replaced when they crack or sag. Some of them may break completely, which can lead to a dangerous scenario. If you are concerned about the structural integrity of your home, it is best to call a structural engineer to inspect the floor.
Often, a sagging or broken joist can be a symptom of a bigger problem. However, if nothing else is wrong with the floor, you may be able to repair it yourself (depending on your local codes).

How to Replace Floor Joists In 5 Steps
1. Cut a New Joist

Before you get started, you’ll need to cut a new joist to replace the one that is damaged. You may need to make a notch to allow the new joist to fit, so keep that in mind when you’re measuring. Always follow local building codes when making the repair.
Simply cut the new joist to replace the existing one. You can measure it and then make the new joist the same size.
2. Make Room
Next, you’ll need to make room to do the repair. You don’t need electrical wires and pipes in your way, so you’ll need to remove those temporarily to make room for you and your equipment. You’ll likely need to shut off the electricity to that area while performing this repair.
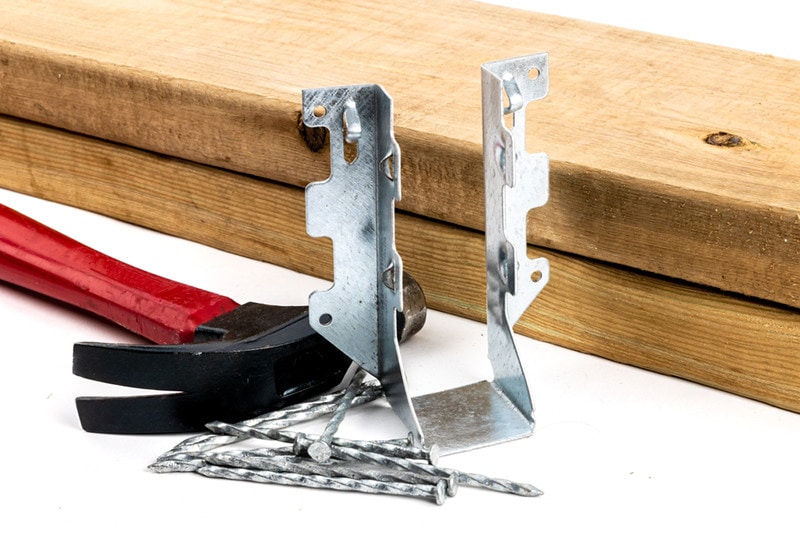
Of course, be sure that you put everything back when you’re done! Also, check the subfloor for nails and other potentially dangerous debris. Use the end nippers to remove these so that you do not end up hurting yourself.
3. Jack the Joist
Now that the area is prepared, it’s time to jack up the new joist. You’ll want a hydraulic jack for this step. You’ll also need to lift the existing joist if it is sagging, and you want the new beam to be right up against the old one.
Raise the jack slowly, as doing it too fast can make the beam crack. You should only jack about 1/8 inch a day and then allow the beam to settle. After the cracked joist is lifted, you can carefully move the new one into place with a hammer if the joist is catching.

4. Make a Jack Post
In most cases, you’ll only need a fast and easy jacking post unless you’re lifting a lot of weight. This post will help hold the floor up while you install the new joist. You can usually just screw two 2 x 4s together to create a jack post.
However, in some cases, you’ll need to make a T-jack to hold up a bit more weight. These posts are better at handling any bending force that occurs. For this purpose, you’ll just need to make a T shape with 2 x 4s by nailing them perpendicular to each other.
5. Install the Sister Joist
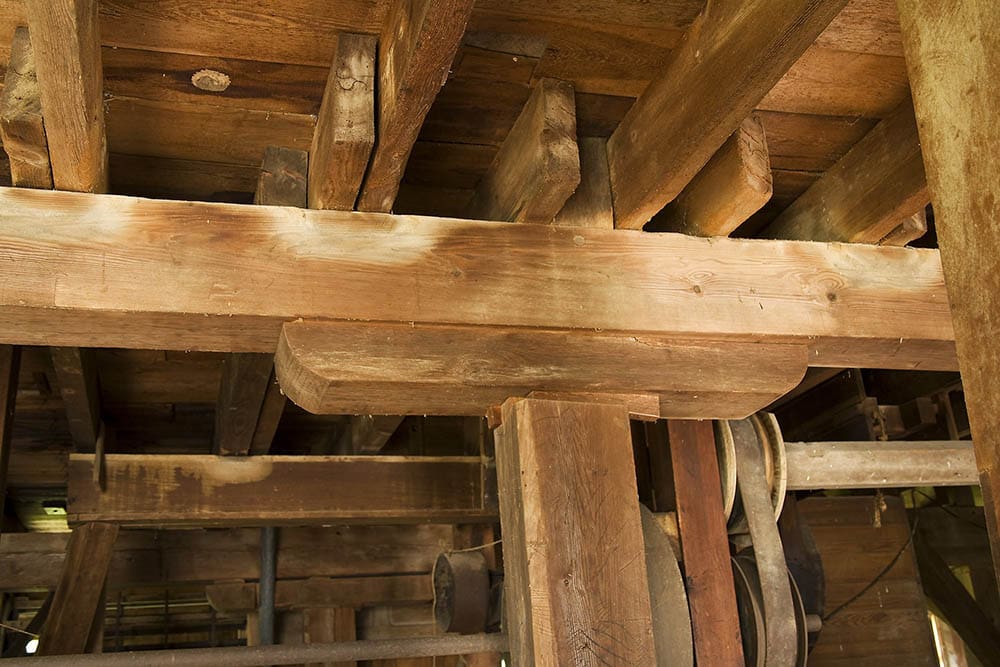
Now, you can install the sister joists. Use a clamp to hold the new and old joist together. Then, you’ll want to screw the joists together. While this doesn’t remove the broken one, it allows the new one to take on the strain of holding up the floor. You may be unable to screw everywhere since the old joist may be cracked or broken.
Next, you can start removing the jack slowly. You don’t want to do it all at once, which may cause the joist to fail.
Do I Need a Building Permit to Replace Floor Joists?
It depends on your location, as each area has its own codes. In many locations, you can sister a joist without a license. However, it counts as structural work in other areas and, therefore, needs a license. Furthermore, if there is any more structural damage, you will need a professional.
Any time you add a sister joist, the odds of an underlying problem are fairly high. Therefore, it is often best to call in a professional, even if you can do it yourself.
You can find out if your area requires a permit by calling the local building inspector or going in person to the building department. This will allow you to follow your local codes, which will ensure that the repair is legal.
How Much Does It Cost to Repair Joists?
If you hire a professional to repair a floor joist, you’ll likely need to pay thousands of dollars in repairs. This work isn’t cheap, as it is structural. Therefore, there is a lot that goes into repairing a joist. Of course, if you do it yourself, it is much cheaper. The cost of the wood should only run you a few hundred dollars, which is nothing compared to the thousands you might pay otherwise.
A small room usually costs around $6,000 to $10,000 for a repair. However, larger rooms can easily cost $20,000. While it is always more cost-effective to do it yourself, that doesn’t necessarily mean you should.
In many cases, you’ll need a building permit to make these structural changes, while other areas don’t count sistering joists as structural changes. For this reason, we highly recommend calling a structural engineer at the very least to ensure that there isn’t an underlying cause behind your floor joists breaking down.
Conclusion
Repairing floor joists is not difficult. If you have some DIY knowledge, it’s pretty easy to do yourself. You also don’t need that many tools, so you likely won’t need to purchase anything special just for this job. However, it is often better for a professional to do this job, as messing up can affect the structural integrity of your house.
Plus, if a joist is broken, there may be a reason behind it. Therefore, it is vital to fix the underlying problem and not just cover it up with a sister joist. Some areas also require that you have a license for those sorts of repairs.
Featured Image Credit: AL Robinson, Shutterstock
Contents
