

A cracked or smashed window is not only an eyesore, but it can let heat out of the house, causing a colder living room or bedroom. It’s also a potential hazard because cracked glass is easier to smash.
However, cracked or even shattered glass doesn’t necessarily mean that the frames themselves need replacing, which can prove a very costly and inconvenient job. It may be possible to save the glazing, without replacing the wooden frames, and even to do the job yourself (you may need a second person to help hold and lift the glass safely).
Read on for instructions on how to replace the window glass in a wooden frame.
 Preparation
 Preparation
Good preparation is key to making the replacement job as easy as possible and to ensuring the best possible end result. Primarily, you will need to clean the area and ensure that you have removed as many obstructions and hazards as possible. When dealing with cracked or broken glass, you should always wear the appropriate safety equipment. Glass shards are extremely dangerous and can cause cuts and even permanent damage to your eyes.
Tools And Materials
Ensure you have everything you need to complete the job, before you start the replacement. If you get half way through replacing a window to find that you don’t have a screwdriver to hand, it will set you back. Similarly, if you don’t have the right glass panel ready to go, you will be left with a hole where your window should be and be frantically running around trying to source the glass panel.
- Flathead screwdriver
- Flexible putty knife
- Glazing points
- Glazing putty
- Heat gun
- New window pane
- Pliers
- Protective gloves
- Safety glasses
- Stiff putty knife
Safety First
Safety really is important. Not only will you be dealing with glass panes, but the window may be heavy and some of the work can be fiddly, making it even more difficult. Always wear appropriate gloves to protect your hands and safety glasses. A shard of glass in the eye can cause lasting damage.
Having a second person to help lift and carry the window will also help ensure your safety, rather than trying to carry a heavy glass window yourself.

How To Replace Window Glass In a Wooden Frame (11 Steps)
1. Remove Glass Shards
Before you do anything else, ensure that all glass shards are removed. Use pliers and do make sure that you’re wearing protective gloves. Even the smallest shard can make a mess of a finger.
2. Remove Old Putty
How you remove the glazed pane will depend on how exactly it is attached to the frame. If there is a trim, you can remove this using a flathead screwdriver. Otherwise, heat the putty and glaze using a heat gun. Once the glaze is softened, use a putty knife to remove it.
3. Remove Glazing Points
Locate the metal spikes that hold the pane in place, called glazing points. If they are difficult to remove, use pliers to bend them backwards.
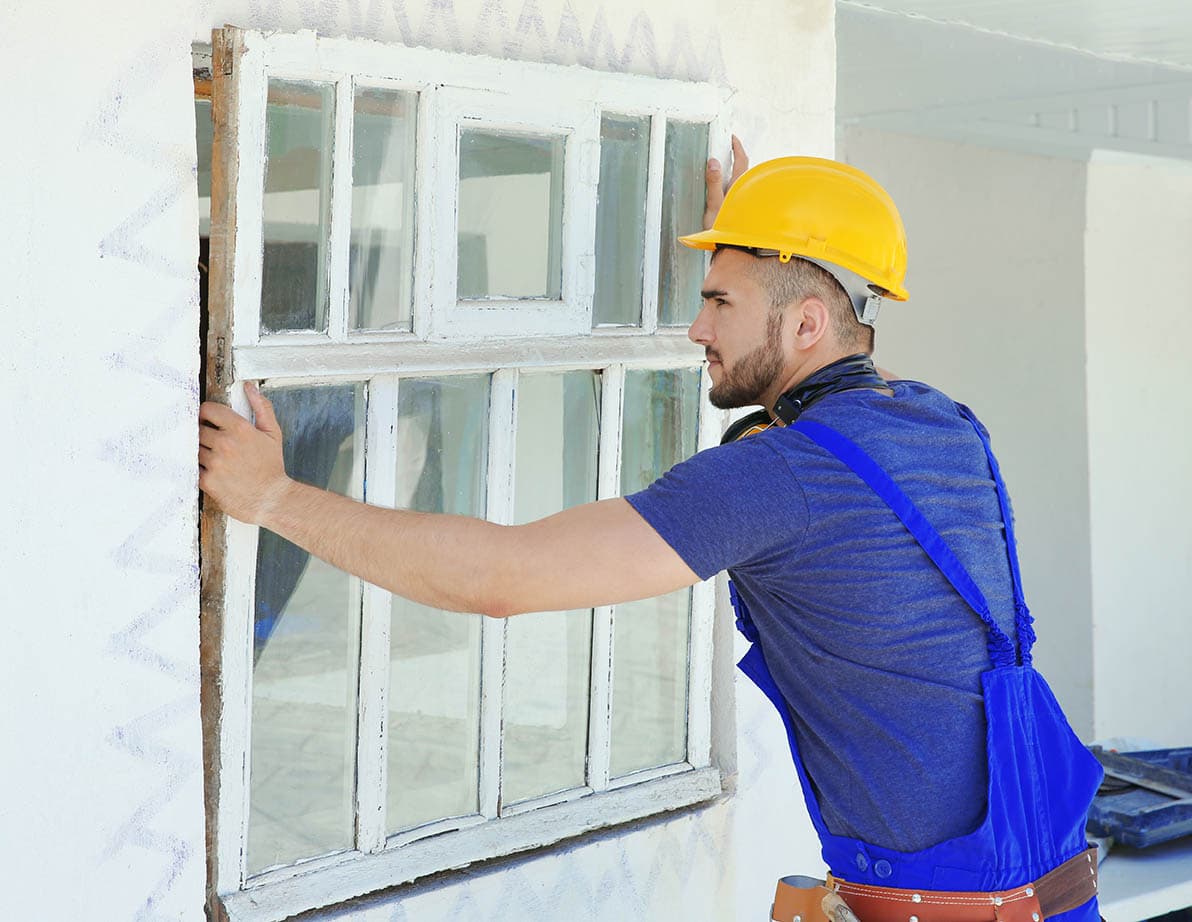
4. Remove The Existing Glass
Still wearing protective gloves, tap the outside of the window to loosen the glass and work from one corner to remove it from the frame. Tap the window gently as you pull it loose. Place the window somewhere safe.
5. Clean The Groove
Make sure there are no remnants of glass, putty, or glazing points left in the rabbet groove. They will prevent the new pane from sitting properly.
6. Apply Putty In The Groove
Add a small bead of putty between the glass and the frame and put the new pane in the window.
7. Press Down The Glass
Press the glass into the putty so that it holds in position. Push firmly enough that the glass beds into the putty. Initially, you don’t have to worry about lining it up perfectly because you’ll do that in the next step.
8. Position The Pane
Move the pane until there is an equal gap, of 1/16 inch, on all four sides.
9. Add New Glazing Points
Depending on the size of the pane, add a minimum of two new points to each edge of the glass. Ensure that the points are spaced evenly. Use a putty knife handle or other blunt object to push the corners of the glazing points into the wood frame.

10. Apply Putty Around The Glass
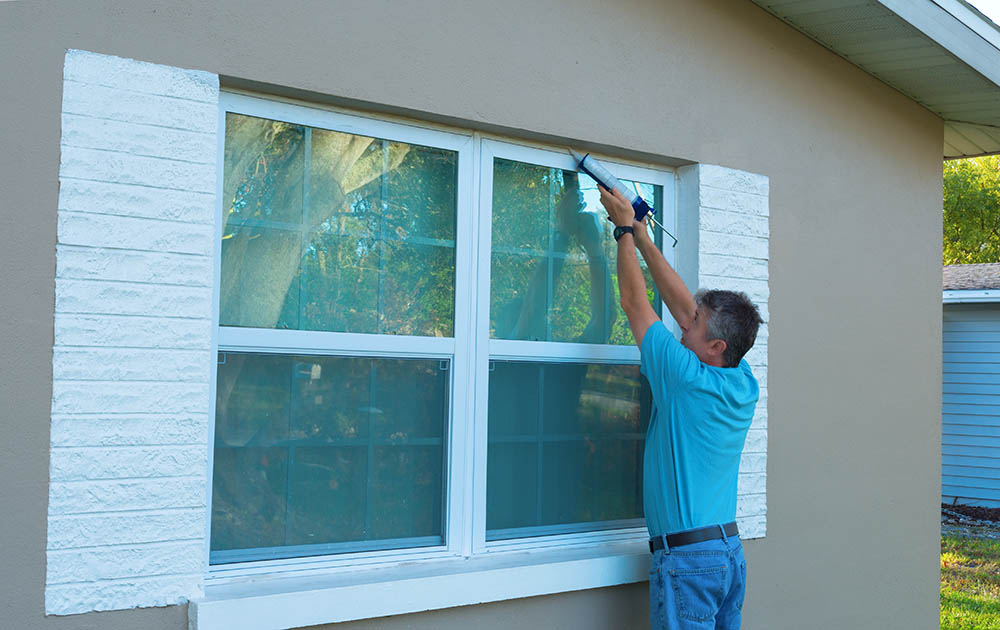
Make a ½ inch thick length of putty by rolling it out in your hands to create a thin rope. Press this around the outside of the glass and into the frame, and use the putty knife to further smooth the putty against both the glass and sash.
11. Repaint The Putty
Let the putty dry completely and then paint it. Alternatively, leave the putty to dry for a week or more and then apply a primer to the whole window.
Conclusion
As with most window jobs, replacing window glass in a wooden frame is easier and safer if you have somebody to help. It also requires that you wear appropriate safety equipment, including protective gloves and glasses. By following the steps above, however, you should be able to replace the window yourself so that you have a secure window without having to pay for professional fitting or, worse still, having to pay to have all of the window and frame replaced.
Featured Image Credit: Katie Wasserman, Unsplash
Contents
