
When it’s time to replace a window on your home, the last thing that you want to do is tear a ton of things apart to get the job done. The good news is that unless there’s damage to the frame or siding, you should be able to leave most of the stuff in place.
Here, we walk you through everything that you need to know about replacing a window while leaving that siding in place and saving yourself a ton of work in the process.

Deciding If You Can or Should Replace a Window Without Removing the Siding
While you might want to keep the siding on your window when you’re replacing it, the truth is that it’s not always possible. To determine if you need to remove or replace the siding of the window when you’re completing a window replacement, you need to look at the window frame and see if it’s damaged.
If you can leave the frame in place, there’s no reason for you to take the siding off. However, if the frame is damaged or you need to replace it, you’ll also need to replace or at least remove a portion of the siding.
Replacing a Window Without Removing the Siding
Once you know what you’re getting into and have everything that you need, it’s time to start replacing the window. We walk you through all the steps that you need to follow to replace a window without removing the siding.
Tools You’ll Need
Before you get started on any job, ensure that you have all the tools that you need to get the job done, including:
- Tape measure
- Hammer
- Prybar (small)
- Flashing tape
- Sealing foam

How to Replace a Window Without Removing the Siding (12 Steps)
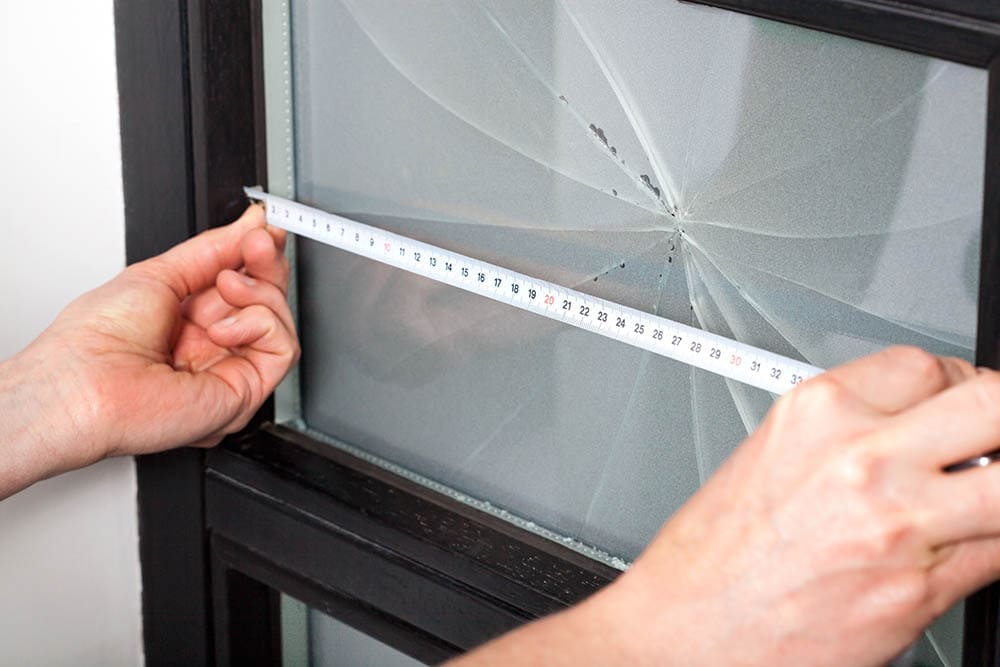
1. Measure the Window
Before you hammer or pry anything, you need to know what you’re working with. You do this by measuring the window that’s currently in place. Simply measure the window’s length, width, and diagonal — don’t include the frame. Get a replacement window cut to these measurements.
2. Prepare Your Workspace
Once you have your new window in hand, it’s time to get to work. Remove all the trim around the old window. You might need to remove some of the drywall, but that depends on how the previous person installed the old window.
Do your best not to damage anything when removing the trim. If you can remove the old trim without damaging it, you can reuse it. However, sometimes the trim gets a bit damaged when you remove it no matter what you do.
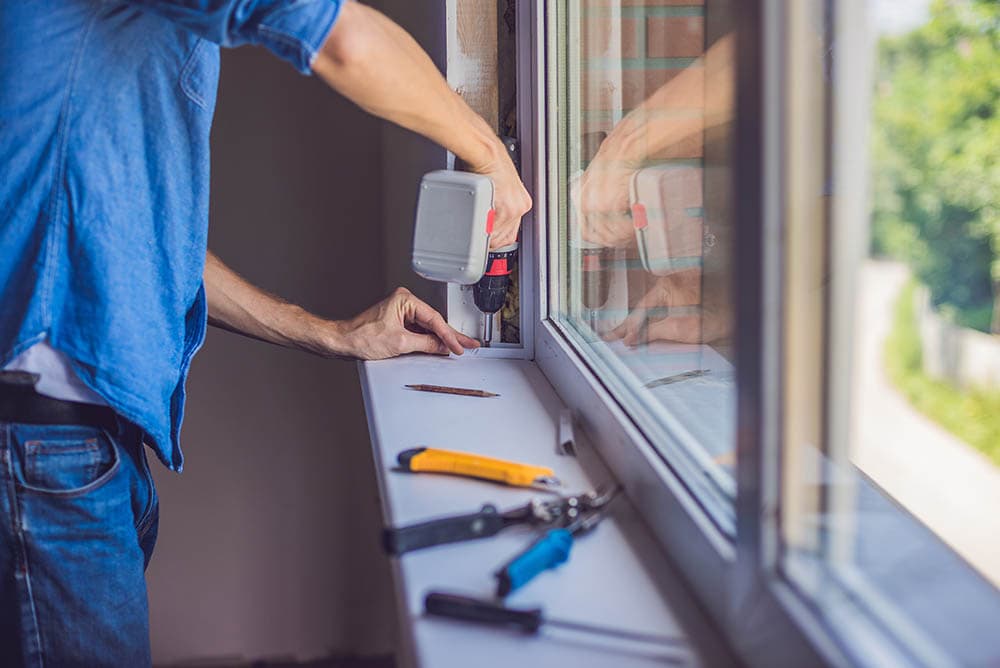
3. Remove the Old Window
Once you have the trim and drywall (potentially) out of the way, it’s time to remove the old window. Remove any nails or screws holding the window in place. From there, remove the supports by knocking them out with a hammer.
Next, cut the seal from around the window using a box cutter or another razor blade. Once you have the seal and all the supporting nails/screws, you can safely remove the window without damaging the frame.
4. Remove the Casing (If Applicable)
Not every window has an exterior casing that you need to remove when you replace the window, but for those that do, you’ll need to remove that casing at this point. You can find this casing around the perimeter of the frame only after you remove the window.
Keep in mind that you need to be extra careful when removing the casing. There are often nails holding it in place, and you’ll need to remove these before prying the casing off.
5. Inspect the Siding/Window Frame
Once you have the casing and the window off, it’s time to inspect the frame and the siding. While you may like to leave these materials in place, if they show signs of damage, you’ll need to replace them. Otherwise, you won’t have a solid seal after you install the window.
Look for rot in the wood, warping, or cracks in the vinyl. If the window frame and the siding check out, you can leave them in place and move on to the next step.
6. Add a Flashing Tape or Other Sealant
The last thing that you want after you install your new window is to find moisture or air working its way around the perimeter. Flashing tape or another type of sealant puts in a barrier that keeps water from working its way under the window and rotting everything away.
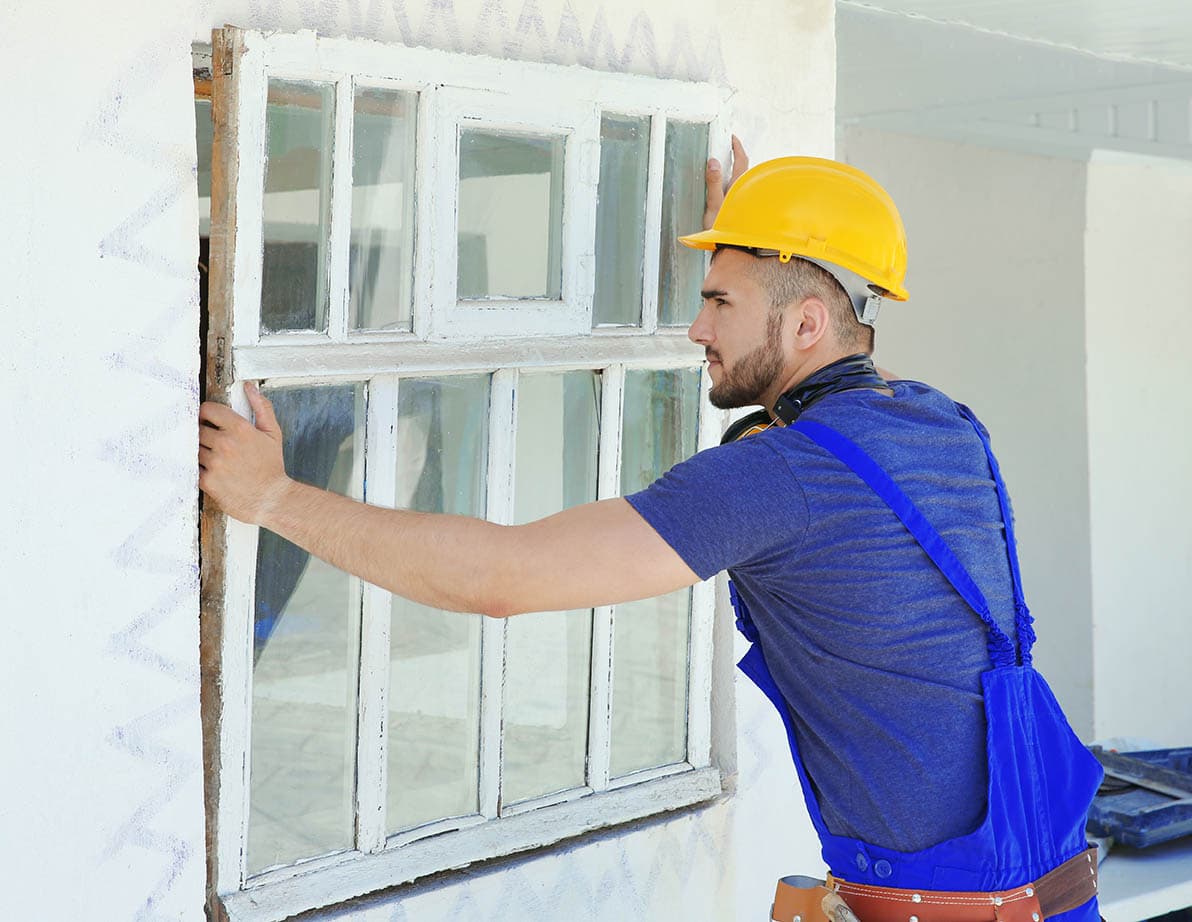
7. Fit/Install the Window
Once you have your sealant around the window, it’s time to fit the new window. At this point, you are not installing the new window; you’re simply checking for fitment. You should have a ½” or ¾” gap around the edge of the window.
If the window fits, you’re ready to move on to the next step. If it doesn’t, you can either purchase a different-sized window or call in professionals to finish the installation.
If the window does fit, go ahead and install it. Run caulk around all the exterior stops, and lift the window into place. The corners should sit flush in the opening. Once you have the window in place, install the fasteners to ensure that it can’t slide out of place.
Add sealant around the openings, and give it enough time to expand and dry. Cut off any excess with a box knife.
8. Add the J-Channel (If Applicable)
If the window fits into the opening, you can move on to installing the J-channel, a space that the vinyl casing that you removed earlier slides into. If you didn’t have to remove a vinyl casing, you can skip this step and the next one.
If you are installing a J-channel, use nails and sealant to ensure that you get a sturdy fit.
9. Replace the Casing (If Applicable)
Once you have the new J-channel installed, you can move on to reinstalling or installing the vinyl casing on the window’s exterior. Simply nail and seal the casing into place to ensure that nothing can work its way underneath and lead to rot or mold.
10. Finish Sealing
Sealing is such an important step that we had to include it twice. Before you add any final cosmetic touches, go around and inspect both the inside and outside of the window. Look closely at all the edges, and make sure you can’t find any open spaces.
If you notice any spaces, fill them in with a caulking gun, let it dry, and then cut off any excess. Ensure that there are no openings that would allow water to get in and rot the frame, and make sure you don’t have any drafts, which will lower your energy bill.
11. Add Final Touches (Optional)
If you’re looking for an aesthetically pleasing window, it’s not a step to skip. This is when you reinstall or install any trim or other covers around the edge of the window.
These final touches don’t require a ton of work, but they can give your window a professional-looking appearance that you can be proud of.
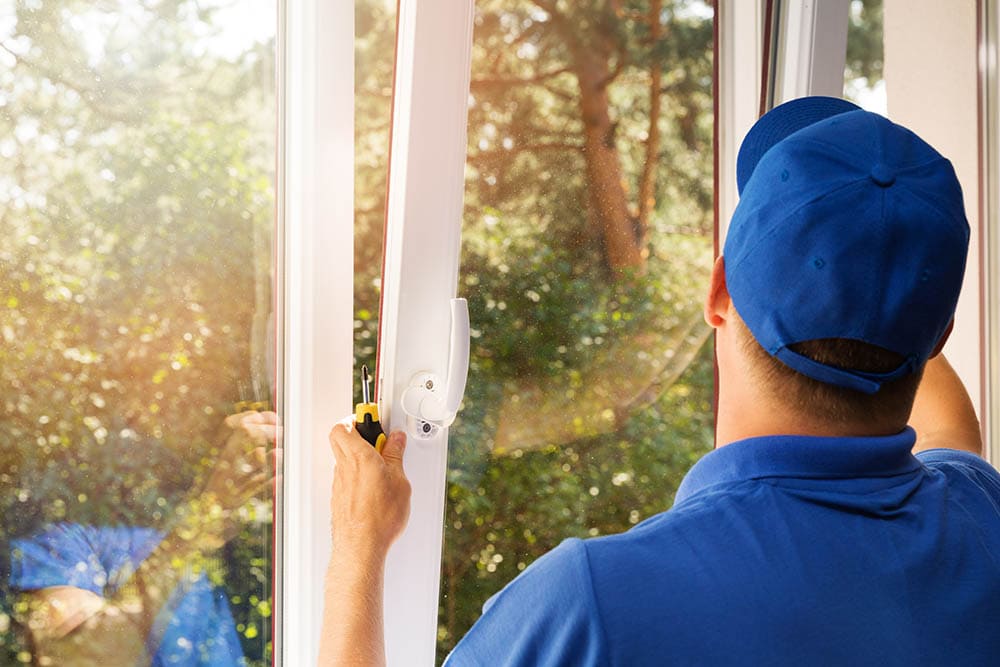
12. Test It Out!
Your window is now in place, so it’s time to ensure that everything is working the way that it should! Completely open and close the window, and feel for drafts. If you did everything right, it should be airtight, and it should open and close with ease!
Final Thoughts
Chances are that when you’re replacing a window, there’s no reason to mess with the frame or the siding. Of course, it all depends on the type of window that you have, and if you’re still a bit unsure about what you need to do, it never hurts to call a professional to have them evaluate it.
Still, if you can do it yourself by following the steps highlighted here, you can save yourself a few bucks and have a new window that looks like professionals installed it!
Featured Image Credit: Elizaveta Galitckaia, Shutterstock
Contents
