
There are numerous reasons why you would want to sand a deck. Sometimes, the surface of a deck can get rough and worn and needs a good sanding to get it back to smooth. Sanding is also a crucial step that needs to be done before you paint or stain a deck. Whatever the reason, thinking about sanding a whole deck can be daunting. Luckily, the process is relatively simple as long as you make the proper preparations.
Here is how you can sand a deck in nine easy steps.

Preparation
Before you charge in and start sanding willy-nilly, make sure you have everything you need. Gather your supplies beforehand in order to ensure a smooth job. You might also want to check the weather. You do not want to wash and sand your deck when it is going to rain, especially if you want to stain the deck later.
Some people decide to clear and wash their deck one day and sand it another day. You can also combine all of these steps into one long day if you so choose.
- Wood putty
- Replacement boards for damaged sections
- Hand sander
- Random orbital sander
- Appropriate sandpaper (grit based on your goals)
- Shop vac
- Hose
- Scrub brush
- Pressure washer (optional)
- Eye protection
| Complexity: | Intermediate |
| Time: | 1–2 days |
 The 9 Easy Steps to Sand a Deck
 The 9 Easy Steps to Sand a Deck
1. Clear the Deck
The first thing you need to do in order to effectively sand your deck is to clear it completely. Everything needs to come off the deck. That includes both large and small items. Remove furniture, pots, clutter, mats, and storage boxes. Set the items aside. Also, make sure that the railing and stairs are clear of objects as well.
2. Wash the Deck
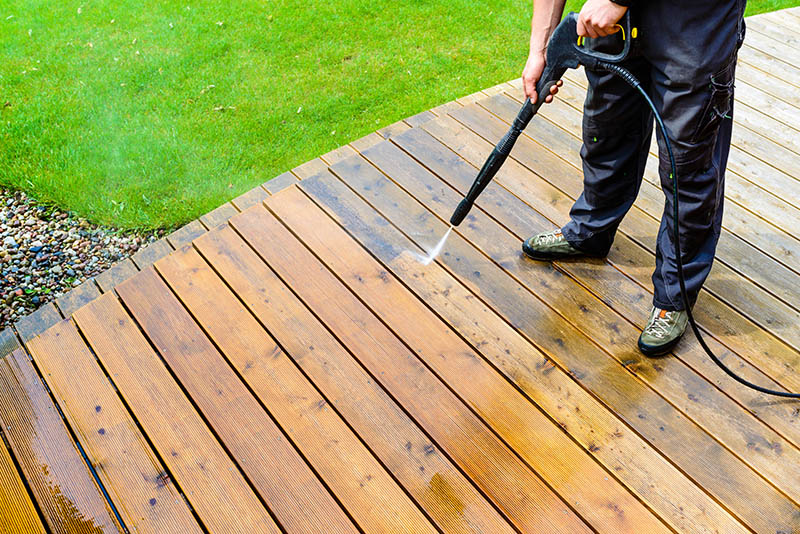
The next step is to wash the deck. You want the deck to be free of any dirt or mildew that might have built up on the deck over time. There are a number of ways to wash the deck surface, including using a hose and a scrub brush, or by using a pressure washer. You can use deck wash if you have stubborn spots that won’t get cleaned with a simple hosing.
Pressure Clean vs. Garden Hose
Some people say that you should pressure wash your deck, while others say that a garden hose is enough to get the job done. A hose is easy to use and can’t damage your deck, but it doesn’t have the cleaning power of a pressure washer. Pressure washers are great, but if you use too much power, it can damage the surface of the deck.
The choice between the two will come down to your preferences and your goals. If you are sanding the deck so you can paint or stain it, a pressure washer will be fine because you are going to recoat the deck in case you strip the top layer off. If you are just sanding your deck to get the splinters up and do not want to seal or paint the wood, you might want to stick to a simple garden hose.
3. Inspect the Deck
Next, you want to inspect the deck. This is a great time to patch or repair any issues. You don’t want to sand a damaged deck. Mark any warped wood for a potential replacement. Make a plan for getting the deck into proper shape before proceeding.
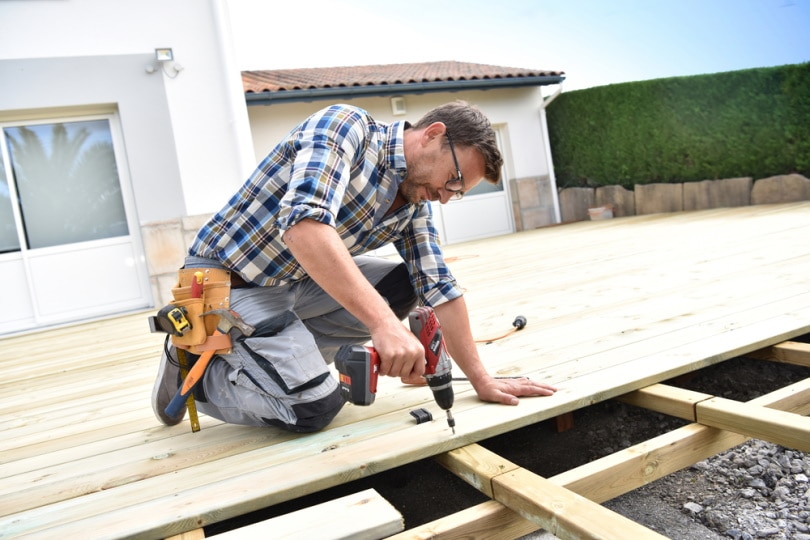
4. Repair or Replace Any Damaged Areas
You want to repair any damaged or worn areas on your deck before sanding it. If you sand warped boards, loose boards, or holes, you could cause further damage. Pull up and replace warped boards or damaged boards. Fill any holes with wood putty. Attend to any deep scratches or gouges. If you try and aggressively sand a scratch or hole it could make it worse.
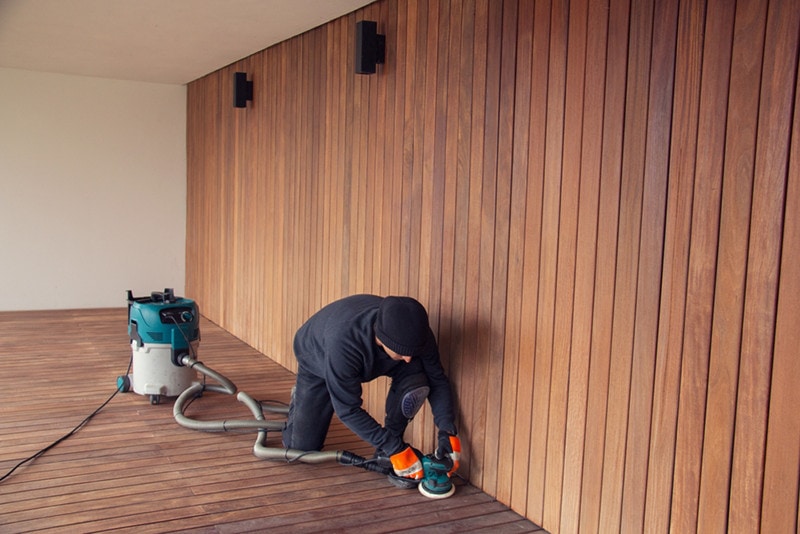
5. Sand the Deck Surface
Now you are ready to start sanding. There are different ways to sand a deck surface. The easiest is to use a heavy duty random orbital sander. These tools take on most of the work for themselves. Choose the right grit for your general goals. Lower grit sandpaper will give you a rougher surface, while higher grit will give you a smoother surface. Go over the surface of the deck twice, looking for rough spots to sand down. Sand evenly and thoroughly.
You can also use a hand sander or standing sander and manually sand the deck, but this takes a lot more time and effort to complete.
When sanding the deck, be sure to wear eye protection. You do not want to get dust or splinters in your eyes. Simple safety glasses are usually enough to do the trick. (Sturdy sunglasses can also work to block flying debris.) Do not sand your deck without proper safety protections.
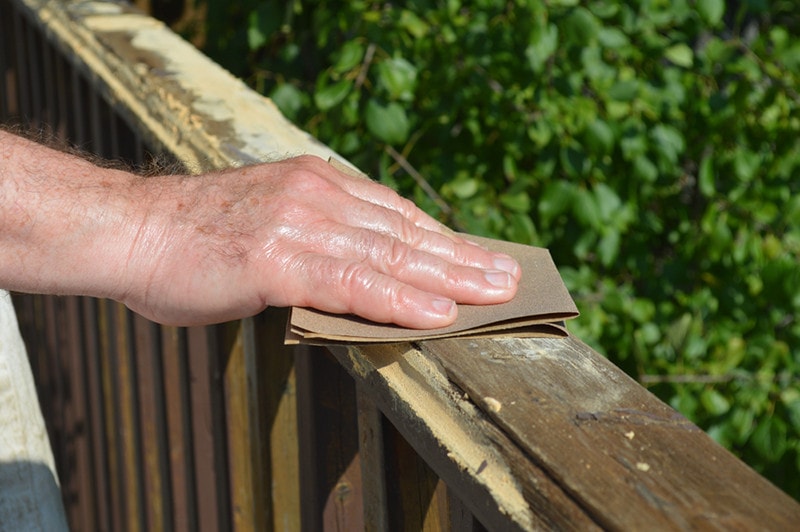
6. Sand the Railings
You should also sand the railings of the deck. This is especially true if you have any sharp areas or splinter-prone sections of your railing. You can use the random orbital sander on the tops of the railings as well. The railings should be nice and smooth across the length. Run your fingers over the railing and check for any rough spots or sharp areas.
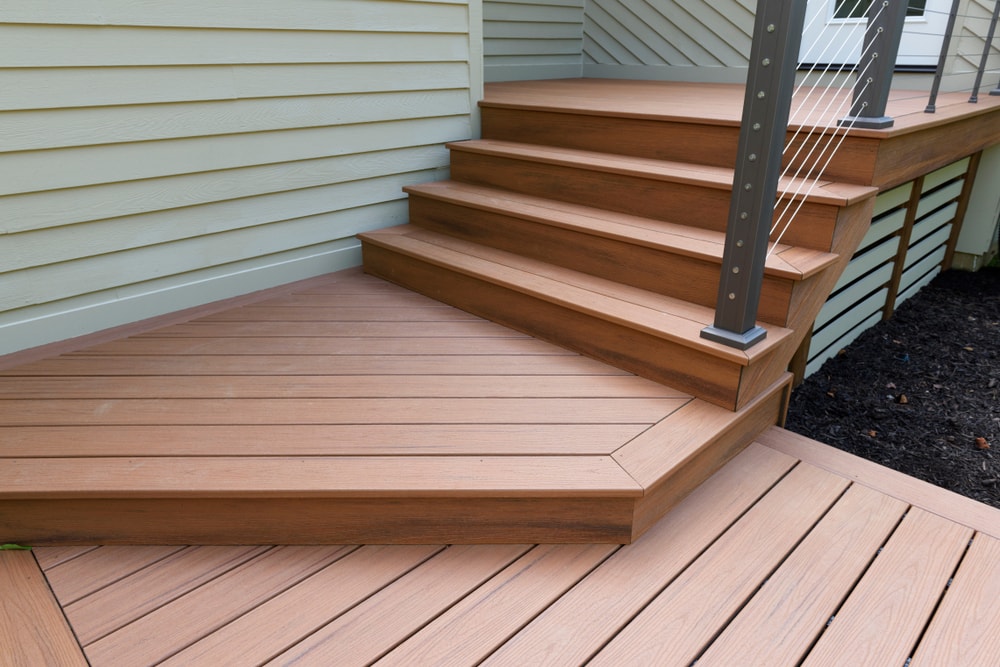
7. Sand the Sideboards and Stairs
Finally, you want to sand the sideboards and the stairs. Fresh, smooth sideboards can make your deck appear much younger. Similarly, the stairs should be nice and smooth and free of any obstructions that could cause a tripping hazard. If you have spindles on your deck, you can try to sand those as well, but that is extremely tedious. Deck spindles rarely need sanding like the other more utilized parts of the deck.
8. Vacuum the Deck
After you have finished sanding, you should vacuum the deck. Use a shop vac to get up all of the sawdust. You can also use a broom to sweep the dust off the deck (if you don’t mind getting some sawdust into your front garden beds). You want to clear the deck of any sawdust so that it doesn’t clump together and congeal to the deck surface that you just sanded. Leaving sawdust on your deck surface is ill-advised. That is doubly true if you are planning on staining or painting your deck after you are finished sanding.
9. Inspect the Deck Again
Lastly, you want to inspect the deck again. This is especially important if you are moving on to painting or staining. Make sure you didn’t miss any rough spots during your sanding. Check the integrity of the deck. Double-check the railings. Make sure the sawdust is gone. Once you are happy with your effort, you can replace your items and move on to whatever further plans you have for your deck.
Conclusion
Sanding a deck is a straightforward process as long as you follow the steps in order. Using a random orbital sander will make your life a lot easier. Take your time and pay attention to the details, and you can finish sanding a deck in an afternoon. Sanding a deck is a great way to breathe some new life into tired wood and prepare it for a fresh coat of paint.
Featured Image Credit: JuneJ, Shutterstock
Contents
