
Band saws are a relatively safe tool. They are also versatile, making them a popular addition to any serious woodworker’s shop. Other than the initial setup, there’s not much needed to make simple curved cuts.
However, if you are interested in taking your band saw the game to the next level, we have included some helpful tips and tricks that will have you cutting like a pro in no time at all!

Before You Start Cutting
Before you get into it, you’ll want to choose the right saw for your application. If you’re cutting in a shop, you’ll either want a floor-mounted or bench-mounted saw. A vertical band saw will be the best option if you’re looking to make unique and precise curved cuts.
If you’ll be using the saw in the field as an electrician or plumber, for example. Then a portable handheld band saw will be a great addition to your tool kit.
Personal Protective Equipment (PPE)
Another bonus with band saws is their safety. That doesn’t mean you don’t need to wear any protective gear, though.
- Hearing protection
- Safety glasses
- Work gloves (optional, depending on material)
- Dust mask (optional, depending on material)
Inspecting the Saw
In addition to the safety material, ensure you’re checking the components of the band saw regularly to reduce the risk of something critical failing while you’re in the danger zone making a cut.
- Check the wheels that the blade runs on for wear.
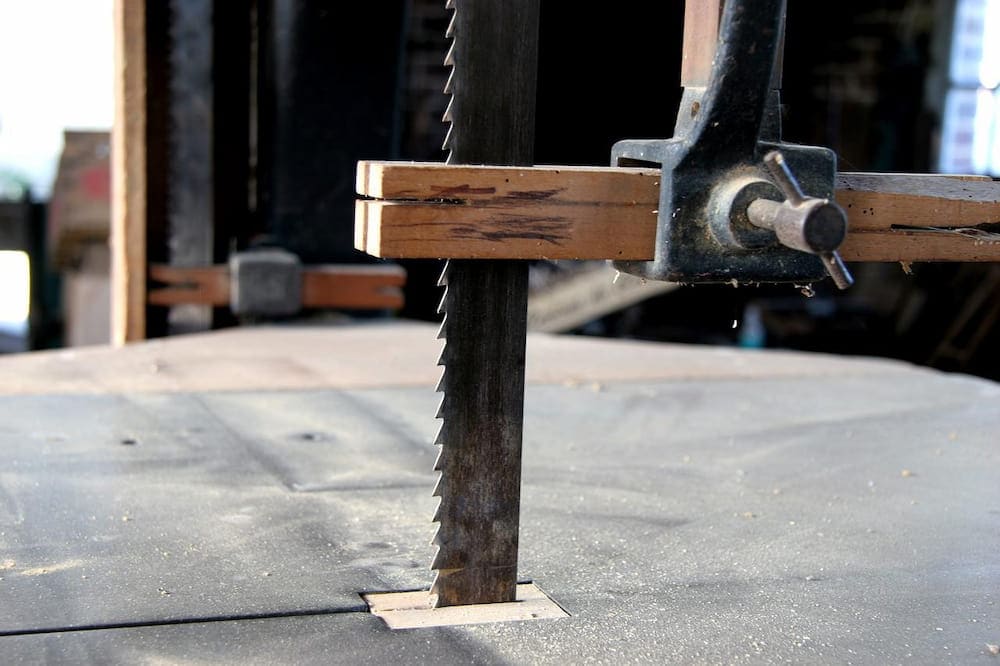
- Ensure the blade is sharp and not worn out.
- Ensure tension on the blade is correct and adjust speed for the task at hand.
- Check to make sure guards are in place for the cut.
- Ensure there are no tripping hazards around the saw.

The 13 Tips & Tricks on How to Use a Band Saw
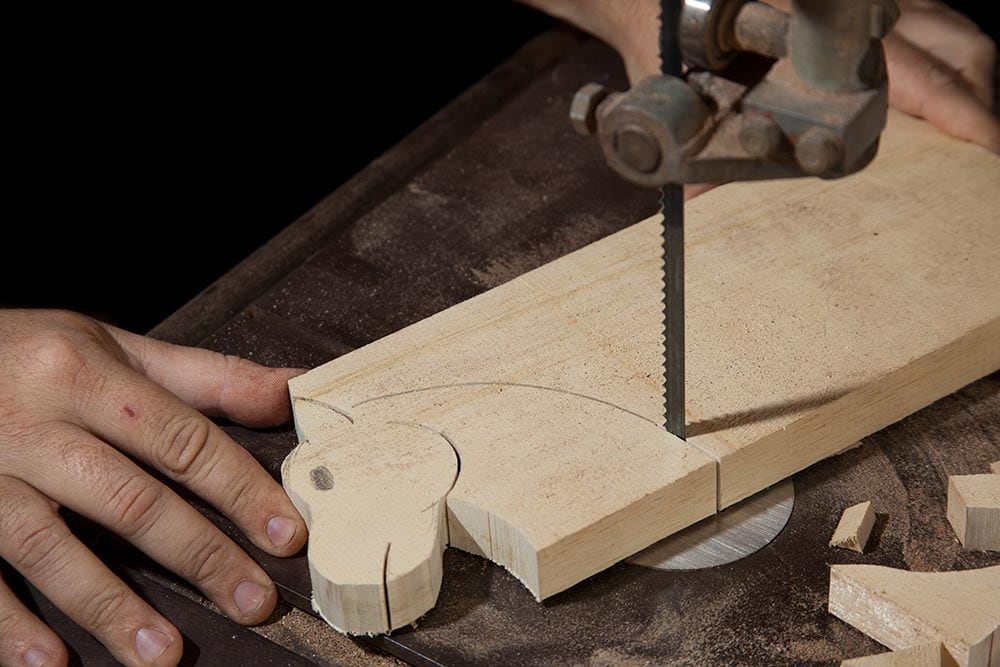
1. Relief Cuts
If you’re making a complex curved cut, it will be much cleaner if you make several relief cuts into the piece you’re working on. There’s no set amount because it will vary on the particular cut you’re making.
Essentially, a relief cut is a cut straight into where you will be making your contour cut. The idea is that as you do the contouring, smaller pieces fall away. This enables the blade to move freely and not bind up on a chunk of wood that won’t fall away.
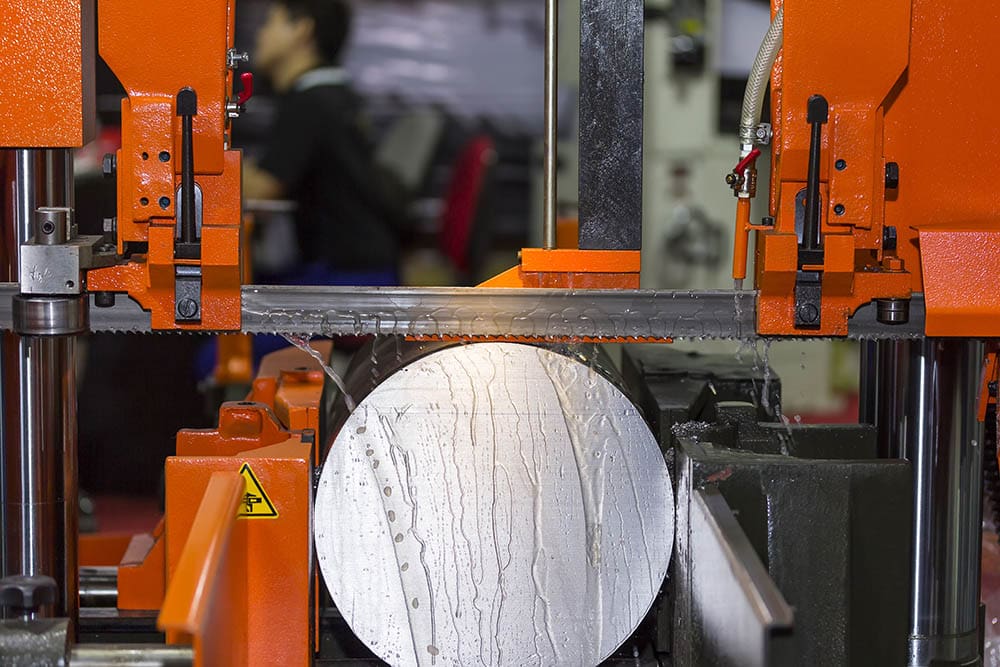
2. Nonferrous Materials With a Wood Blade
If you need to make cuts on things like aluminum or copper and have a fine-toothed cutting blade, it’s not a problem and usually won’t hurt your blade. But before cutting metal, check if your blade has hardened teeth. If they aren’t, even softer metals will dull it quicker. However, it will do the job regardless.
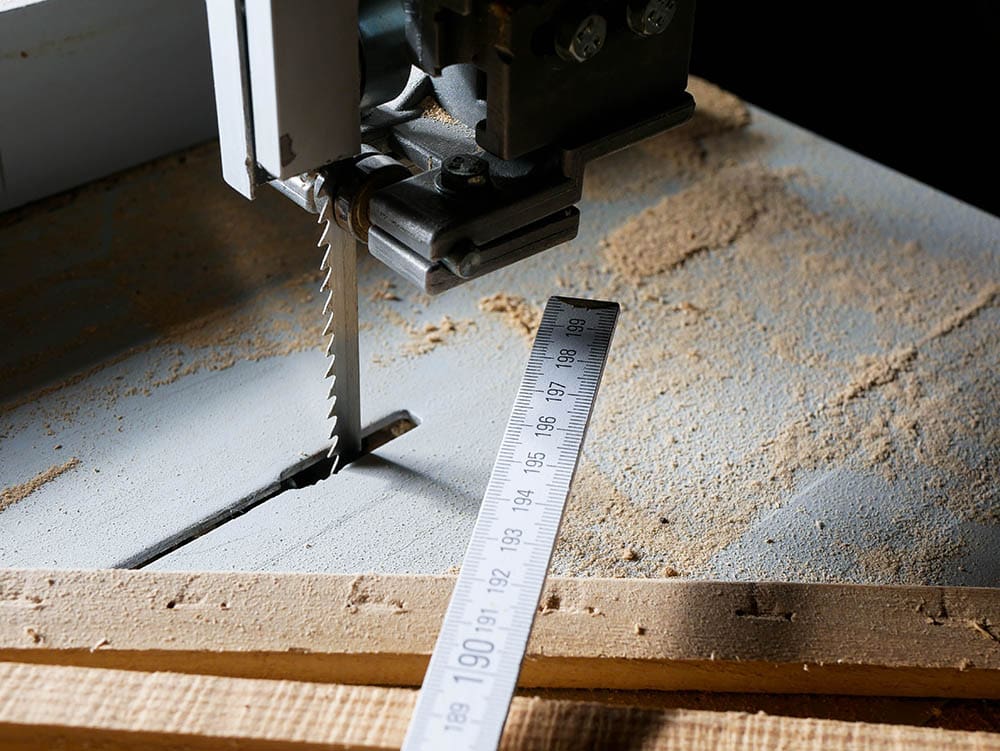
3. Cut Outside the Line
You’ve measured your piece and drawn the line. Now, when it comes to cutting, cut outside the line. It may be tempting to cut on the line or inside, as then it’s cut-to-size. However, even a finishing blade with fine teeth will leave marks on the wood. So cutting outside the line leaves you some material you can finish with a sander or sandpaper.
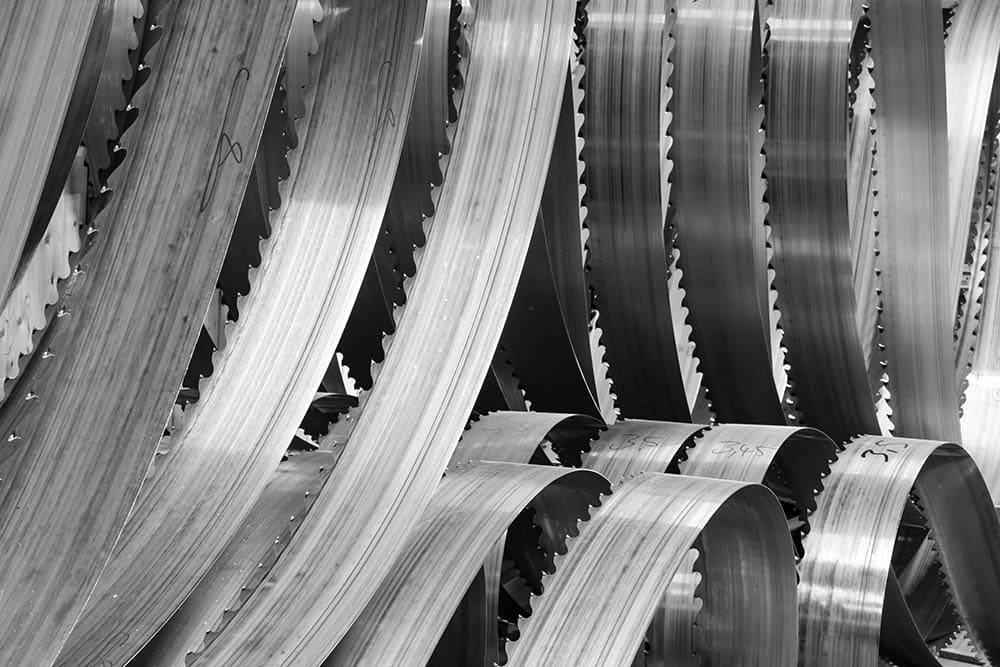
4. Replace the Dull Blade
Blades are one of the most expensive ongoing costs related to any saw. That’s just the way it works. However, when it comes to a band saw, how well it works really depends on how good the blade is. The quality of the cut goes downhill quickly with a dull blade. So, replacing it as soon as it starts getting dull is recommended.
In some cases, a blade isn’t actually dull but dirty. So, before you throw it out. Confirm it’s actually dull and not covered with dirt or pitch. If it’s dirty, throw it in a can of blade cleaner and let it soak. This might bring it back to life for some more cutting.
5. Loosen the Blade
Band saw blades are adjustable. Different cuts may require you to have the blade tighter or looser. However, if you’re not going to cut anything for a few days, release the tension on the blade. This is one way to extend the life of the blade and the tensioning components.
6. Change Blades
Generally, most manufacturers don’t sell power tools with the best add-ons. Band saws are no different. The blade it comes with will do the job, but it won’t be the highest quality you can get; usually, it will be a general-purpose blade.
An example of an upgrade would be to get a fine-toothed blade with a high number of teeth per inch (TPI). This will give you a clean, finishing cut.
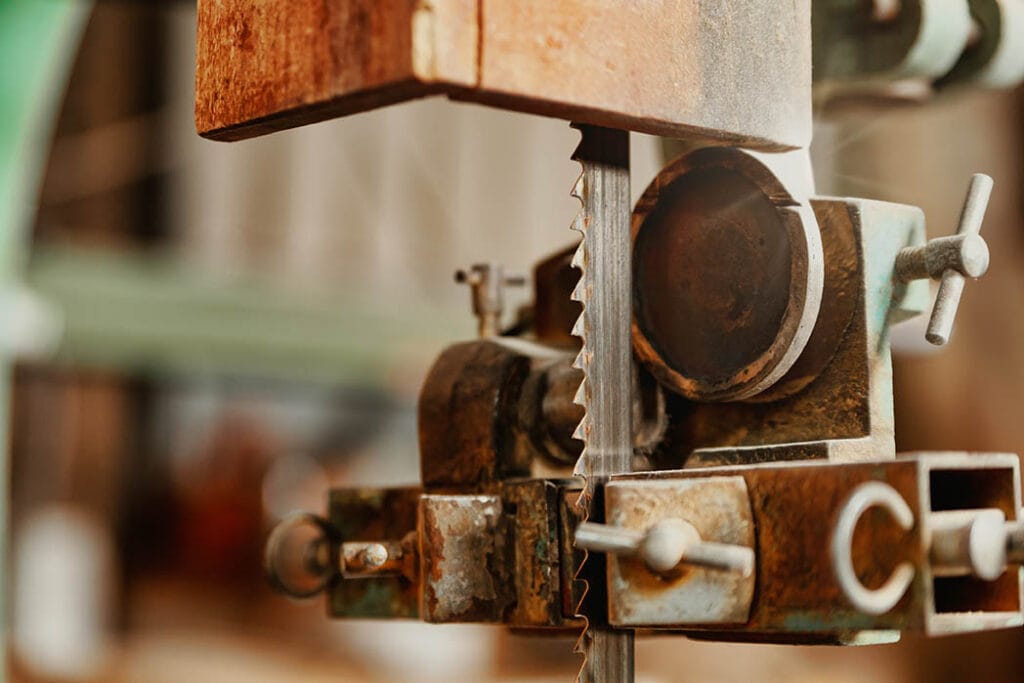
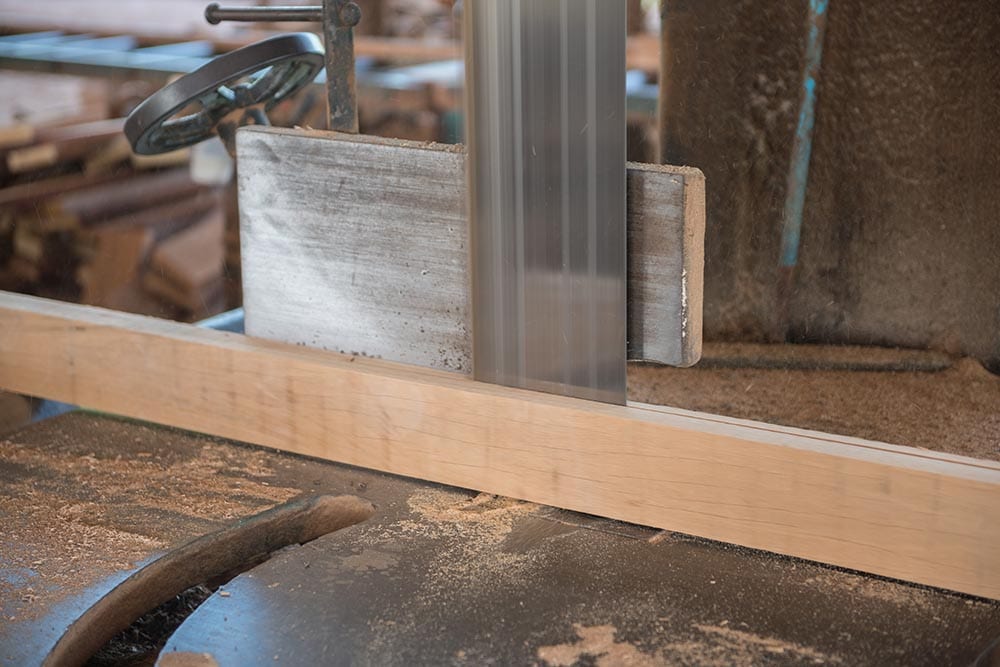
7. Switch Out the Guide Blocks
Just above where the blade runs through the saw, two steel blocks keep the blade aligned and running straight. On older saws (and some new ones) these are made from steel, and they cause the blade to heat up something fierce.
Olsen Cool Blocks are made from a different material that produces less friction and doesn’t cause as much heat to build up. Switching these guide blocks out can drastically increase a blade’s life.
8. Start Shallow When Cutting
If you’re contouring a piece of wood with a shallow and deep angle to the cut, start with the shallow cut. This helps with a cleaner cut. If you have two shallow angles that meet in the middle. Start cutting from each side and meet in the middle for a nice cut.
9. Round the Blade
When you’re making lots of tight curved cuts rounding the toothless side of the blade can help reduce vibration when cutting. Turn the saw on and use a blade finishing stone to do this. Start by grinding the edges of the back of the blade, then round it. You’ll only have to do this once per blade.
10. Make a Bigger Table
The stock 12 to 14-inch table may be adequate depending on what you’re cutting. But in most cases, creating an oversized table makes a huge difference in the quality of cuts you can make.
Cut a piece of plywood or MDF to the desired size for your table. Then cut a blade slot on it with the band saw. Once you have it where you want it, drill holes through the new table and old table and attach it with nuts and bolts.
Pro tip: Make sure the holes are countersunk, so you have a 100% smooth surface on your new band saw table.
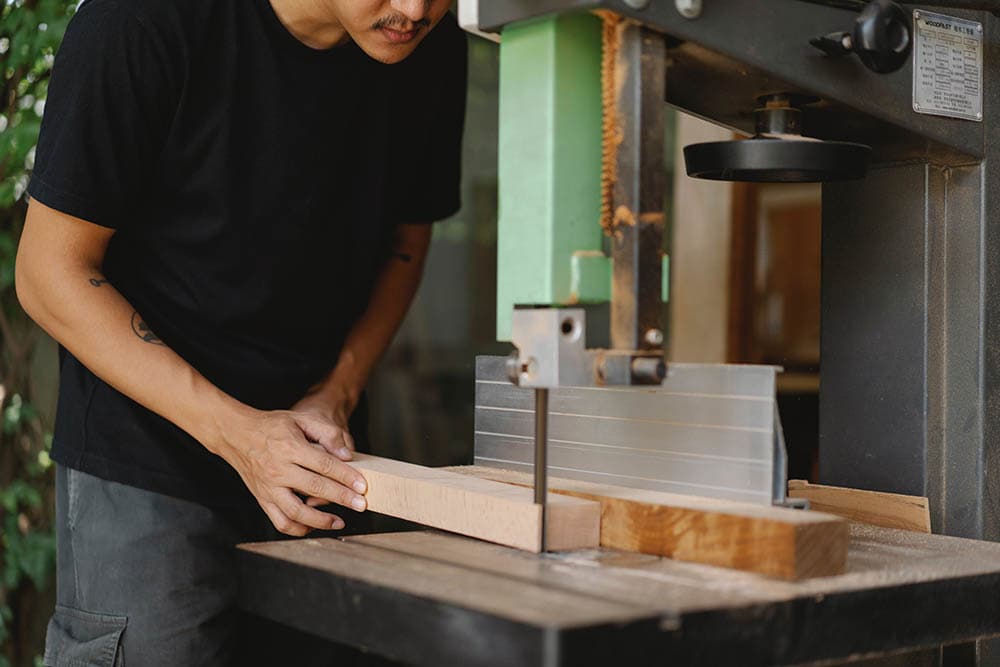
11. Reveal as Little Blade as Possible
If you read your saw’s manual, it will likely tell you to keep the table adjusted as close as possible to the guide. There are a couple of reasons for this.
The primary reason is increased safety. When the wood you’re cutting is close to the guide, there is minimal blade exposed to cut you. The other reason for this is to create a more precise cut. When the wood is close to the guide, there is less chance that the blade will wander or cut crooked.

12. Lubricate the Blade
Use an appropriate lubricant on the blade. Typically a wax stick is used for band saw blade lubrication. This ensures smooth cutting by reducing vibration and friction when cutting. It also helps reduce the heat created, thus improving the lifespan of your blade.
13. Tension and Alignment
When it comes to the blades on a band saw, the tension and alignment of the blade are important. You don’t want the blade too loose or tight, and you want it aligned for straight cuts. This is something you should check every time before working with the saw.
Closing Thoughts
Band saws are an incredible addition to your woodworking or metalworking shop. If you follow some (or all) of these helpful tips, it will increase the quality of your cutting, lengthen the life of your blades and your saw, and you’ll be as safe as possible.
Featured Image Credit: Fornasar, Shutterstock
Contents
