

You will find quarter glass above the rear tire behind the door glass in many vehicles, as it helps the driver have a complete view and provides additional ventilation. While these windows don’t get hit with as many rocks as the windshield does, they might need replacing from time to time. If you need to replace your quarter glass but aren’t sure how to do it, keep reading as we provide you with a step-by-step guide so you can get it done quickly and correctly.

Quarter Glass Replacement
Before We Get Started
In this guide, we discuss replacing quarter glass that is not in the door itself and sits behind it instead. These windows are usually stationary, and a strong adhesive keeps them in place. It’s not difficult to replace them, but it takes a considerable amount of elbow grease to complete the job. We recommend using an ordinary putty knife to cut through the adhesive and remove the window. A professional would use a tool similar to a windshield removal kit, which anchors itself to the vehicle’s body for additional strength, but this is an expensive machine, and most people won’t ever use it again. Also, the steel wire in the windshield remover can scratch your finish.
Purchase Your Replacement Quarter Glass
Quarter glass is the last window in the back of the vehicle. It’s tempered glass like the other windows, so it will break into small pieces that won’t cut you if it shatters. You will first need to order your quarter glass replacement from an auto parts dealer. You might also be able to purchase a used one from a junkyard at a significant discount, especially if you pull it out yourself. The replacement quarter glass will come with more than just the glass. It will have the whole assembly, including any plastic and rubber trim.
Get Your Tools Together
Once you have the replacement quarter glass, it’s time to get your tools together, so you will know if you need to do any additional shopping before you get started. Luckily, you won’t need many supplies to complete this project.
- Putty knife
- Hammer or mallet
- Screwdriver
- Automotive glass adhesive
How to Replace Your Quarter Glass (10 Steps)
1. Remove Trim Around the Window
On the inside of your vehicle, remove any trim barring your access to the retaining nuts. Usually, several screws or small bolts will hold it in place, so consult your owner’s manual for the best approach.
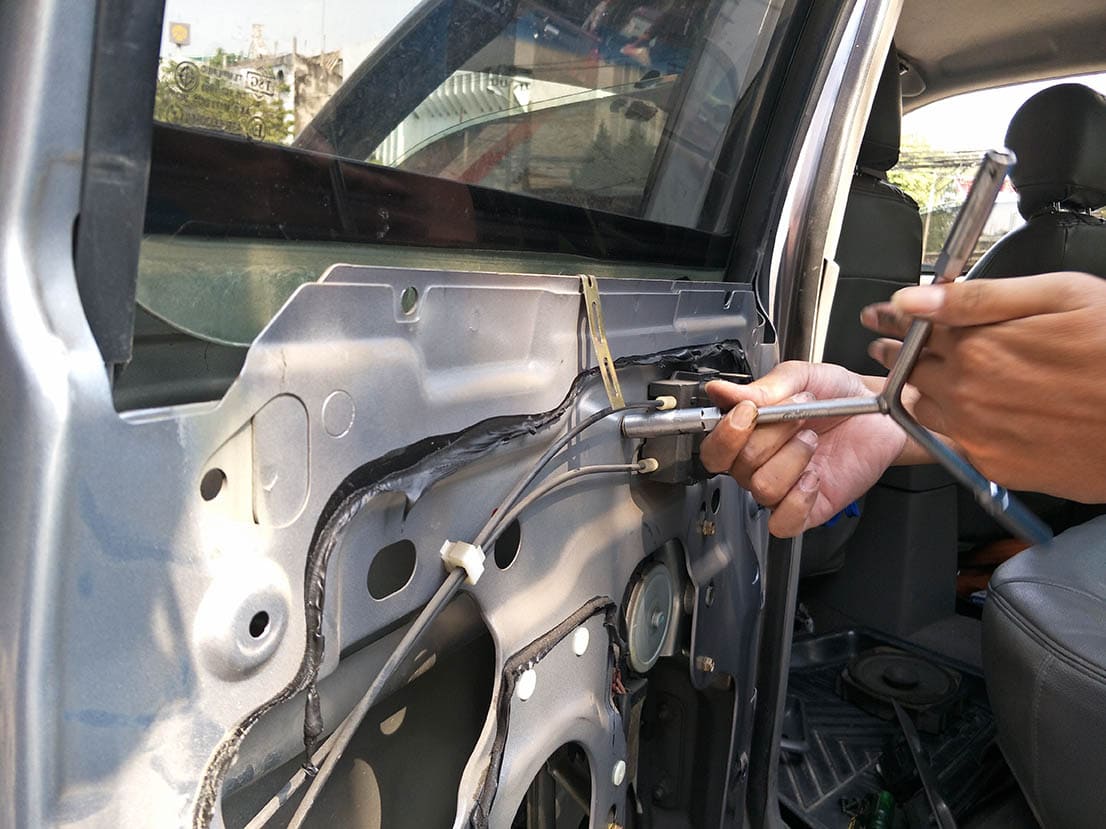
2. Remove the Retaining Nuts
Remove the retaining nuts that hold the quarter glass frame. It will not fall because the adhesive will keep it in place.
3. Start by the Back Door
Open the back door of your vehicle closest to the quarter glass that you want to replace. Looking at the quarter glass, you will see a rubber gasket around it that you can lift to gain access to the adhesive. Insert your putty knife, and gently tap it with a hammer or mallet to start cutting through the glue. We recommend a mallet because it’s a little gentler. You will also likely find yourself using the putty knife as a knife to scrape and cut your way through. Work your way from top to bottom.
4. Tape the Quarter Glass to the Car
Next, tape the window to the vehicle so it doesn’t fall accidentally out as you’re working. If you are replacing a broken window, you can skip this step.
5. Cut Through Remaining Adhesive
With the window taped in place, use your putty knife to cut through the rest of the adhesive from inside the vehicle. Start at the top and work your way around to the bottom. If you have a helper, they can help ensure that the window doesn’t fall out.
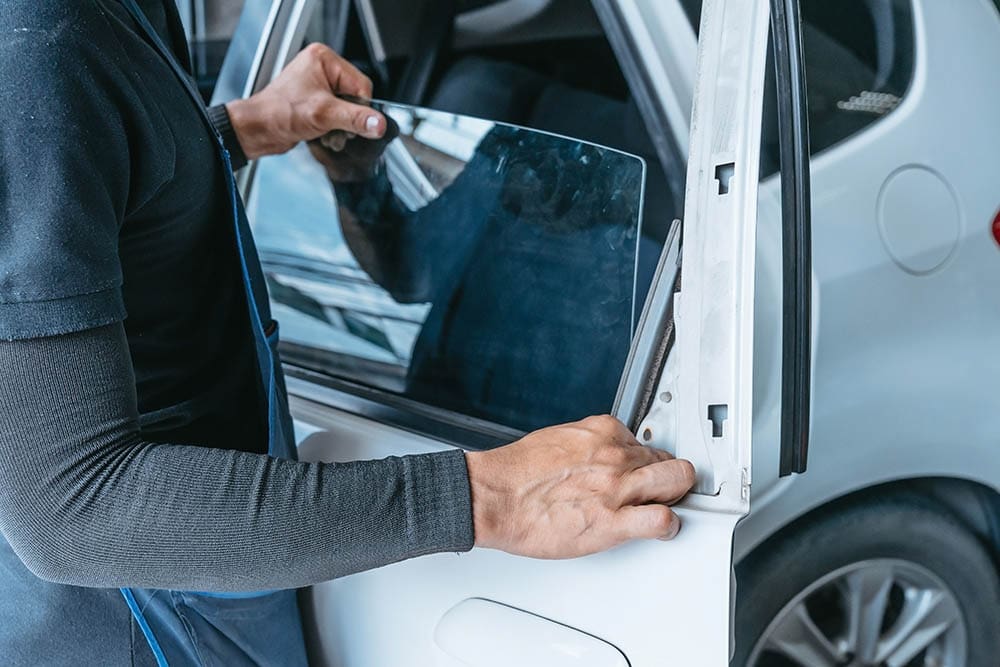
6. Remove the old Quarter Glass
Carefully remove the old quarter glass and set it aside.
7. Clean the Surface
Carefully remove any of the old adhesive remaining on the vehicle and any other dirt and grime that might have built up, using the putty knife, soap, and water. Then, allow it to dry completely.
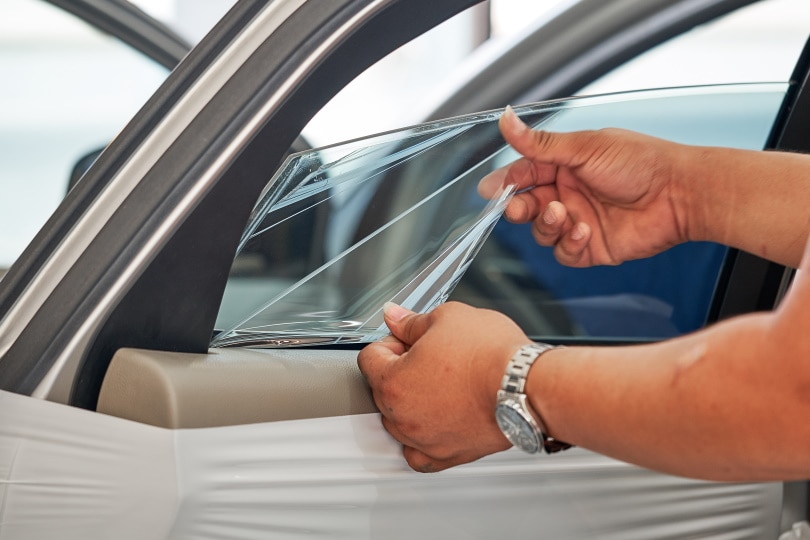
8. Apply New Adhesive
Once the surface is dry, you can apply a new automotive window adhesive around the entire frame where the window sits.
9. Install Quarter Glass Replacement
With the adhesive applied, you can put your replacement window in place and tighten the retaining nuts to keep it in position.
10. Replace the Interior Trim
The final step is to replace the internal trim that you removed to gain access to the retaining screws. Allow the adhesive a day to dry, and your vehicle should be as good as new.
Summary
While no one would describe it as an easy job, a single person with no experience can replace the quarter glass in their car in a single day. The most difficult part of changing this window is breaking through the adhesive that holds it in place as it’s quite strong and difficult to access. The putty knife will get the job done, but it will take several hours. Removing the trim can also be tricky in certain vehicles, so make sure you look over your owner’s manual before you get started.
Featured Image Credit: Africa Studio, Shutterstock
Contents
