Blenders are a great appliance many of us keep front and center on our kitchen counters. They are such a versatile machines that the possibilities are endless. Unfortunately, their life span is not…endless that is. To keep your blender running as efficiently as possible, there are some tips to maintaining it.
If you are a regular blender, you should check out our simple DIY steps for extending your appliance’s life. Not only will they help it survive longer, but it can also help you pinpoint problems before they occur. We have broken down the 15 tips into three categories to help, as well.
The 15 Tips for Using Your Blender Correctly
1. Check for Damage
Before you start using your blender (even if you use it daily), you want to inspect it for any damage. Look for tears and snags in the cord, and ensure the glass or plastic of your blender jar is not broken, chipped, or cracked. You also want to check the blades for a secure connection to the base and any other damage such as rust, a bent blade, etc. Using the appliance when it has an issue can cause a lot more problems than if you had fixed it before use.
2. Use Correctly
You always want to review the manufacturer’s manual before you begin using a new blender. While most of them are fairly intuitive, it’s important to know how long you can run your machine, how the jar should be secured to the base, and what signs you should look for that indicate trouble.
3. Don’t Overload
One of the most important things to remember when using your blender is to not overload it. Adding too much food or liquids can cause the motor to wear down more quickly. What’s more, it also puts additional stress on the blades.

4. Be Careful with Hard Foods
Blenders are meant to mix softer foods and liquids. You want to stay away from harder items unless your blender is specifically designed for it. For example, things like ice, ginger root, potatoes, and other harder foods should be avoided. If you do need to add something that is on the denser side, be sure to cut it into smaller portions before blending. Like overloading, blending foods that are too tough can wear out your motor and damage the blades. It can also cause your blades to seize or jam. If you need to blend harder foods, we suggest going with a food processor instead.
5. Do Not Run While the Blender Is Empty
Running your blender while it is empty can be just as damaging as overloading it. Without any contents, the blades and motor will run too fast causing it to wear out quicker. Always ensure there is something in the machine (even when cleaning-which we will discuss in the next section) before turning it on.
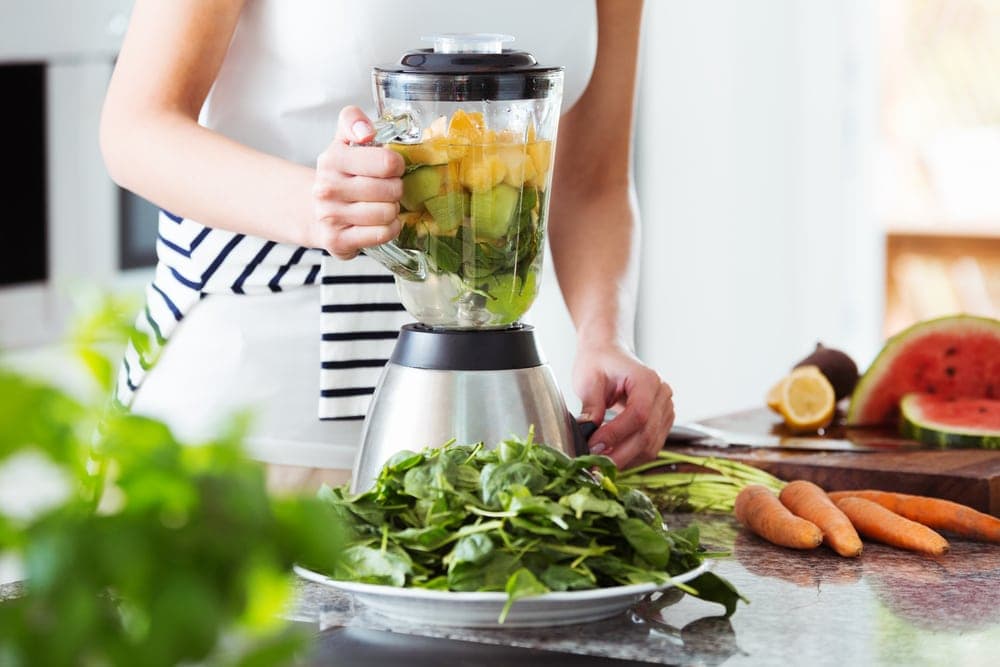
6. Add Your Items Correctly
Many novice blender users are not aware that there is a correct sequence for adding food and liquids to a blender. You want to start with any liquids to allow the blades to move more freely. Next, add powders so they won’t get stuck to the lid. Solids such as fruit can go next, followed by anything frozen or denser like frozen fruit, ice, or vegetables. Doing the heaviest items last will help push the rest of the ingredients down toward the blades.
7. Careful with Speed Settings
Another important care tactic is to start on a slow setting and work your way up to top speed. Going right for top speed will eventually wear down the motor and blades. Plus, it will blend your recipe that much more smoothly.
8. Secure the Lid
We all know what happens when you forget to put the lid on the blender, right? Well, there is more to it than a mess on your ceiling. Making sure the lid is not only on but on correctly creates a sort of suction that keeps your blend pulling toward the blades.

Cleaning Your Blender
9. Make Sure the Blender Is Unplugged
As a blender is powered by electricity, it’s important to unplug it prior to cleaning. The base, that houses all of the electrical components, should never be submerged in water, either. Use a damp cloth, sponge, or wipe to get rid of any spills.
10. Cleaning the Blender Jar
You want to make sure you clean your jar after each use and as soon as possible. The longer the food is allowed to sit, the harder it will be to remove it from the blades. It can also cause them to rust over time. Cleaning it is a fairly simple process, however. Start by rinsing any leftover debris from the container. Next, fill it halfway with lukewarm water and add a drop of dish detergent. Blend the water and soap on low for about a minute. Rinse thoroughly.
- Tip: If you have stubborn stains, try adding some lemon to your soap and water mix. You can also use half a lemon to scrub the sides to remove stains, as well.
11. Cleaning the Blades
Typically, the blades will come clean in the steps above, but sometimes extra food may get stuck under the blades that can be hard to reach. If that is the case, fill your blender again halfway with warm water and soap. This time, however, you also want to add a tablespoon of vinegar and let it sit overnight without blending. Once it has sat overnight, add more hot water and blend. Any residue left over should come off, but you can add an oxygen clean (Oxiclean), as well, for more stubborn debris.
12. Monthly Maintenance
If you use your blender regularly, you should do monthly maintenance. In this case, you want to take apart the machine. Make sure you remove the gaskets, blades, and any other pieces. Hand wash in warm water with liquid dish soap. Make sure all items (especially the gaskets) are completely dry before reassembling the machine.
13. Rusting Blades
If you notice your blades are getting a bit rusty, it doesn’t necessarily mean you have to buy a new blender. It is important that you remove the rust, however. To do so, start by removing the blades. You will also want to make a baking soda paste with water. Make sure you clean the blade first, then use a toothbrush to scrub on the paste. Next, use steel wool to buff in the paste and remove the rust. Rinse under water and wipe dry.
-
Tip: Keep in mind, that this only works for blades with a small amount of rust. If you’re unable to remove all the particles, you should stop using the blender.

Storing Your Blender
14. Keep It Unplugged
Even if your blender is a permanent fixture on your kitchen counter, you should not have it plugged in when it’s not in use. Not only is it wasting energy, but it will (over time) wear down the electrical components of the appliance.
15. Keep in a Dry Location
If you use your blender infrequently, you probably store it elsewhere. Make sure it is kept in an area that is dry and well ventilated, so it will not come into contact with any moisture. Just like keeping it plugged in, moisture can damage the electrical components of the unit. Not only that, but it can also cause rust and mildew if the moisture is severe.
Troubleshooting
There are a vast number of blenders available from inexpensive to top-of-the-line. When you have a mid-to-high-level machine, it can be frustrating when something goes wrong, and it can happen even if you take excellent care of your blender. Luckily, you can troubleshoot and fix a lot of issues that many people mistake as their appliance’s death rattle.
- Jammed Blades: One of the most common issues is jammed blades. This is an easy-to-spot problem when you turn the blender on. You will hear the hum of the motor, but the blades will not spin. The issue is usually caused by food items that are too big and are lodged between the bottom and the blade. The best thing to do is empty the jar and chop the food into smaller pieces. You can also try to turn up the speed to remove the jam. Be that as it may, if it doesn’t work you should turn it off asap to avoid motor burnout.
- Not Working at All: If your blender is not turning on at all, it could be due to several issues. First, make sure it is not the outlet you are using. Next, you want to check your blender’s electrical cord to ensure there is no damage. If you find this to be the case, discontinue use right away. If still no luck, it could be a problem with the power switch.
- Replace A Switch: Replacing a switch is not as difficult as a lot of people would think. It is also far more cost-efficient than buying a new unit. If a switch is at fault, contact the manufacturer to order the new piece (they may point you to a service center). For the most part, replacing the switch is as easy as removing a few screws, popping out the old switch, and installing the new one.
- Repair A Leak: Another common issue with blenders is leaking. Typically, you will find the source of the leak to be between the base and the blender jar. On the other hand, the problem could be coming from the blade shaft. Luckily, the manufacturer will be able to point you to the right parts to make a quick fix. Unfortunately, if you find the leak is coming from the glass or plastic of the blender jar, you will need to replace that entire piece. Trying to repair it is not recommended, as it is likely to get worse with a patch, and particles from the jar could wind up in your beverage.
It is important to check your blender’s owner’s manual and warranty before repairing anything yourself. What’s more, any electrical issues with the motor or cord should be handled by a professional. Performing repairs yourself could void your warranty, so be sure to read all information carefully first.
Conclusion
If you can’t imagine a day without blending one portion of your diet or another, knowing how to take care of your machine is paramount if you want to get the longest life out of your blender. Even if you don’t blend on the regular, throwing away hard-earned money is not necessary with these easy maintenance tips. We hope this article has helped you take the best care of your blender possible.
Featured Image Credit: Photographee.eu, Shutterstock
Contents