5 Different Types of Woodcuts (With Pictures)
-
Codee Chessher
- Last updated:

Woodworking is an art form, and every art form has its basics. You don’t jump into advanced techniques when you start painting, and neither should you jump into complicated woodworking right off the bat.
Different types of saws are used for different types of cuts, and many expert woodworkers have several types of saws so they can make any type of cut at a moment’s notice. This doesn’t mean to go run out and buy every saw at Home Depot, mind you!
Some cuts are extremely common and relatively easy, and others are more complex, requiring some familiarity with the equipment before you attempt them. First, we’ll start with some safety tips, because working with saws can be very dangerous, and you should only work with them while observing precautions.
Saw Safety
- Always wear proper eye protection when working with wood, and ear protection is strongly recommended as well for power saws.
- Regularly change out blades. Dull blades mess up cuts and increase the chances of accidents like kickback and stalling.
- Never wear loose clothing, hanging jewelry, or any other loose items that can get caught in any of a saw’s mechanisms.
- Never disable safety mechanisms for a saw. It’s never worth the extra risk.
- Never let wood touch the saw as you’re starting it.
- Always pay attention to your saw when it’s running. If you have to look away for any reason, fully stop the saw.
Now that we’ve got the safety down, let’s check out five popular types of woodcuts revered in the woodcutting world.
The 5 Different Types of Woodcuts
1. Crosscut

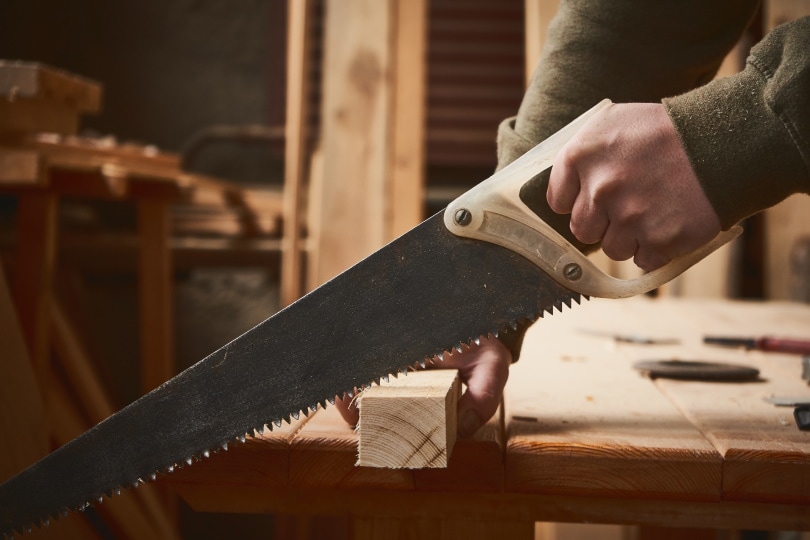
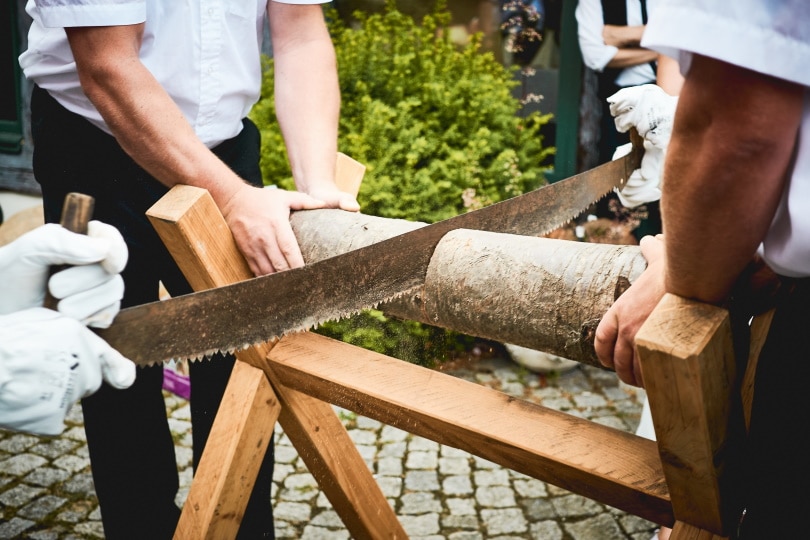
The humble crosscut is the foundation of woodworking, and while not glamorous, is the most common type of cut woodworkers make. A crosscut is any cut that goes directly against the grain of the wood, like cutting boards down to size.
You can do a crosscut with any type of saw, but it’s easiest done with a miter saw. To make a crosscut with a miter saw, simply place your piece of wood under the saw while holding it on either end. Turn your saw on and slowly bring the saw onto and through the wood.
Crosscuts are fairly simple with any other saw, too, but table saws and miter saws are the easiest. Table saws are better than miter saws if you need to cut wide pieces. Handheld saws like band saws and jigsaws can make crosscuts, too, but they drift very easily.
2. Rip-Cut
The opposite of a crosscut is a rip-cut, which is when you cut along the grain of a piece of wood. An example would be making boards shorter in width rather than length, as a crosscut does. Rip-cuts are notoriously difficult to make with anything but a table saw, but you can pull them off with a band saw if you have a very good saw.
To make a rip-cut, you’ll need what’s called a rip fence, which is just a fancy name for a guide that’s aligned parallel to your saw. The goal of the rip fence is to help you accurately feed your boards through.
Rip-cuts are often used to make thin boards even thinner, which is a challenge with your bare hands. Instead, opt for a long push stick to help feed your boards through. Never feed your boards by pulling on the cut end, because that will quickly cause kickback and possibly bind up your saw.
3. Bevel Cut

Finally, a cut that isn’t long, straight, and boring. Beveled or angled cuts are used to add angled dimension rather than just 90-degree angles. Commonly a 45-degree angled cut is considered a bevel cut, but any angle that’s not 90-degrees can be considered beveled or angled.
This cut is sometimes called a miter cut because it’s best done on a miter saw. Because miter saws are supremely adjustable, just adjust the saw to whatever angle you need to cut into your wood. Then, carefully hold your piece of wood to the saw to make a bevel cut.
Bevel cuts are possible with table saws, too, especially if you set up a sled to help you accurately cut. Jigsaws and circular saws can make quick and dirty bevel cuts, too, with the help of a speed square. Don’t count on the cuts being perfectly accurate, though!
4. Resawing
Resawing is a type of cut used to thin boards to your desired thickness. With home improvement wood, virtually all boards are ¾” thick. That can make small crafts and other delicate jobs awkward, so you’ll need to resaw the wood to get thinner pieces.
Resawing is best done with a band saw, which can handle narrow strips of veneer as well as wide panels. Resawing can be done freehand if you have a steady hand, but it helps to experiment with your fence first. Testing a scrap board or two and tweaking with the fence can quickly give you the perfect angle you’re looking for.
It’s technically possible to resaw on a table saw, but it takes so much alteration and prep work that it’s much, much easier and recommended to do so with a band saw.
5. Rabbet Cut
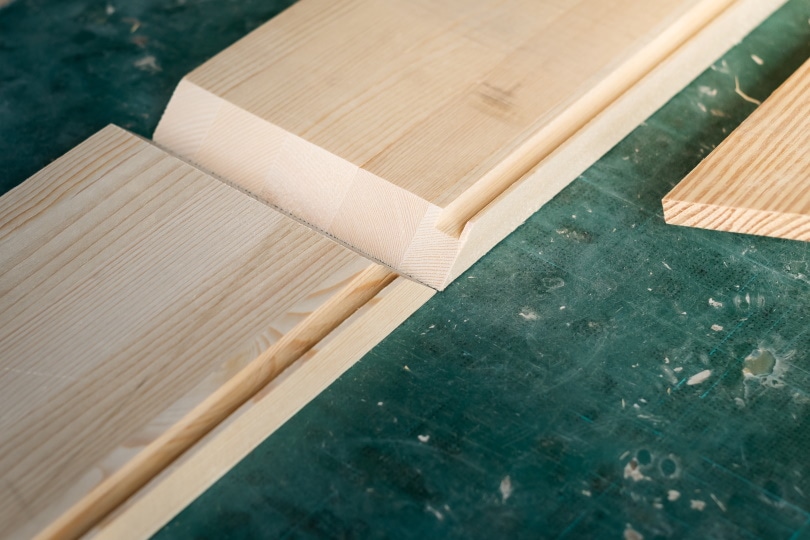
Last but not least, we have the unassuming rabbet cut, which is vital for shelving, cabinetry, and some types of furniture. Rabbet cuts are 90-degree notches or grooves cut through a piece of wood, which allows them to be used for any number of specific jobs.
Rabbeting can be done with either a table saw or a wood router with a rabbeting bit; the latter is much easier to use. To make a rabbet cut with the router, make several light passes across the wood. If you try to make one singular cut, you’re likely to gouge out chunks of the wood and scar it in the process.
Conclusion
Woodworking is one of the most versatile skills out there and can be used to make functional cabinetry all the way to cozy, easy chairs. The foundation of woodworking is making good and accurate cuts, which range from easy, like the crosscut, to tricky, like resawing and rabbeting.
- You may also like: Does Renters Insurance Cover Temporary Housing? Everything You Want to Know!
Featured Image Credit: PICADORPICTURES, Shutterstock
Contents
