How & When to Plant Hollyhock Seeds: Factors & FAQ
-
Ed Malaker
- Last updated:
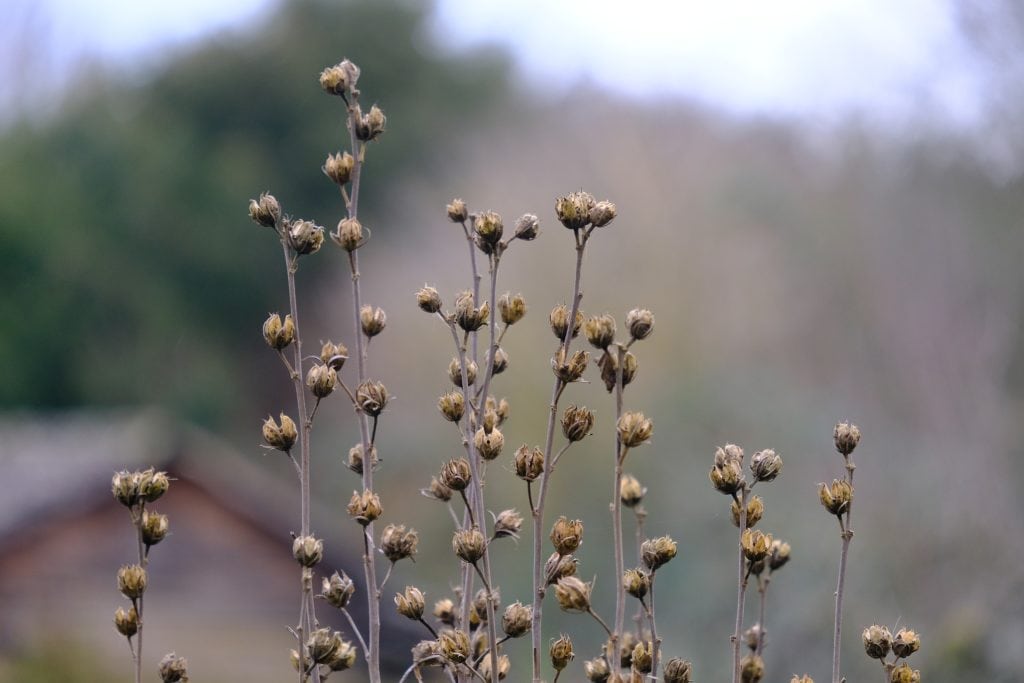
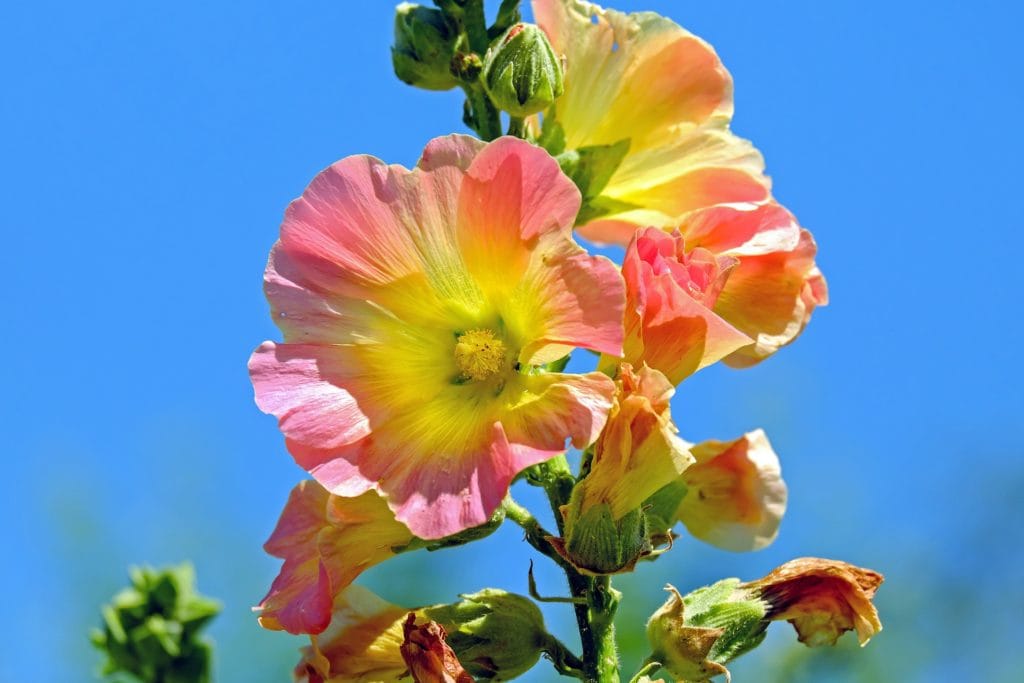
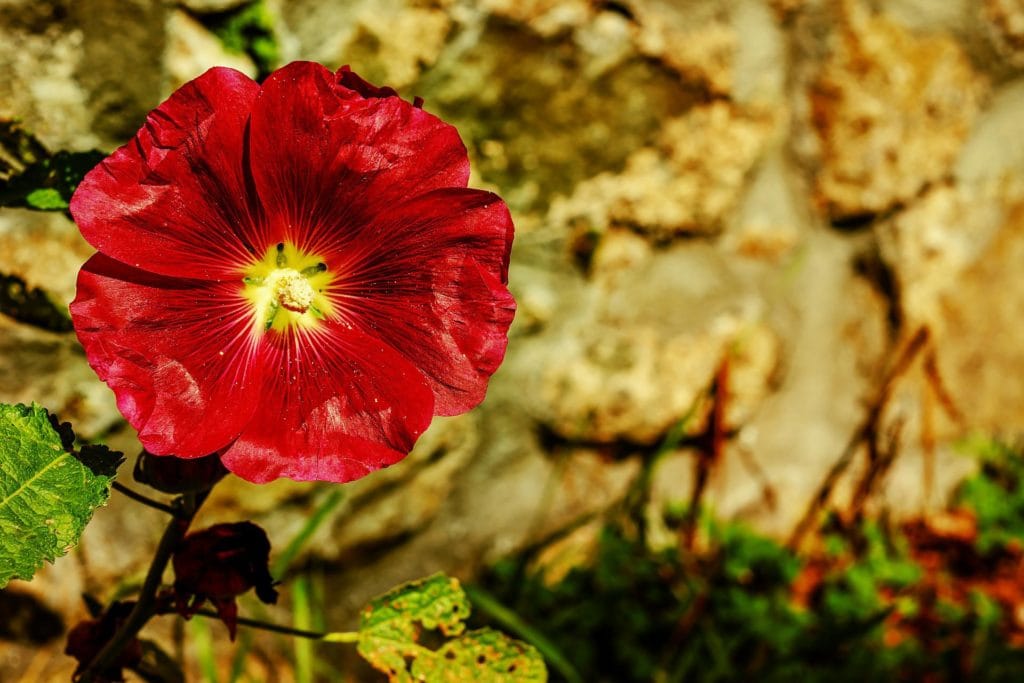
Hollyhocks are amazing plants that can get quite large and produce amazing flowers that last throughout the summer. They also help improve privacy. Many people want to know the best way to grow them, as the process can be difficult. If you’d like to add this colorful plant to your property but aren’t sure how to get started, keep reading as we explain when to plant your hollyhock seeds and provide you with a step-by-step guide that will help you be successful in growing one of these magnificent plants.
 When to Plant Hollyhock Seeds
Most people have successfully planted their hollyhock seeds in early spring or fall. You can expect it to take at least 9 weeks to get established once you sow the seeds.
How to Plant Hollyhock Seeds
Prepare Your Seeds
The first step in planting your hollyhock seeds is to prepare them. These seeds are quite large and have hard shells that will benefit significantly by being soaked in water. Most gardeners will soak the seeds in warm water of approximately 113°F for at least 12 hours to soften the hard shell and increase its germination rate. Many people also have luck with faster hot water treatments that require you to soak the seeds in water ranging from 140°F to 160°F for approximately 30 minutes.
If you are already growing hollyhock plants on your property, you can break apart the seed pods at the end of the growing season and scatter them around your yard without soaking them first. Natural weather throughout the fall, winter, and spring seasons will help soften the seeds so they can germinate.
Sowing Your Seeds in Springtime
Indoors
Many gardeners will start their hollyhock seeds indoors at least 9 weeks before the last frost. These plants like to be in their own pot with plenty of room. It’s difficult to transplant them, so it’s best to use a biodegradable container like a peat pot or even a paper towel roll that can be buried in the ground without worrying about the environmental impact or damaging the plant.
Outdoors
If you can’t start your plants indoors, you can wait until it’s safe to put them outside. Scatter seeds over the ground where you want them to grow, about 2 weeks before the last frost, but consider your location carefully because these plants don’t like being moved and they can get quite large. Once temperatures get above 60°F, the seeds will germinate, but since it’s so late in the season, you usually won’t see flowers for another year.
Showing Your Seeds During the Fall Season
The easiest way to grow hollyhock seeds is to sprinkle them in the desired location during the fall months. Doing so removes the need to start the seeds indoors, and the natural weather will have them ready to grow next spring without any additional effort. Since you started the seeds during the autumn season, they are also more likely to produce flowers in their first year.
Transplant Your Seedlings
The easiest way to transplant your indoor seedlings is to bury the entire biodegradable container in the ground. Hollyhock plants quickly develop a long taproot that is easy to damage, and doing so will have a significantly negative impact on the plant. Starting the seeds in a self-contained biodegradable container enables you to transplant them without disturbing the root.
Encourage Blooming
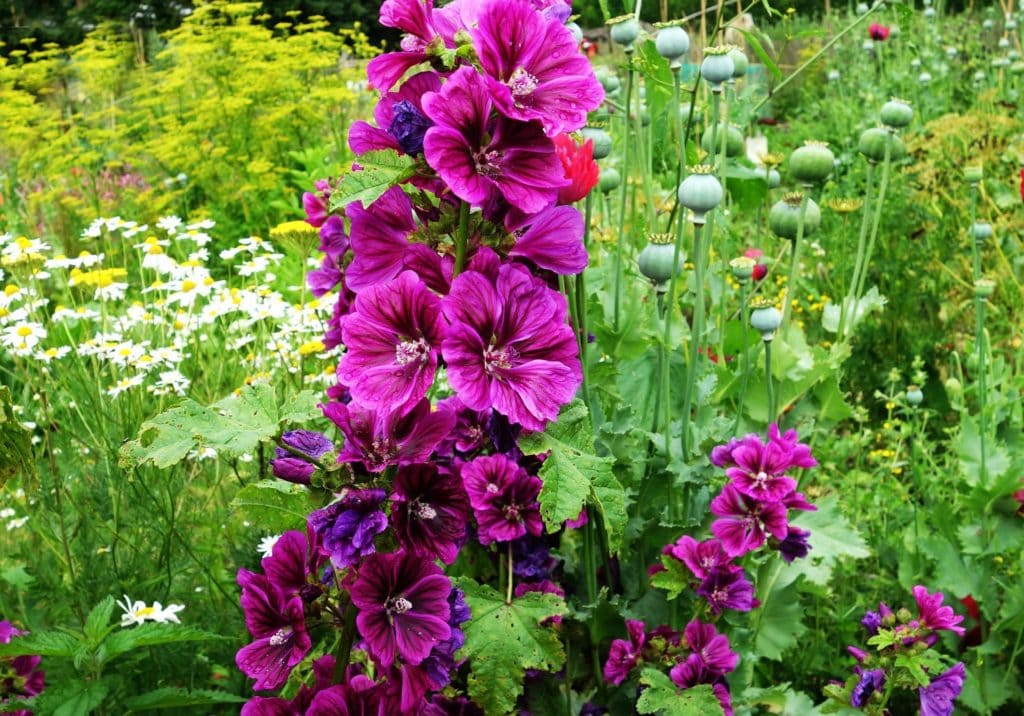
Your hollyhock plant will grow best and produce the most flowers if you place it in a sunny spot with moist but well-drained soil. If you meet these conditions, little additional maintenance is needed. At most, you may need to add a stake to prevent the heavy flowers from tipping over a young plant.
Collecting Seeds
Harvest
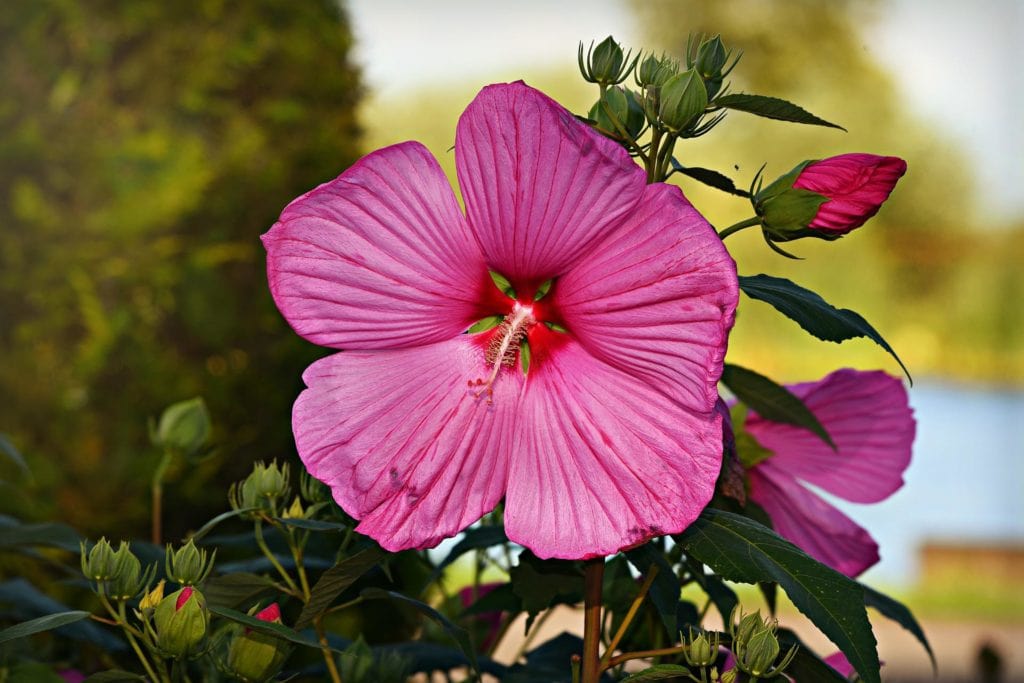
Harvesting your hollyhock seeds is extremely easy and only requires you to leave the flowers on the plants until they go to seed. When the petals fall, they will leave behind a dry seed pod that will begin to open, and when it does, it will be ready to harvest. Pick the pod, and store it in a brown paper bag to dry it out more.
Drying
After about a week, break open the pod, and remove the unwanted parts with your fingers or tweezers. The seeds are large, so it’s easy to tell what you want to keep. Discard everything else so it doesn’t retain moisture, which can cause mold or cause rot.
Storing Seeds
Store your seeds in an airtight glass container. Silica gel can help remove any moisture in the container, and the colder that you can keep the temperature, the longer the seeds will last, so don’t be afraid to freeze them.
Summary
Growing hollyhock from seed is not difficult as long as you remember that it quickly develops a long taproot that is extremely fragile. Most failures with this plant occur when people try to move them or plant them in the ground after starting them indoors. The best way to move them is to start them in a self-contained biodegradable container that you can bury in the ground along with the plant. Careful consideration of its final size and location will help you choose a spot that won’t be in the way. Once you have a suitable location, it requires little maintenance and will produce many attractive flowers each year, which can create high-quality seeds with a fantastic germination rate.
Featured Image Credit: Pixabay
Contents
 When to Plant Hollyhock Seeds