
If your window is leaking, it’s essential to fix the problem right away. Not only is a leaking window an inconvenience, but it can cause water damage, mold, mildew, and extra money spent on your utilities. Fixing the leaking window is the only way to prevent all this from happening.
Fixing a leaking window is pretty easy, but you have to determine why the window is leaking first. There are three possible reasons as to why your window is leaking: it needs to be re-glazed, re-caulked, or the frame itself is broken.
In this article, we will learn to fix a leaking window for all three reasons. We begin by helping you determine the cause of your leaking window and end by walking you through the steps of repair for each reason. Let’s get started.

Determining the Cause of Your Leaking Window Frame
Before you move on to fixing the actual window, you have to know what you need to fix in the first place. Windows most often leak for three possible reasons: the glazing, the caulking, or the frame. You must know what exactly is broken on your window to fix it appropriately.
Glazing
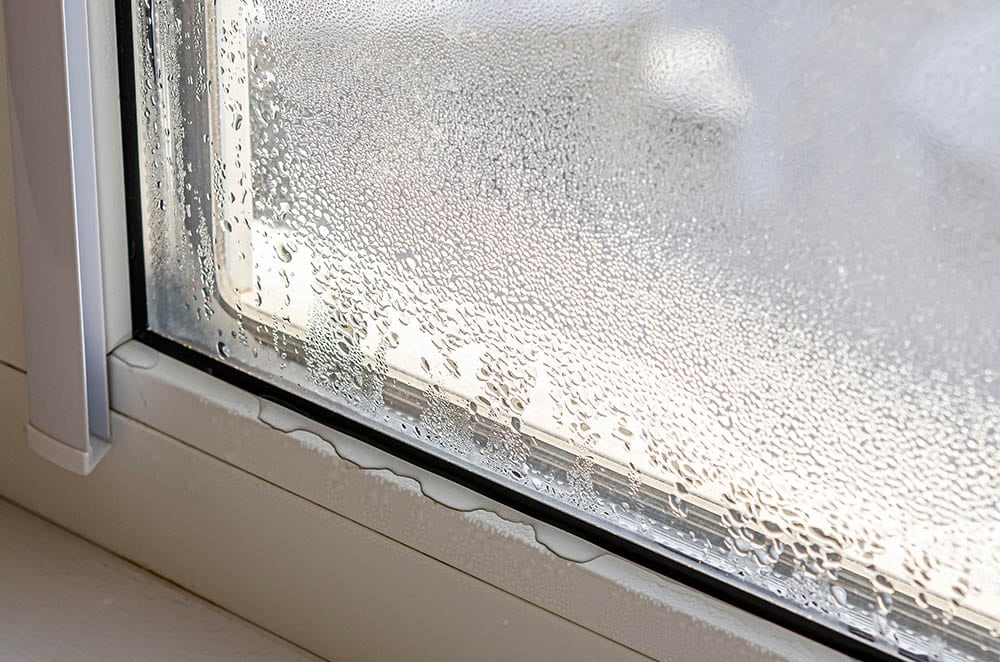
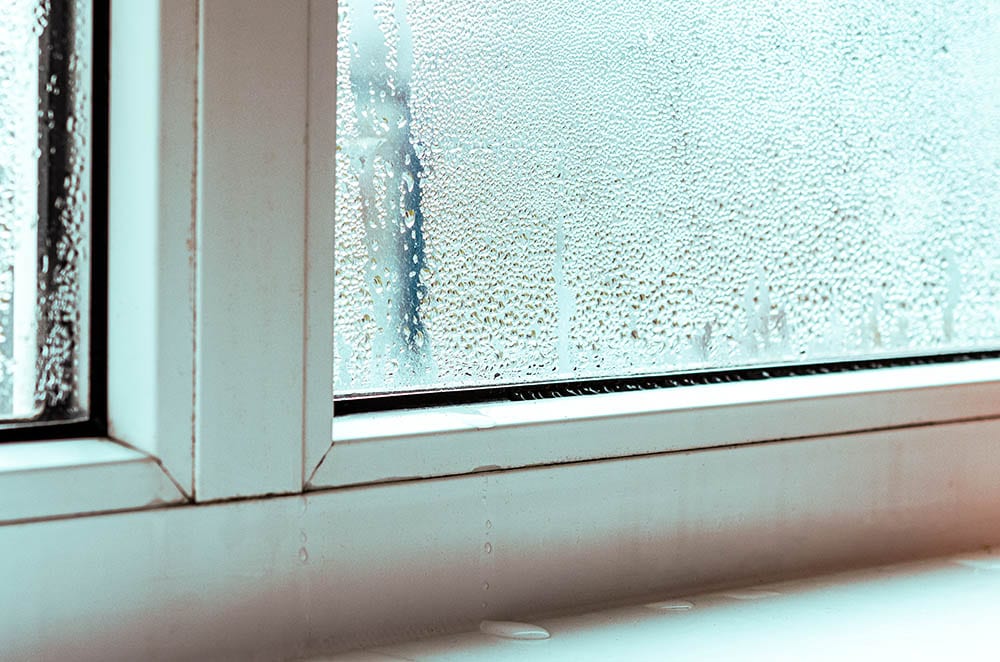
A glazing compound is used to hold pieces of glass in place inside older window sashes. It helps to increase energy efficiency by sealing the area between the sash and the glass. If you have an old window and you experience one or more of the following symptoms, you likely need to replace the window:
- Condensation buildup
- Cold drafts
- Increase in heating and AC bill
- Physical damage
Note that issues in the glazing do not often leave huge puddles on the inside of your home. Instead, there’s mostly condensation buildup and minor puddles of water. If there is an inexplicable amount of water in your home, glazing is likely not the problem.
Caulking
Caulking keeps the window panes in place. If the caulk becomes loose, moisture will seep through the spots in the window pane, resulting in water damage, especially to the floor, windowsill, and wooden paneling. Here are some signs your window needs to be re-caulked:
- Loose panes
- Dampness around window
- Loose caulking falling from window
Much like the glazing issue, damaged caulk doesn’t often result in tons of water building up in your home. It is possible for a lot of moisture to get in if all the caulk needs to be redone, but it should be obvious that the water is coming from the caulk or in between the panes.
Frame
The window frame is what the glass itself sits in. If there is damage in the frame, there is likely more water buildup. Most often, damage to the frame will be obvious because of cracks and broken pieces. Often, when there is a frame problem, there may be a glazing and caulking problem as well.

How to Fix a Leaking Window (7 Steps Each)
Once you determine why your window is leaking, you can move on to fixing the problem. Here is how to fix a leaking window based on all three scenarios.
How to Re-Glaze Your Window
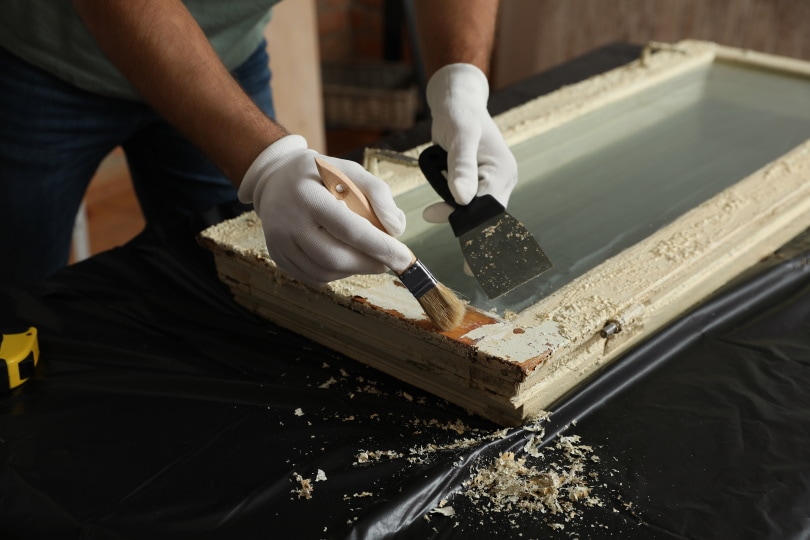
- Putty knife
- 120-grit sandpaper
- Rag
- Glazing compound
- Oil-based primer
- Paint (optional)
Instructions
- Scrape away existing window glazing using a putty knife. Do not remove the triangle points.
- Sand down the window using 120-grit sandpaper. Wipe away any of the remaining excess debris using a dry rag.
- Form the glazing compound into a roll. You can do this by putting the compound in between your hands and moving it back and forth. Continue to do this until the glazing compound looks like a rope.
- Push the rope glazing compound all around the window frame’s perimeter.
- Using your putty knife, create a 45-degree angle in the glazing, starting from one corner of the window and moving to the next.
- Repeat step five on all sides of your window frame.
- Let the putty harden completely before using an oil-based wood primer. Let the primer dry, and then paint the putty so it matches your window frame.
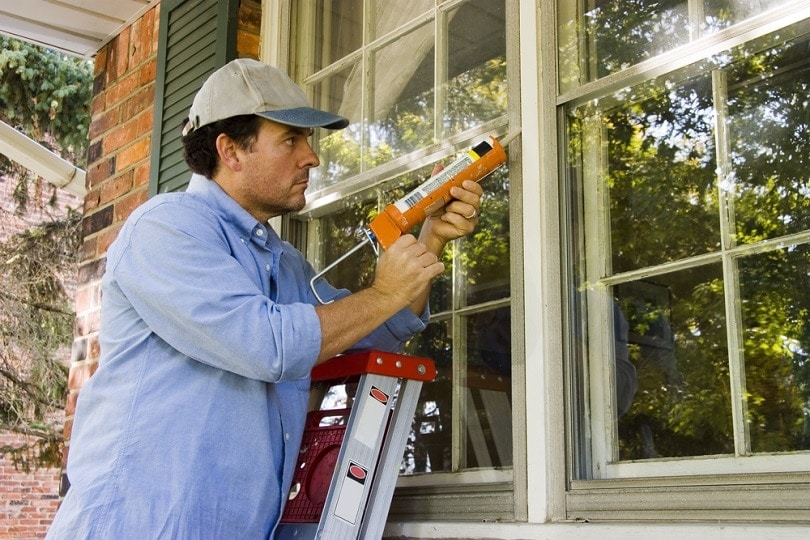
How to Re-Caulk Your Window
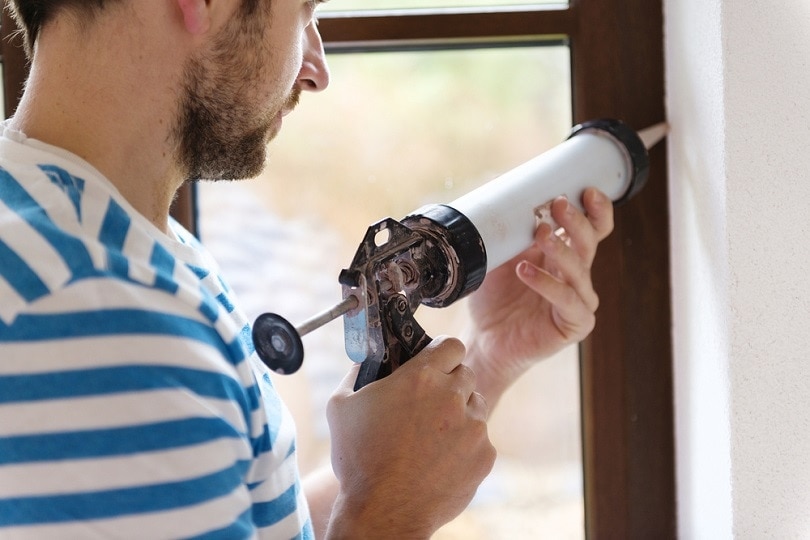
- Window cleaner
- Waterproof caulking
- Utility knife
- 16D nail
- Caulking gun
- Paint (optional)
Instructions
- Remove any loose caulking and wash the window thoroughly. You want to remove all grease, or else the caulk will not adhere properly.
- Select the best day for re-caulking. A day when the temperature is moderate will be best. You will want to select waterproof caulking.
- Using your utility knife, cut the caulking tube so that it is at a 45-degree angle. Use a 16D nail to puncture the tip and then put it into the caulking gun.
- Apply a continuous run of caulk in the joints located between the frame and the window.
- After doing a continuous run, use your finger to run along with the bead. Make sure there are no bubbles.
- Repeat steps four and five on all sides of the window.
- Allow the caulk to dry overnight before applying any paint if desired.
How to Repair Your Window Frame
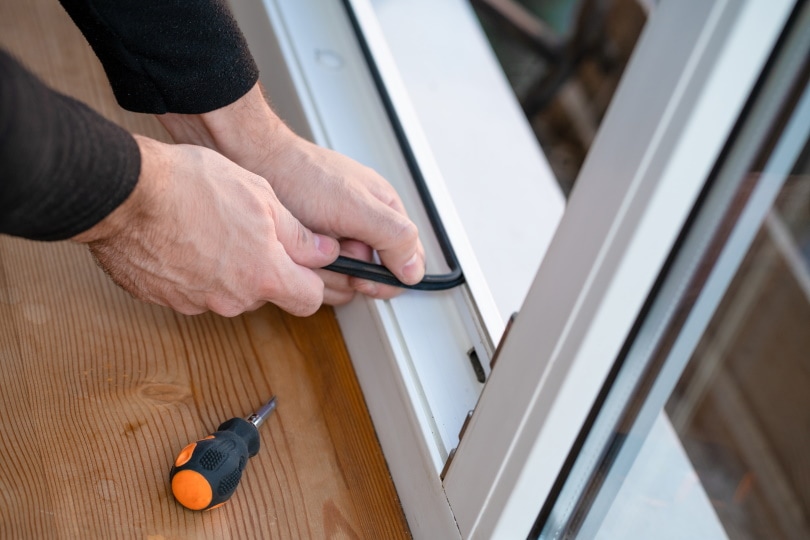
- A helper
- Spray bottle
- Pry bar
- Putty knife
- Epoxy wood filler
- Replacement trim
- Nails and hammer/gun
- Waterproof caulk
- Paint (optional)
Instructions
- Determine exactly what part of the frame is broken and how extensive the damage is.
- To fully determine what area is broken, have a helper spray the window. Watch how it leaks inside.
- Make sure that you pay attention to where the water trail enters. This will tell you that you might have drywall problems or water damage elsewhere.
- Remove the trim from the affected area using a pry bar. You can see if caulking will help by looking in between the window and the frame.
- Use your putty knife to remove any existing damage or rotting wood. Repair any void areas using epoxy wood filler.
- Replace any damaged or rotten trim. Nail it back in place.
- Apply waterproof caulk to the individual edges affected. Let the caulk dry overnight before repainting the frame.
Final Thoughts
We hope that this article has helped you repair your leaking window. Remember, the most crucial step is determining why your window is leaking in the first place. If you don’t do this, all your repair efforts may be worthless since you might not fix the actual problem in question.
See Also:
- Hyundai vs. Toyota: Comparing Quality, Style, and Sales
- Nissan vs. Toyota: Comparing Quality, Style, and Sales
Featured Image Credit: Nataliia Yankovets, Shutterstock
Contents
