House Grail is reader-supported. When you buy via links on our site, we may earn an affiliate commission at no cost to you. Learn more.
Can You Tile Over Plywood? Reasons, Steps, & Concerns
Pete Ortiz
Last updated:
Wood floors are a wonderful addition to any home. Yet, once they deteriorate due to aging or fall out of style, many homeowners prefer switching to modern flooring alternatives like tiles. One common concern among homeowners is whether you can install floor tiles over plywood floors. Yes! You can use plywood as the base for installing tiles.
However, you shouldn’t apply the tile directly onto your plywood; instead, use a rather thin plywood layer for the intermediary part. The plywood floor needs to be about three centimeters (1 ¾”) in thickness, but the thickness will depend on the state that you live in. Also, use a cement backer board on the plywood.
Tilling over plywood is generally an easy task; however, there are a lot of myths and uncertainties concerning the proper way of tiling over the wooden floor. This article will explore the basics of tiling over plywood, the proper procedure of laying tiles on the wooden floor, and common issues you may likely encounter during the process.
The Basics of Tiling Over Plywood
Installing tiles is a cheaper and low-maintenance flooring option. Not only are they easy to clean, but they are available in a variety of designs and colors.
Even though some people deem it a good idea to use a thin-set adhesive to directly bond tiles to a concrete surface, you shouldn’t ever place tiles directly over plywood floors. Over time, cracks can develop on the tiles or grout lines despite how firm the subfloor may be. This can be attributed to the fact that plywood expands and contracts at a different rate than tiles.
So exactly how should you tile over plywood?
Generally, before laying tiles over plywood, you should first install a 3 centimeters thick cement backer board (the industry standard). This way, you ensure that the subfloor is strong enough to support the weight of the tiles. The thickness of the subfloor will vary depending on your jurisdiction, as laid out in the National Tile Contractors Association (NTCA) Reference Manual.
For instance, building regulations in California are different from those in Arkansas. So, you should consult your local building authority for this information. You could also seek advice from a tiling contractor.
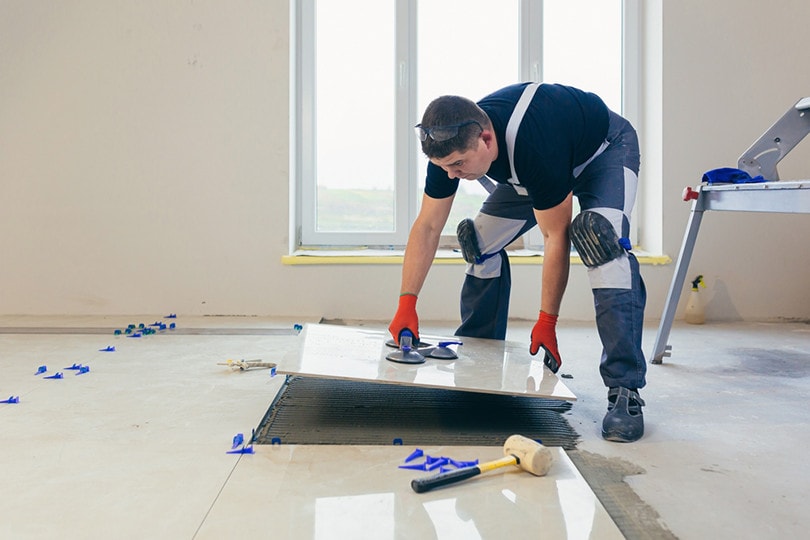
Image By: Red Herring, Shutterstock
Is Tiling Over Plywood a Good Idea?
Yes, indeed! It is a good idea to install tiles over plywood because plywood is a great subfloor material and creates bounciness underfoot more than concrete. This gives the floor a more pleasant experience to walk on.
Installing tiles over plywood floors typically utilizes the same methods used to apply tiles over any other surface. It is only different because it uses a tile mortar to stick the tiles on the hardwood floors to ensure that the plywood flooring is free of air bubbles.
How to Install Tiling Over Plywood
Tools and materials needed include:
Tiles
Tape Measure
Grout
Mortar
Cement board
Spacer
Notch trowels
A tile cutter
Scraper
Sponge
Cloth
Vacuum cleaner
Tape measure
Chalk string
The 6 Steps to Follow
Image By: DUO Studio, Shutterstock
1. Clean the Plywood Surface
Before attempting any tiling, your first step should be to clean the surface of the plywood. This will make it easier to put the cement board on top of the wooden floor surface. With the help of a scraper, remove any glue, dry plaster, or tape from your plywood’s surface, then give the whole area a clean sweep-you can also vacuum the floor.
2. Install Cement Board
As aforementioned, construction experts recommend you install a cement board over plywood. Simply lay it down in position and hammer it down into the plywood. To make your work neat, use a chalk string to mark out the exact position where the nails will be. Generally, the nails should be placed about 6 inches around the perimeter of your board and 8 inches from the center.
Alternatively, you can make a grid pattern using the chalk string over the board and use the same measurements to hammer the nails. Granted, it may seem like you are using too many nails, but this will ensure that your tilling surface is sturdy to improve durability.
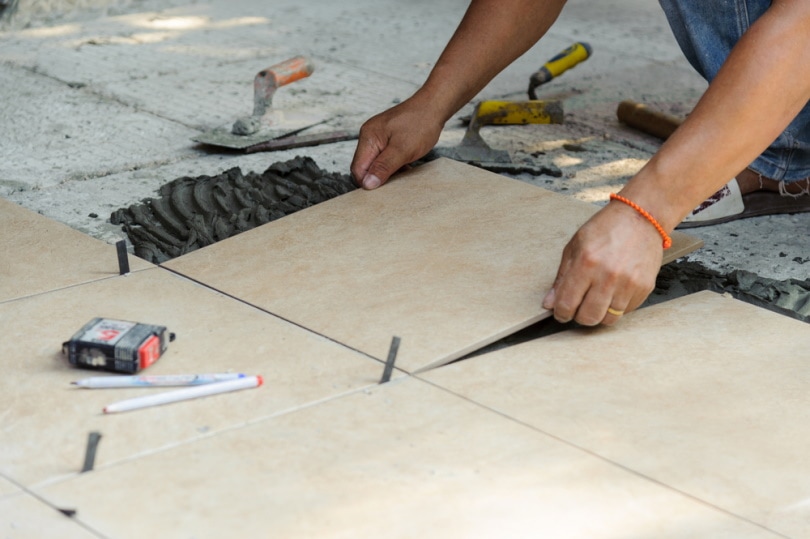
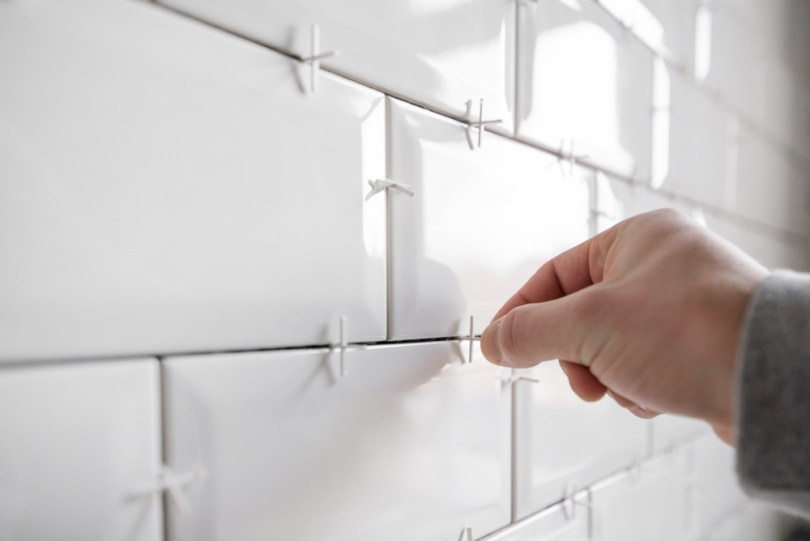
3. Tile Layout
After ensuring your cement board is tightly secured into position, you will want to lay down the tiles to see what the finished work will look like. As a rule of thumb, you should set them up in a way that doesn’t allow a thin silver line on the tile edges to be visible. To do this, start by laying out a row of tiles from the middle and extending outward to see if the tile patterns match.
If you start at one edge of the board and lay them out in the sequence they were packed, you may find a large tile on the opposite side of the wall. However, if the tile ends are too thin, consider starting with half-sized tiles. Cut the tile pieces using a cutter to ensure that they fit into position before adding the tile mortar.
Image By: bNUTTANART KHAMLAKSANA, Shutterstock
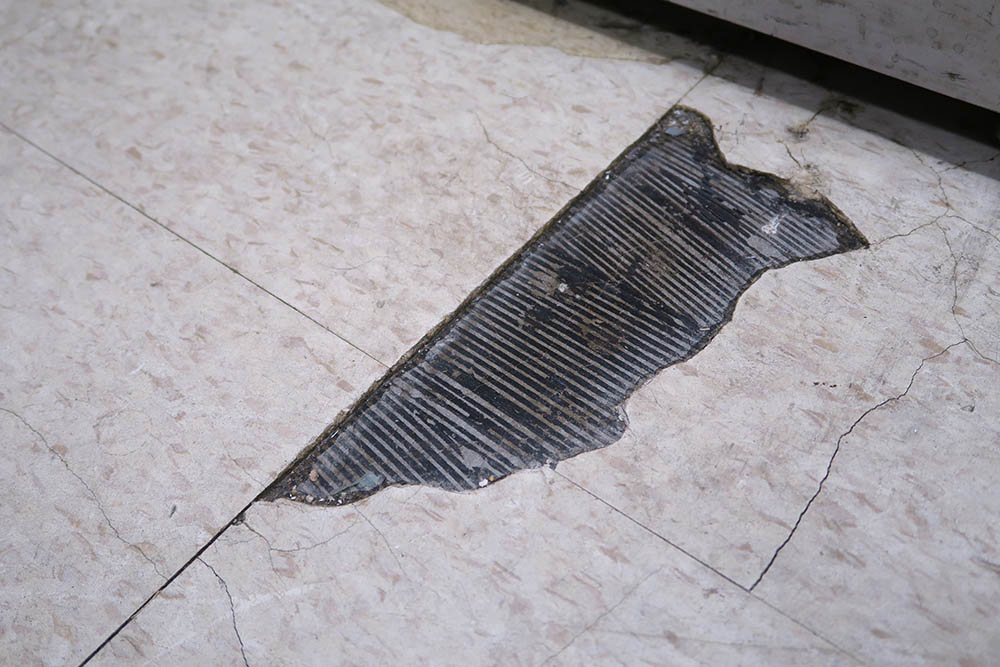
4. Add Tile Mortar
As earlier mentioned, the tile mortar is what separates this method of tiling over plywood from tiling on any other surface. The tile mortar is used to bond the tiles to the cement board. You just need to ensure that you get generous coverage at the back of the tile using a specific technique.
Simply add a layer of mortar round a 1/3-inch-thick tile then use a notched trowel for creating grooves on the tile mortar. If your tiles are normal-sized (30 cm x 30 cm), consider using 7mm deep grooves. However, if the tiles are larger or smaller than the normal measurements, you can adjust the depth of the grooves in your mortar. They should be shallower for smaller tiles but deeper for larger tiles.
As you work, keep inspecting the tiles to ensure they receive good coverage. You can simply check this by lifting the tiles once they have been laid to confirm whether the entire underside surface is covered with the tile mortar. Depending on your preference, you can apply the motor row by row or individually as you work.
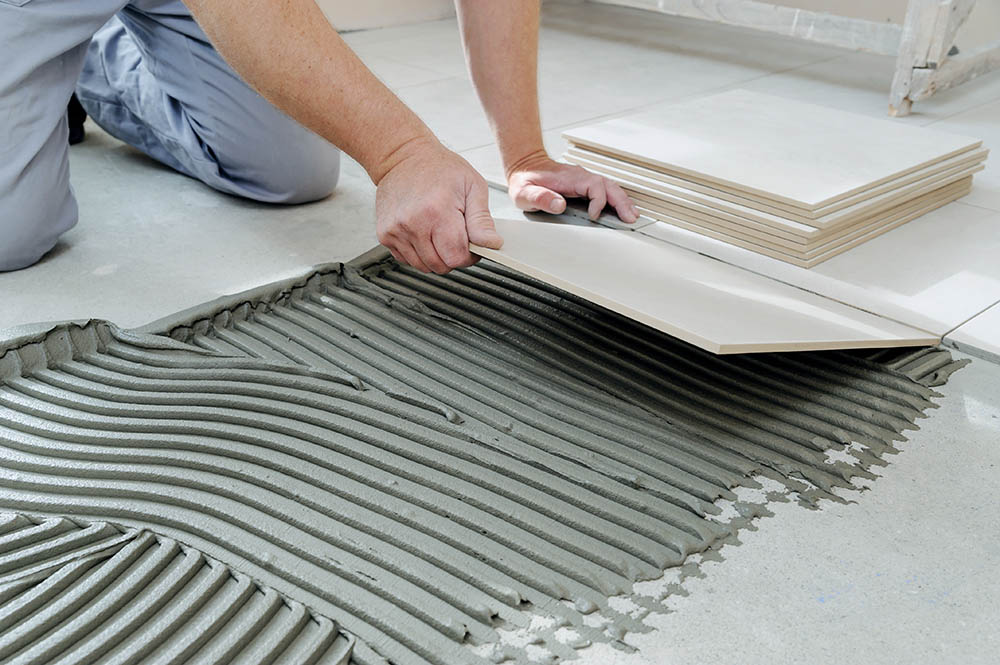
5. Lay the Tiles
To properly lay the tile, start by having the top side against the wall and then simply press it down firmly on the cement block using your hands. Afterward, drag the mortar in the opposite direction. For instance, if you opt to start from the furthest edge opposite from where you are, pull the tile on the motor towards you.
After successfully positioning the tile, ensure the edge is hard up against the wall because, usually, it’s easiest to start from one corner and work your way along the wall. After successfully laying down two rows of tiles, add spacers to each corner of your tiles. Spacers ensure that tiles are straight and correctly spaced apart.
When all the tiles have been laid and the spacers added, give the tiling mortar at least 24 hours to dry.
Image By; LaineN, Shutterstock
6. Apply Grout to the Joints
This is the final step of laying tiles- it involves filling the joints with grout. Before applying grout, start by removing all the spacers from your tiles. Then, proceed to apply the substance into the space between the tiles to ensure they are sufficiently filled up. Here, your tool of the trade is a moist sponge. Just make sure you do not add too much water to your grout mixture because it will make the sponge soggy and ruin your work.
After applying the grout between all the spaces in your tile, wipe off the excess using a sponge and allow it to dry for a short period. When you notice a thin dry layer of grout forming on the surface, use a damp cloth to wipe off the tile surface to remove any remaining grout.
Common Issues While Tiling Over Plywood
When undertaking this process, some common issues may arise.
They include:
Deflection to Load Applied: A floor will be deflected due to the load applied to it. This will depend on the weight of the load and the structure stiffness. If the adhesive used is not laid thick enough or isn’t flexible, chances are high that the tiles will begin to move and eventually will crack. This issue is particularly more pronounced when working with larger tile pieces due to the size and added weight.
Expansion and Contraction Due to Temperature Rates: When there are significant temperature changes, wood tends to expand and contrast at a much higher rate compared to other materials such as ceramic, stone, and mortars. Therefore, you need the right adhesive that can manage the temperature changes in plywood.
Expansion and Contraction Due to Moisture & Humidity: Whether the moisture is a result of water spills or atmospheric humidity, wood tends to swell when it gets wet. This poses a huge problem, especially when tiling over wood in particularly wet areas in your home like bathrooms and toilets. So, you need to ensure the wood is dry before adding any tiles on top.
Joint Movements: While tiling over wooden floorboards may be simple enough, it comes with the added risks of movement beneath the tiles. These movements can result in cracks and breakage on the tiles. Often, it starts with a hairline crack, which can extend further if there is movement or interruptions in the floorboard joints due to the extra weight of the tiles.
Fortunately, you can reinforce the floor and alleviate the extra pressure from the tiles using joists.
Conclusion
We have gathered that you can tile over plywood. However, while it may be possible to tile directly over a concrete floor, it is not recommended to tile directly on a plywood subfloor. Regardless of how sturdy it may feel, over time, the plywood may expand at a different rate from the tiles. This will cause cracks to develop on the grout lines.
To properly tile over hardwood floors, first, clean the surface and install a backer board because it has a lower weight load compared to other materials. Create a tile layout and apply a mortar mixture. After it has dried, lay the tiles out and apply the grout to the space between the tiles, then finally clean the surface.
If you intend to tile over wet areas of your house, ensure the plywood is dry or use a moisture-resistant tile backer board between the tiles and the subfloor.
Pete has been working in the trades since high school, where he first developed a passion for woodworking. Over the years, he has developed a keen interest in a wide variety of DIY projects around the home. Fascinated by all sort of tools, Pete loves reading and writing about all the latest gadgets and accessories that hit the market. His other interests include astronomy, hiking, and fishing.
As the founder of House Grail, Pete's primary goal is to help consumers make educated decisions about DIY projects at home, in the garage, and in the garden.