5 DIY Bee Feeders You Can Make Today (With Pictures)
-
Kristin Hitchcock
- Last updated:
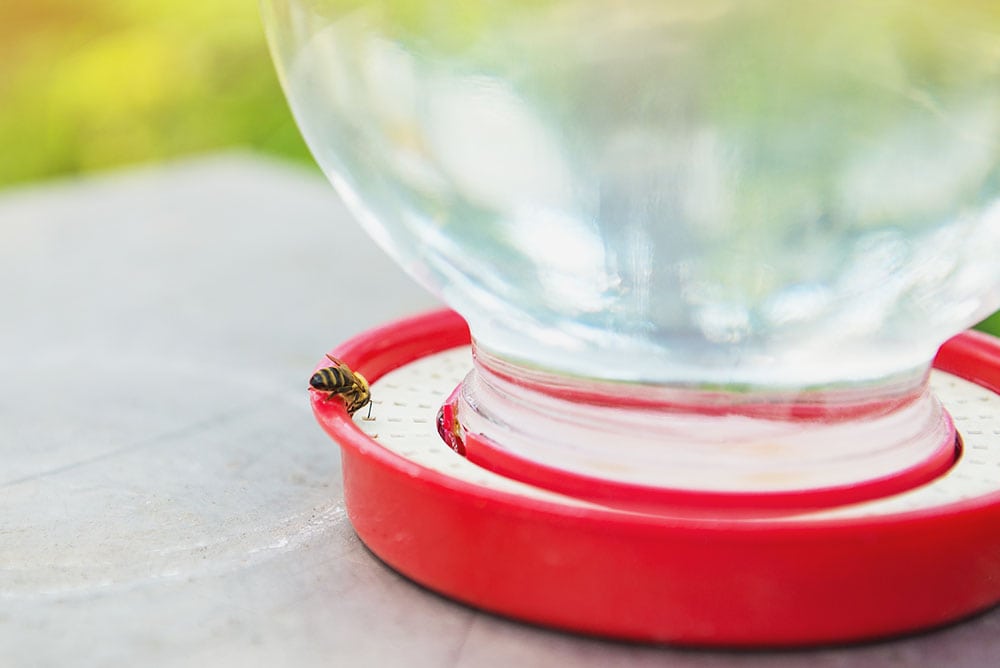
Whether you currently raise bees or not, providing supplemental food for bees in your area can increase the local population and prevent die-offs. Simply put, this only requires providing sugar syrup in a bee-appropriate feeder. You cannot simply leave this syrup out, as it can trap bees and cause them to perish. Therefore, a feeder is often needed.
There aren’t many feeders available commercially, especially if you’re on a budget. Luckily, there are several ways to make these feeders if you have some spare parts.
Some feeders may work best for certain purposes. Therefore, we’ve included several different options below, along with directions to build them.
The 5 DIY Bee Feeder Plans
1. Top-Style Feeder
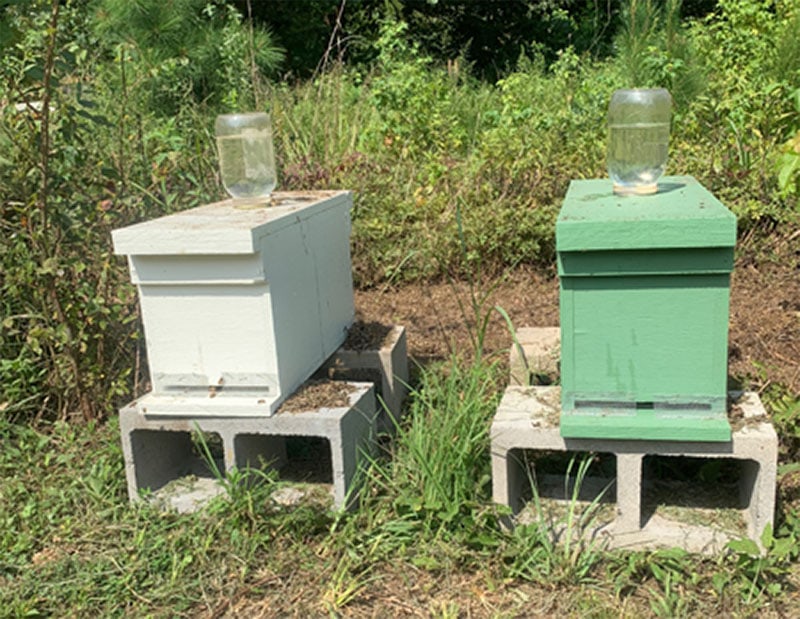
| Materials: | Outer cover for a bee hive (or plywood), jar, hole saw |
| Tools: | Basic home tools |
| Difficulty: | Easy |
This plan works using basic equipment that most beekeepers have lying around. For instance, the main body is an outer cover for a wooden beehive, which most beekeepers have if they’ve kept bees for several years. Therefore, this plan is typically the easier option and the cheapest, assuming you won’t have to purchase lots of equipment.
The tools needed are also extremely straightforward. You’ll need a hammer or screwdriver, depending on how you decide to put the plan together. There aren’t any fancy tools needed unless you don’t have an outer cover and decide to use plywood instead.
In the end, this is probably one of the simplest DIY plans. However, these top feeders do take up a bit of room. Therefore, they work best for those that keep bees and have room for extra feeders.
2. Mason Jar Bee Feeder
| Materials: | One mason jar |
| Tools: | Hammer, small nail, a small block of wood |
| Difficulty: | Easy |
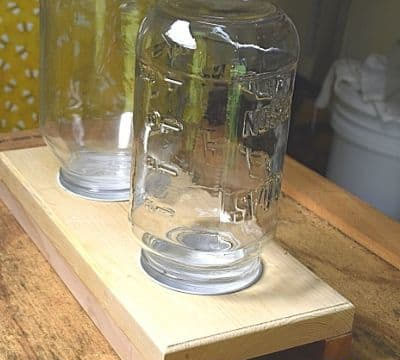
With just one mason jar, you can make a small bee feeder. This feeder works great for those who keep bees, as well as those that just want to help the local bee population. The plans use a quart mason jar. However, you could easily adjust the jar size. (Just keep in mind that if you go much smaller, you will fill it up more often.)
This plan is straightforward. You’re mostly just poking holes into the top of the mason jar lid, which is why you needed the hammer and nail. These holes need to be small.
After you’ve made the basic feeder, you can install it in various ways. The plan uses several methods for using these simple feeders, including options inside and outside the hive.
3. Baggie Feeder
| Materials: | Zip-lock bag |
| Tools: | Razor blade |
| Difficulty: | Easy |
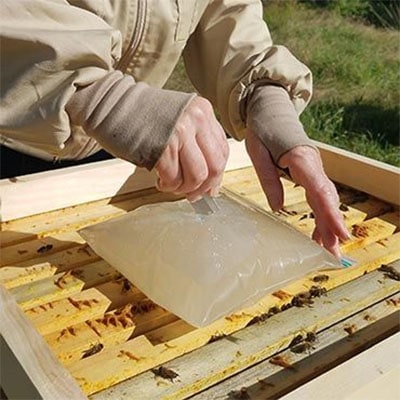
A baggie feeder is an easy way to quickly and efficiently feed bees when you don’t need a long-term feeder. You cannot reuse the bag multiple times, so you can go through bags pretty quickly if you’re regularly using feeders. In this case, we recommend a more permanent option. However, if you just need to feed some bees for a short period, this option is straightforward, easy, and effective.
Simply put, you’ll need to fill a bag with syrup and cut a small hole onto the top. This method allows the bees to easily access the syrup. However, because you are cutting, bees shouldn’t be able to enter the bag.
Often, it is recommended to use these feeders straight in a hive to help a struggling colony. However, you could technically use them anywhere. Remember that these bags aren’t durable, so you shouldn’t leave them out in the elements for very long.
Once the bag is cut, you cannot move or refill it. Therefore, this method is really for very short-term use.
4. No-Drown, Large Top Feeder
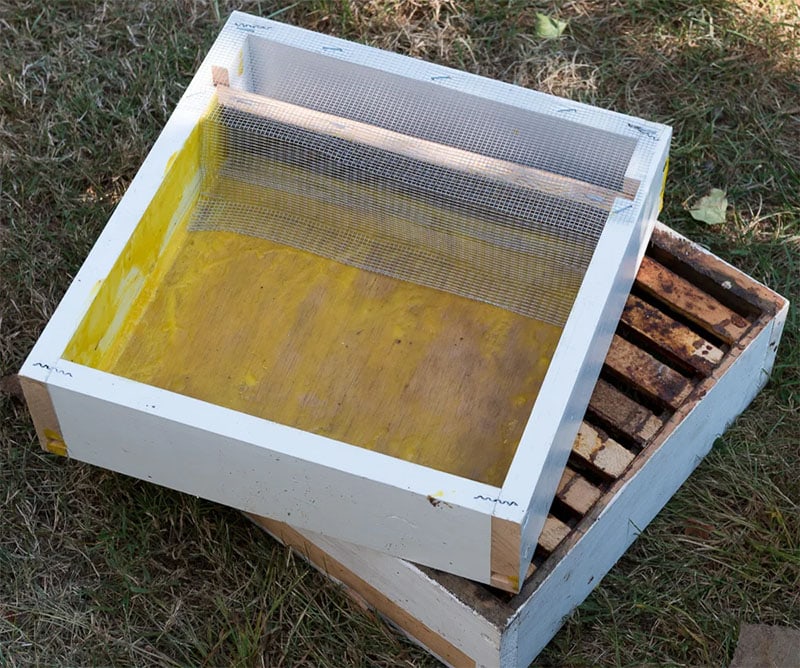
| Materials: | Lumber, galvanized mesh, desk screws, bees wax |
| Tools: | Table or radial arm saw, dado blade, hammer, metal snips, drill, saucepan, paintbrush, staple gun |
| Difficulty: | Medium |
This method creates a large feeder that can be installed directly onto the hive. It also has a more professional look, which is useful if you need to keep a feeder installed for a while. The creator has several feeder plans, as well as several DIY hive plans. Therefore, he has been in the business for some time and has a small following within the beekeeper community.
However, this plan is a bit more involved. You’ll need several different sizes of lumber and many different tools. If you regularly DIY anyway, then you probably have these tools available. For those who don’t usually DIY, the number of tools you may need to purchase is likely too high to make it worth it.
We only recommend this plan for regular DIYers and those looking for a more elegant feeder.
5. Feeder Jar Stand
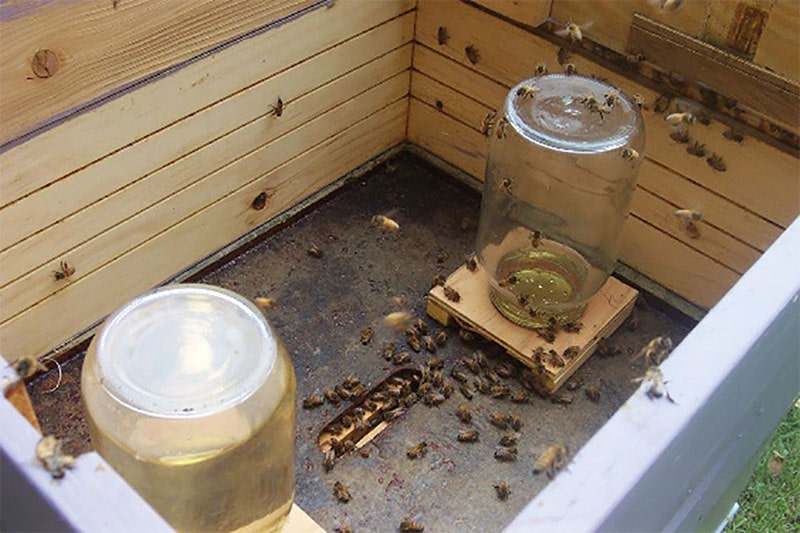
| Materials: | Plywood base, stand legs |
| Tools: | A hole cutter, other basic tools |
| Difficulty: | Easy |
If you have many bee hives that need supplemental feeding, you may want to look at this plan. It is designed for creating many different feeder jar stands. The plan specifically helps you make 24, though you can raise or lower the number as necessary.
The process is pretty straightforward. It only requires a basic tool, though you will need to purchase an inexpensive hole cutter. Unless you’ve made a similar plan, you probably do not have this tool on standby.
This stand allows you to easily add mason jar feeders on top. The bees go underneath the stand to access the honey. You will need to make the mason jars separately. However, we included a plan for those above. Putting this plan with the mason jar feeder will result in a complete feeding system that is portable, easy to refill, and safe for your bees.
You can use these stands with just about any size jar. Therefore, you can easily adjust how much food you want to provide.
Final Thoughts
You don’t want to provide your bees with too much food. However, there are some cases when feeding your bees is vital to their survival. For instance, when adding a new hive in early spring, you’ll likely want to provide food until they get on their feet. Bees that look like they have less-than-stellar stores in the fall and winter likely need extra food, too.
Even if you don’t own bees, you may want to have a supplemental feeder on standby. Whenever you see bees wandering in your area, the feeders can help them thrive.
See also:
Featured Image Credit: Sushitsky Sergey, Shutterstock
Contents
