House Grail is reader-supported. When you buy via links on our site, we may earn an affiliate commission at no cost to you. Learn more.
8 Free DIY Lifeguard Chair Plans You Can Build Today (with Pictures)
Pete Ortiz
Last updated:
If you have a swimming area around your home or you are just looking for an interesting project, learning how to build a lifeguard chair can make for a worthy investment of time. It can also provide you with a useful safety mechanism that’s comfortable and durable.
We collected eight DIY plans of varying difficulty to share with you. Beginners can accomplish most of these plans in a few hours to a few days, but others are better suited for more experienced woodworkers and should provide an exciting and rewarding project.
Top 8 DIY Lifeguard Chair Plans
Below are the eight lifeguard chair plans we found to share with you. We’ve included a little information about each one to help you decide if it’s the project right for you.
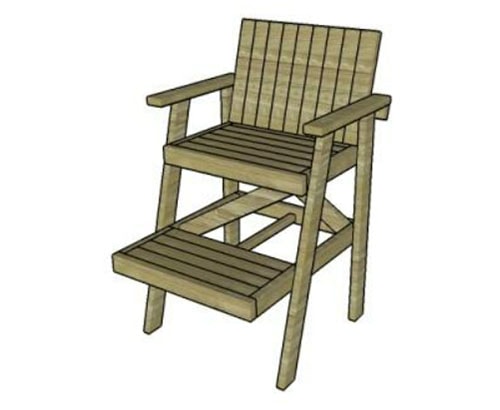
The DIY Lifeguard Chair was brought to us by myoutdoorplans.com, and it features an easy-to-build lifeguard chair plan that only costs a few dollars to make. The plans are easy to follow, there are no difficult angles to cut, and you can do everything with a few hand tools.
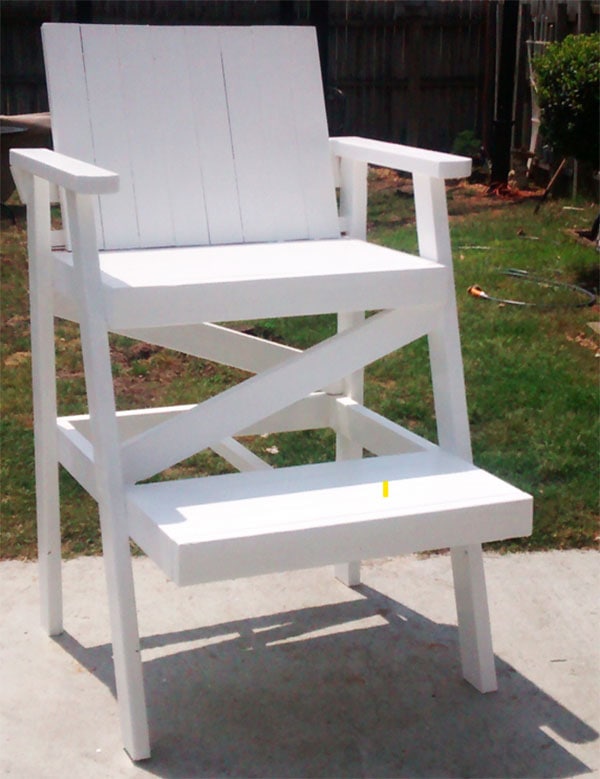
The My Outdoor Plans Lifeguard Chair is brought to us by My Outdoor Plans and provides us with plans for making very colorful versions of the lifeguard chair while providing us with a good view of the water. It’s easy to build and primarily uses 2x4s and nails. You should have this project complete within a day or two.
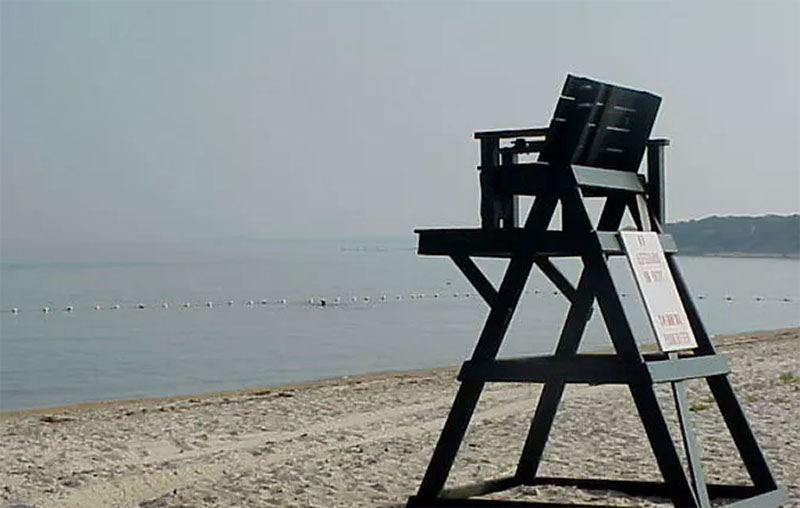
This lifeguard chair is brought to us by Sportsrec and it’s not as difficult to make as it looks. What’s more, it provides you with one of the tallest shares on this list. The finished product looks like something you’d expect to see at the ocean, so it might be a tad overkill if you just needed it for a backyard pool, but it’s worth the effort, nonetheless. It uses mostly boards and screws that you can get anywhere, and there are no difficult cuts to make or advanced tools that need purchasing. Give yourself a few days to complete it with a nice finish, and you’ll be glad you did.
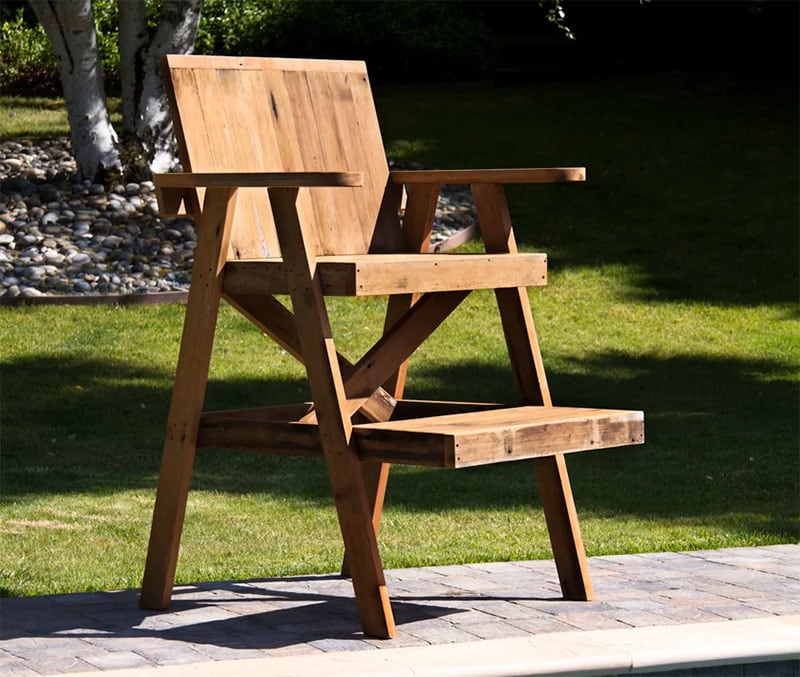
4. DIY Lifeguard Chair From Recycled Lumber by Instructables
The Lifeguard Chair From Recycled Lumber is the second plan brought to us by Instructables, and this one makes good use of disposed of or easy-to-find wood. The instructions call for a table saw, but you can probably get by with a hand saw if you don’t have one. The plan expects the project to take a few days.
The Building Lifeguard Stands video is brought to us by Suzy Homesteader of the Rockies. She not only explains how she built her giant lifeguard stand, but she also gives you plenty to think about before you build a large structure like a lifeguard stand. The project is fairly easy to make even though it’s huge, and it only requires plenty of time and lumber. Since there is so much lumber involved, it’s probably best to use a table saw to cut through the wood faster.
The DIY Pallet Project…Lifeguard Chair is brought to us by UNDERSTANDABLY RANDOM, and it provides us with a plan to use an old pallet to make our lifeguard chair. The tutorial is short but easy to follow, and there are very few materials required outside of the old pallet. You could probably complete this project in a day or two without special tools.
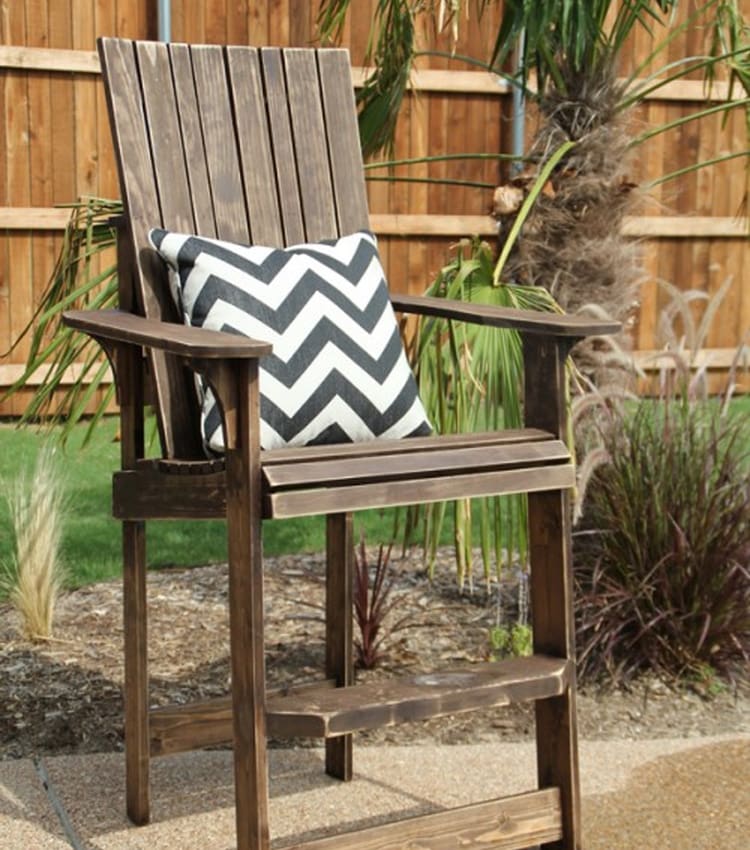
7. DIY Adirondack Lifeguard Chair by April Wilkerson
This project is not exactly a lifeguard chair, but it is pretty high and would work well as a lifeguard seat for swimming around the home. This project uses some advanced tools, and it’s better suited to more experienced woodworkers, but it provides an excellent step by step guide to follow if you have the tools.
8. Sturdy, Comfortable DIY Adirondack Chair by Shanty-2-Chic
What’s the most important thing in a lifeguard chair? Usability and convenience, of course! If that’s exactly how you feel, do try building this sturdy, comfortable Adirondack chair. Technically, it’s not a lifeguard chair, but that can be fixed if you just make the legs a bit longer. Pinewood is a cheap, low-hassle material, which makes it just right for this DIY plan. To put everything together, grab a pack of brad nails and screws (wood and pocket), plus some glue.
The putty, in turn, will help the chair last longer, not to mention look better. For cutting, you’ll need a miter saw and a jigsaw. Push the screws in with a drill and measure everything with tape and a pencil. Sturdy, easy to build, and flexible, this project is ideal for a DIY enthusiast looking for a challenging, yet doable plan. The curved parts are a bit tricky, but you can skip them and just go with a standard design instead.
What’s a Lifeguard Chair? Why Is It So Tall?
If you’ve ever been to a beach, you’ve probably noticed these tall, majestic chairs with “LIFEGUARD” written on the back. These chairs are specifically designed for lifeguards—expert swimmers/rescuers—to watch over the water and the crowd. It’s all about the vintage point and general-purpose pools are required to have at least one lifeguard chair for every 120 feet. Lifeguard chairs help see drowning folks from afar and rush in quickly to lend a hand.
That’s exactly why height matters: the taller the chair, the easier it will be to spot someone in trouble. We’re talking about six feet from the surface to the actual seat. By design, lifeguard chairs are rather simple and not that hard to build. Sometimes, they come equipped with a footrest, stairs, or even an umbrella. Most are white (because this color is best at reflecting sunlight), but you can go with brown, natural wood, or whatever color you like.
Image Credit: ktasimar, Shutterstock
How Much for a Brand-New Lifeguard Chair?
This greatly depends on the material, build quality, and height, along with the extras. Cedar is one of the best materials for a lifeguard chair: it’s highly resistant to water, humidity, and the sun. Stainless steel and aluminum are an even better choice: these metals are practically immune to rust/corrosion and last for many years. Plastic is also an option, but it’s not nearly as durable (it’s cheaper, though).
A standard-issue lifeguard “throne” with no stairs or any other add-ons will set you back $450–$550. A taller, sturdier chair with comfy stairs will cost $800–$1,000. If it’s crafted from metal, the cost could go way beyond $1,000. Portable lifeguard chairs, in turn, are the most expensive option. They are taller, easier to climb, and can be rolled around. The price for such a chair often reaches several thousands of dollars.
Lifeguard vs Adirondack Chair: The Difference
The main thing that puts lifeguard and Adirondack chairs apart is the height. While lifeguard chairs are at least six feet or taller, Adirondack seats don’t usually go over 4–5 inches. In Canada, they are called the “Muskoka”, and, originally, these chairs were crafted from wood for outdoor use. Today, plastic is becoming more popular. The armrests are unusually wide, while the seats are flat or sloped.
The very-first Adirondack chair was invented by Thomas Lee back in 1903. The countered back and seat, in turn, were patented in 1938. But wait: can you use such a chair for lifeguarding? Yes, you can, but only if you meet the height requirements. The overall design is almost identical, with no big differences. Adirondack and lifeguard chairs are built from the same materials and have roughly the same features.
Summary
Any of these plans are worth your time and effort if you’re looking to learn how to build a lifeguard chair on your own. Our first pick, the DIY Lifeguard Chair, requires very little materials or tools and most beginners can complete it in a few days. If you have spare wood around your home, you may want to check out the Instructables’ plans. They use recycled or discarded wood to create useful projects. If you are an advanced woodworker looking for an exciting project, we recommend checking out the Build an Adirondack Chair tutorial at the end of our list.
We hope you have enjoyed reading over this guide and found a new project to start in your woodshop. If you know of others who would enjoy them, please share these eight lifeguard chair plans on Facebook and Twitter.
Pete has been working in the trades since high school, where he first developed a passion for woodworking. Over the years, he has developed a keen interest in a wide variety of DIY projects around the home. Fascinated by all sort of tools, Pete loves reading and writing about all the latest gadgets and accessories that hit the market. His other interests include astronomy, hiking, and fishing.
As the founder of House Grail, Pete's primary goal is to help consumers make educated decisions about DIY projects at home, in the garage, and in the garden.