11 Clever and Creative DIY Outdoor Play Areas (With Pictures)
-

- Last updated:
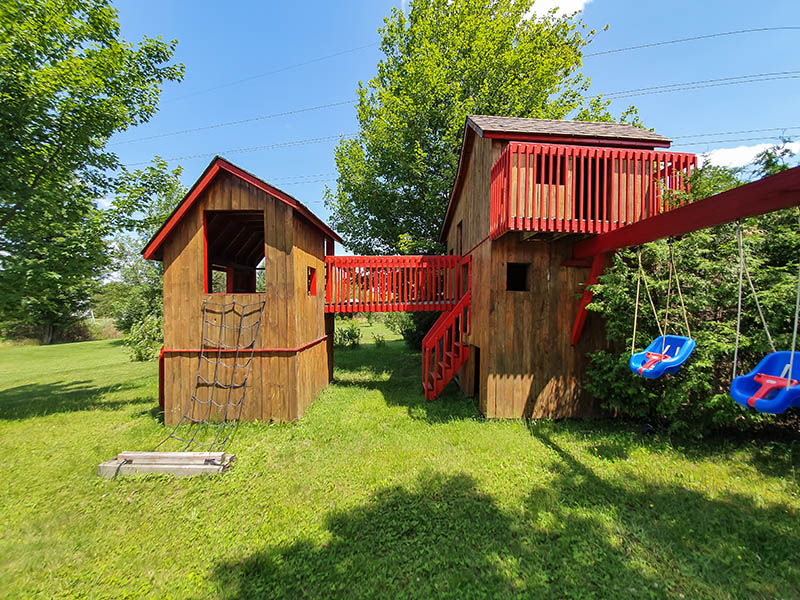
Kids need ample areas and structures to play in. But if you don’t want to take your children to the playground daily, you can make a small play area in your yard. The best part about this strategy is that kids will love almost all ideas as long as they are functional.
You can make your play area structures as easy or as complicated as you want. Some are pretty easy to make, and you can do it even as a beginner, while others are more complex and require you to own a few power tools with the skills to match. There are also play structures that can only hold one child at a time, while others can accommodate several. Read on below to find out which plan will best suit your needs.
The 11 DIY Outdoor Play Area Ideas
1. Backyard Ball Run
| Materials: | Funnel, pipes, plywood, balls, spray paint |
| Tools: | Anil gun, glue, and saw |
| Difficulty Level: | Easy |
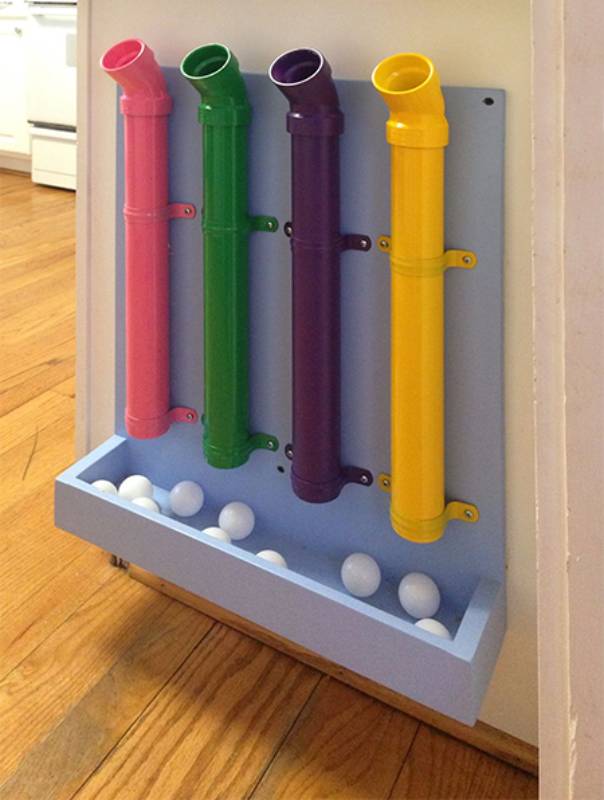
This ball run structure is ideal for small kids. It’s amazing and doesn’t require advanced skills to build. You can attach it to your backyard fence if you have one in your compound or nail plywood to a tree or wood and use it as the base. You can paint the tubes and balls in different colors to make the game more exciting. Your kids will have much fun dropping balls into the pipes to see where they come from. To turn the fun into an educational activity, ask them to only drop balls of the matching color to the pipes.
To make this ball run, get various plastic pipes or gutters and mount them onto the wall using a nail gun. You can use steel fishing sinkers or trinkets to make sounds when the balls come into contact with them. You can also join the tubes at as many angles as you want.
2. Playhouse
| Materials: | Wood, deck screws, nails, saw, boards, hinges, paint |
| Tools: | Nail gun, saw, screwdriver, hammer, tape measures |
| Difficulty Level: | High |
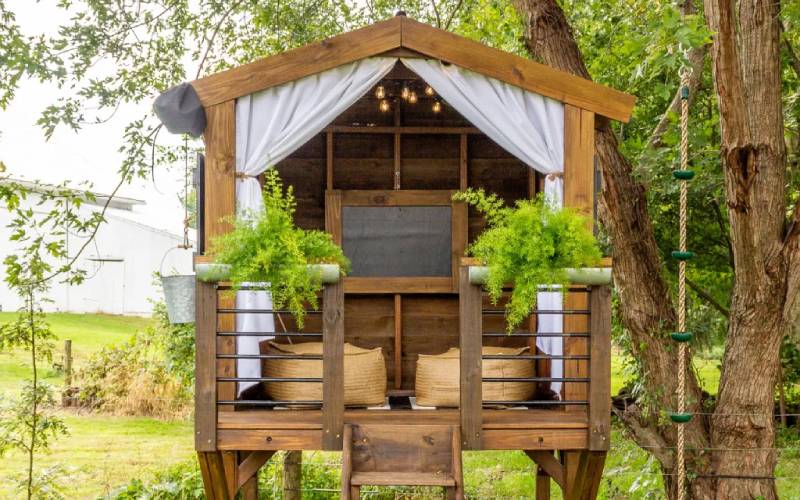
You can build this playhouse as a tree house or elevate it off the ground using wooden beams. The design can be as simple or as complex as you want. Your kids will enjoy it either way. There is no limit to how much you can do when building one; think about using a swinging ladder or a slide as the exit to make it a bit more fun for kids. However, it’s important to note that this DIY is extensive and pretty challenging to build.
To make a playhouse, you need to first take the dimensions you want it to be. Next, prepare the wood you’ll use to make the deck and flooring and resize it to fit the measurements. You can use a nail gun to join the walls of the playhouse to the floor. Making the roof is usually the most challenging stage, especially if you want to make a canopy roof. If you can’t build the roof, you can always use a tarp to keep the rain out.
3. Tire Swing
| Materials: | Tire, chain, paint |
| Tools: | Hooks, nail gun/ hammer |
| Difficulty Level: | Easy |
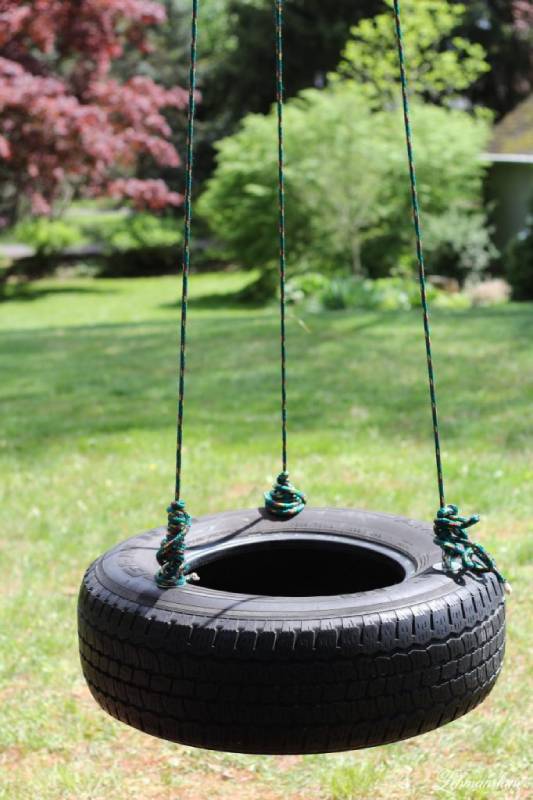
All playgrounds have swings, and that is because they are a vital aspect of any play area. If you have a big tree in your yard, it’s easier to implement this idea. Use a big tire to ensure that more than one child can use it simultaneously.
To make this, attach a hook or chain to the strongest branch on the tree and three or four hooks on the tire. Next, attach three or four ropes of the same size to the hook on the tree and the ones on the tire. You can paint the tire with bright colors to make it more interesting. Test it to ensure it holds before allowing young children to use it.
4. DIY Stepping Stones
| Materials: | Paint, wood/stone blocks, cement, sand, water |
| Tools: | Trowel, bucket, spade |
| Difficulty Level: | Easy |
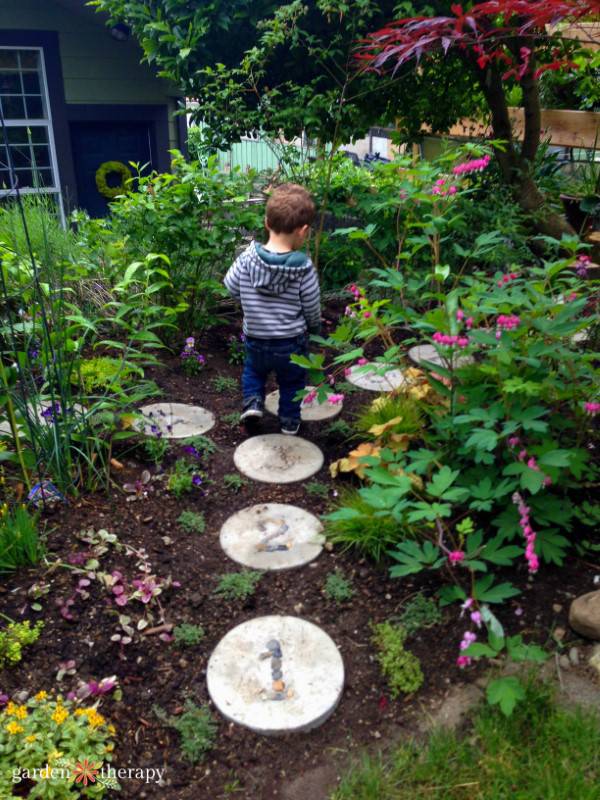
Stepping stones are fascinating, especially for small kids. You can paint numbers or letters on the blocks if your kids are learning to count and read to turn it into an educational game. Another idea is turning the blocks into a stepping game. Whatever option you choose, all of them are pretty easy to implement. Your guests will also love them, especially if you place them in your front yard leading to your front door.
To make these stepping stones, first, draw out the design you’d like to have. You can use slabs of stone and paint them according to your desired outcome, or mix cement, sand, and water in a bucket or wheelbarrow and pour it into a mold of the shape you want. Once they are done and cured, dig a foundation for the stepping stones and ensure they are at the same level.
5. DIY Trampoline
| Materials: | Trampoline kit, brick |
| Tools: | Shovel |
| Difficulty Level: | Easy |
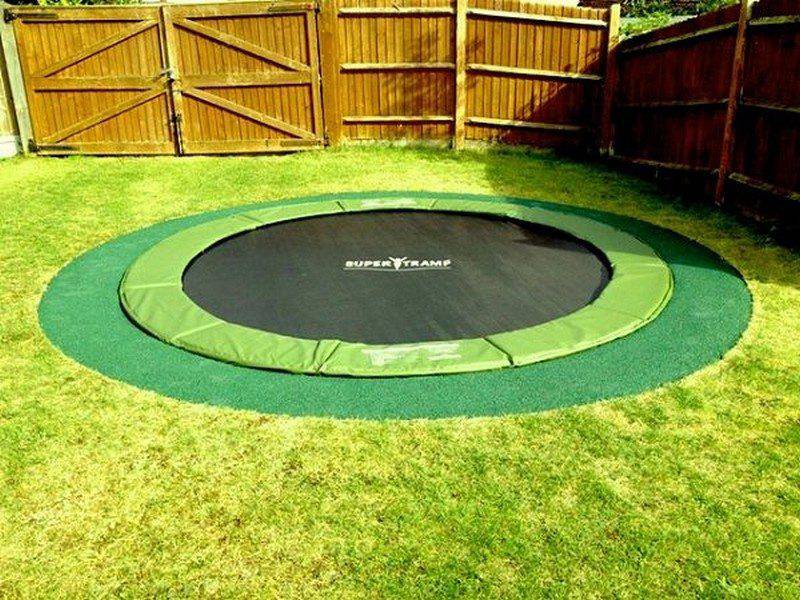
What is a better idea for a play area than an outdoor trampoline? You can place your trampoline on ground level or place cushions around it to prevent the kids from getting hurt when they fall. You will likely save much money if you do it yourself compared to having one professionally installed.
To make a trampoline at ground level, dig a hole with the dimensions of the trampoline ring or stand. Drop the trampoline ring, use cardboard or metal sheets to make an enclosure around it, and backfill the soil to cover the frame. Ensure it’s stable before attaching the trampoline mat to the ring.
6. DIY Beam Balance
| Materials: | 4X4s and 2X4s wood blocks, screws |
| Tools: | Drill, nail gun |
| Difficulty Level: | Moderate |
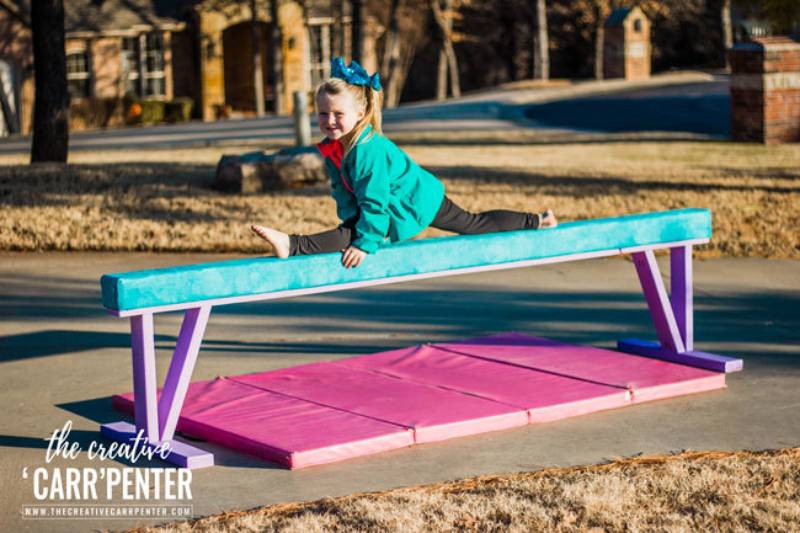
This DIY beam balance helps kids learn how to balance and be stable on their feet. You can make it at ground level or raise it depending on the kids’ age. Older kids will have more fun with a raised balancing beam. It’s perfect for outdoor play, and parents and other guests will also love it.
To make this, position the 2X4s on opposite sides and nail the 4X4s to them securely. You can also use a large wood panel if your child is still developing.
7. DIY Sandpit
| Materials: | Sand, wooden boards, bricks, cement |
| Tools: | Nailgun |
| Difficulty Level: | Easy |
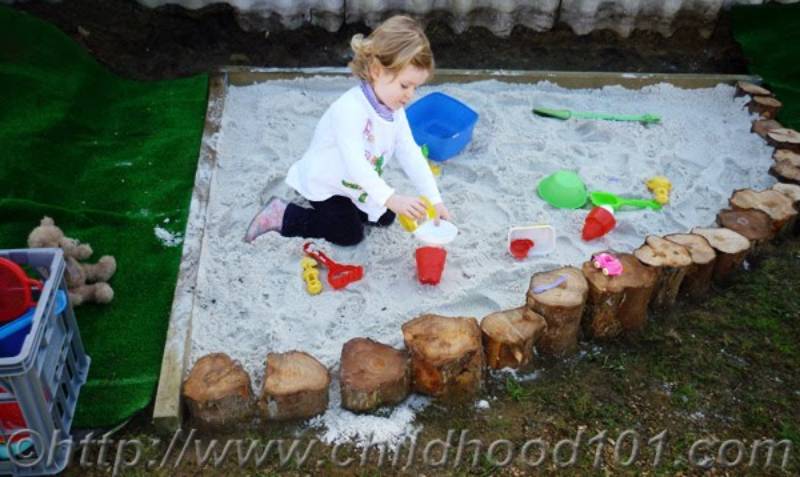
Kids and pets love playing in the dirt, especially sand. Luckily, it’s very easy to make a sand pit. You can choose to make a giant sandpit where your kids can play catch and other games or a small one for them to roll in and dip their feet in.
To make this, build a circular or square fence with bricks and pour in the sand. You can then use the wooden boards to build benches at the edge of the sand pit where your kids can sit as they play with the sand.
8. DIY Pirate Boat
| Materials: | Old boat, sand, pole, pirate flag, floater, trinkets, string |
| Tools: | Nail gun, saw, glue gun |
| Difficulty Level: | Moderate |
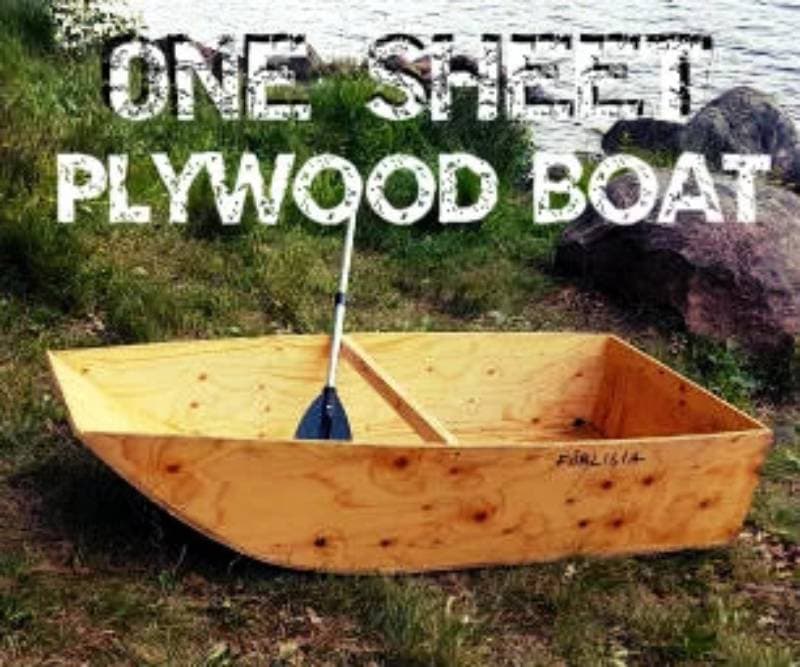
Kids love playing as pirates; they are into anything with a strong pirate theme. So, making them a pirate boat will certainly be a hit. To make one, you can repurpose your old fishing boat or buy one. If you don’t have access to a boat, you can build one from cardboard or wood, depending on how long you want it to be.
Get strong wood or plywood and use it to make the basic shape of the boat. Using a wooden pole, you can make a mast to hang the pirate flag. Attach the black flag with a white skull to the upper side of the mast and nail it down to the inside of the boat using a glue gun. Pour sand inside or outside the boat to make it look beachier. Adding the floater and tickets also helps it look more authentic to young kids.
9. Backyard Zip Line
| Materials: | Hooks, screws, handlebars, hooks, and line |
| Tools: | Drill, screwdriver |
| Difficulty Level: | Moderate |
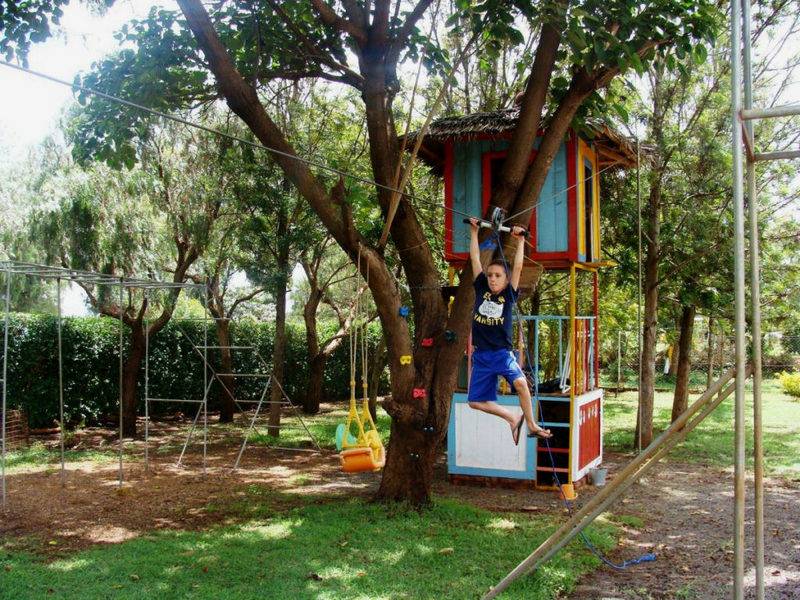
Ziplining is a fun activity you can enjoy with your kids. This DIY option gives you hours of fun navigating how to make and test it. It’s not difficult to make and can be done by a total beginner. If you have young kids scared of hurting themselves, try building it close to the ground or laying straw to cushion the fall.
To make a zip line in your backyard, you must first determine the distance and size of the zip line you want. Next, have two solid structures to hold both ends of the line; trees are often the safer option. Follow this by adding protection blocks around the tree and cutting all the low branches that can cause severe injury. Then secure the cable around the first tree with hooks and pull the zip line with a cable winch puller to ensure it’s tight. Next, make a secure cable sling and tie it around the second tree. Finally, add the seat or harness to your zip line.
10. Outdoor Chalkboard
| Materials: | Chalkboard, colored chalks |
| Tools: | Nail gun |
| Difficulty Level: | Easy |
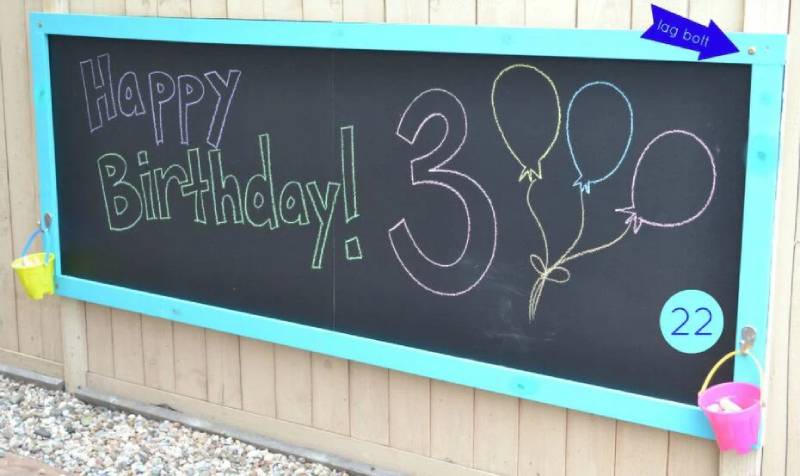
If you have artistic kids, they will love this idea. Having colored chalk enables them to draw on the board and color. To make this, nail the chalkboard on the fence or place it on the side of the house. You can add decorations around the chalkboard to make it more alluring to small kids. Attach a small bucket to the chalkboard to hold the chalks and prevent them from getting soggy or crumbling from too much sunlight. You can add a cover over the chalkboard to keep it from getting wet.
11. DIY Hill Slide
| Materials: | Slide, sand, mat, shovel, plastic tarp |
| Tools: | None |
| Difficulty Level: | Easy |
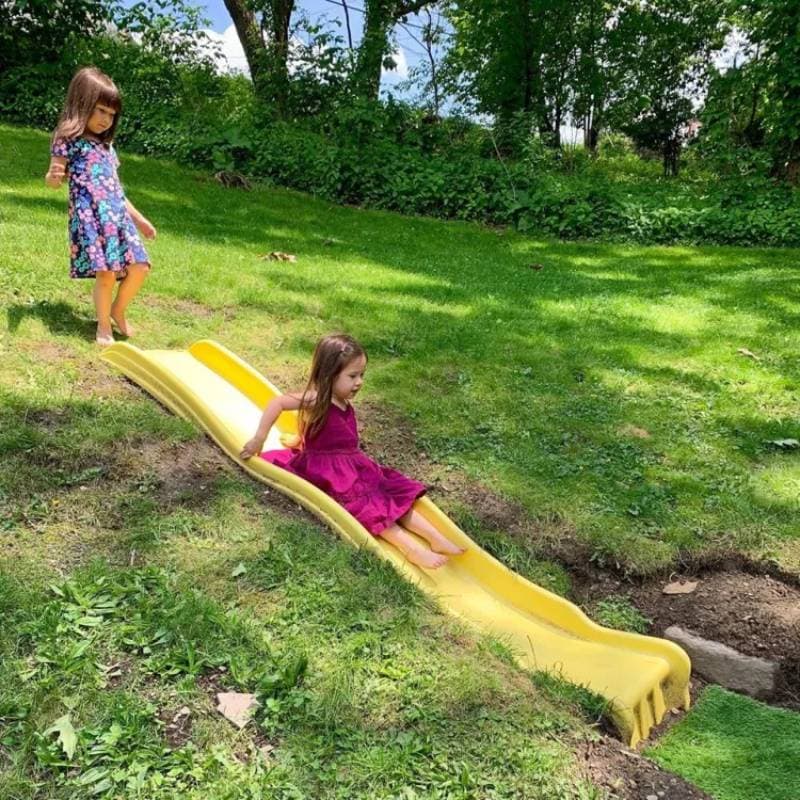
Kids love slides, and they will enjoy having one in their backyard. It’s pretty easy to make and requires a few materials. You need ample free space to make a mounted slide. If you have a raised mold at your disposal, the better; if not, you can create an artificial one using sand and dirt.
To make one, you need to buy a plastic slide and a shovel to even out the mount. You can also use a plastic tarp if a slide is too expensive; spray some water on the tarp to make it easier for the kids to slide down. It’s also safer for young kids because they don’t have to climb tall steps to slide down.
Conclusion
The best part about building a play area in your backyard is that your kids won’t have a meltdown when leaving the park! These play ideas will also keep them entertained throughout the summer. You can also hold a playgroup in your backyard for other kids and parents.
Most play area ideas are easy to make and require little to no tools. If you encounter one that is too difficult to build, get a professional to help you. Most of them require little labor and are cheap to make.
Featured Image Credit: Valmedia, Shutterstock
Contents

