
With a trampoline in your backyard, you found a great way to keep your family members fit and your kids busy most of the time. However, the fun does not always last forever. After a while, the trampoline begins to experience some wear and tear often due to constant usage, old age, sand, excess exposure to the sun, or the wind.
Most of the time tiny tears will occur, but when dealt with immediately, you can easily save the trampoline and even give it more years to make your people happy. At the same time, ignoring these tiny holes will eventually cause too much damage and irreversible repair.
But how exactly do you go about patching a trampoline? Read on for three simple steps with a guide for each.

The 3 Steps to Patch a Trampoline
Once you have established that your trampoline needs patching up, you have all the required tools, and you can do it yourself; consider using the 3 simple steps illustrated below.
1. Sewing by Hand
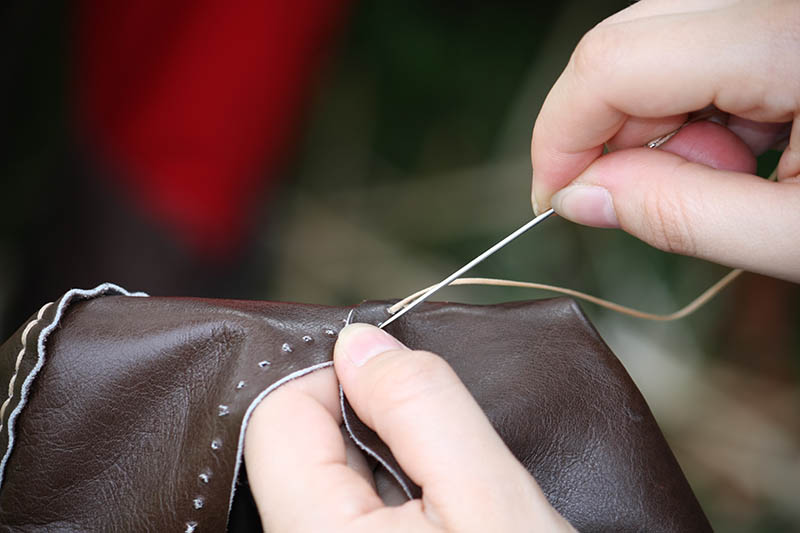
Sewing by hand does not need much; you simply place a patch on top of a trampoline hole and sew it using a needle and thread.
Here’s how to sew a trampoline by hand:
- Get your trampoline repair kit and use at least one of the available two large patches. Cut it into a circular piece at least two inches larger than the diameter of the damaged part of the trampoline.
- Prevent later fraying of the cut piece of the trampoline patch by running a match or a lighter all around it. This will also prevent the patch from budging in the processing of sewing. Be careful when doing this; you wouldn’t want to cause some burns on your fingers.
- Align the patch on the damaged part of the trampoline and begin to sew; you may do it in a cross-stitch or a whip stitch, depending on the method that best suits your needs or the one you are comfortable with. At this point, you may need someone to help you straighten or tighten the mat as you sew.
The sewing method is perfect because it is cheap, and the patch can last for years.
2. Adhesive Patching
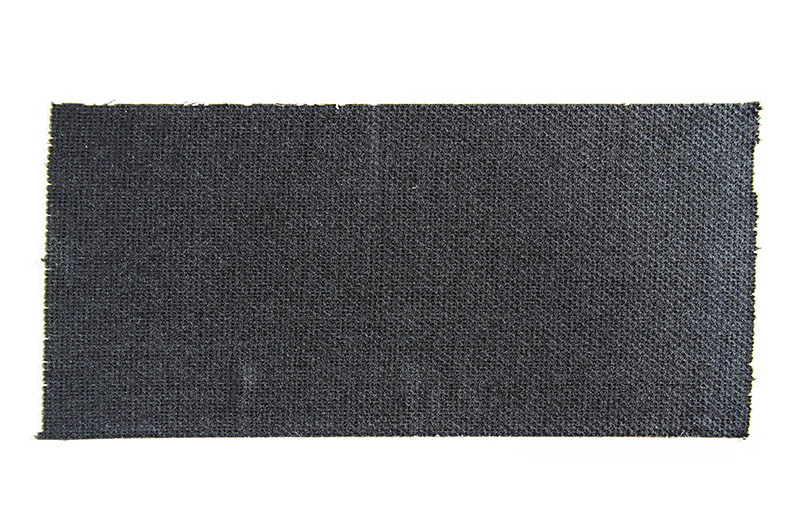
Adhesive patching is the easiest method to patch up your torn trampoline mat. It comes in handy, especially if sewing is not your thing. You can also get trampoline adhesive patch kits from the nearest shopping store or online platforms like Amazon.
Get isopropyl alcohol, a cleaning agent recommended for cleaning the trampoline-damaged area so that the adhesive can be effective. The kit has guidelines to follow.
If adhesive patching is your go-to method, consider following the step-by-step guide below.
- Get a patch from the trampoline adhesive patch and the isopropyl alcohol to clean the damaged surface in readiness for patching.
- Clean the damaged area and pat it dry.
- Apply glue on the inner surface of the adhesive patch if necessary. However, there are certain patches that you do not need to apply the glue; all you need to do is remove the protective layer.
- Patch the damaged area on the trampoline by pressing the adhesive patch on the trampoline firmly.
- Allow the glue to hold firmly by letting it be for at least 24 hours.
It is best to use the adhesive patching method when the temperatures are above 50 degrees so that the glue can hold firmly.
Colder seasons are not so conducive when it comes to using glue; also, this method is only recommended when dealing with holes that are 3″ or smaller.
3. Patching With a Sewing Machine
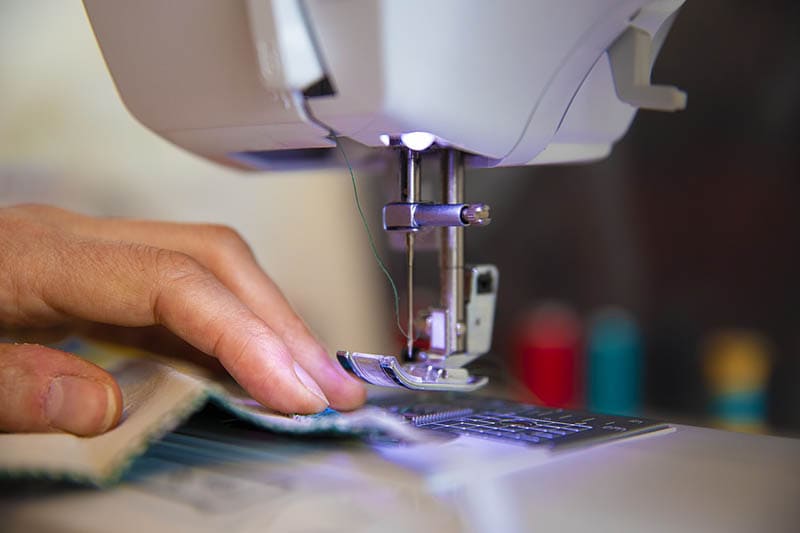
In most cases, a sewing machine comes in handy when a trampoline mat has experienced an extremely large tear, around 3 to 4 inches, which the above two steps cannot do.
Using a sewing machine requires some expertise, a machine with a powerful motor, a strong needle that can handle sewing materials like denim, vinyl, and leather, and a strong thread that is UV-resistant.
Use the procedure described below.
- Separate the trampoline mat from its structure.
- Set up the sewing machine for the task, ensuring the needle and the thread are installed appropriately and ready to function.
- Run a strong stitch on the mat, either a cross or in a zigzag form over the damaged part of the trampoline mat.
- Repeat step three to ensure the stitch is nice and tight, then put the trampoline mat back on its structure.
This method is time-consuming and requires additional skill and care compared to the above-mentioned methods. It can also be expensive when you do not have the tools for the work.
Hiring a professional is also an alternative method of patching up a trampoline. The only difference is you will be using someone else’s skills to do the work for you instead of fixing it yourself.
The cost of hiring a professional to patch a trampoline will depend on the damage and whether it is just a hole patch, a simple resew, or a complete rebuild.
How to Prevent Frequent Patching on Your Trampoline
The more you install patches on your trampoline, the more you reduce its lifespan. The trampoline will never go back to its new state. Therefore, it all goes back to proper maintenance. Below are tips on maintaining your trampoline to increase its lifespan.
- Protect the mat of your trampoline by spraying UV protective spray on a sunny day.
- Remove any sharp objects around the trampoline. Also, ensure the trampoline is not installed where there is too much sand or gravel- the particles might be tiny, but they are sharp enough to damage it.
- Ensure to repair a trampoline immediately after you notice any tiny damage; the longer you wait, the more the situation becomes irrecoverable.
- Purchase the right spring length; if you just bought the trampoline for your kids, then the shorter springs are fine. However, if the trampoline is for the rest of the family, including the adults, ensure you purchase the longer springs that can handle the higher weight.
- Do not go beyond the estimated amount of weight a trampoline can carry.
- Remove your shoes before climbing on a trampoline.
- Wash the trampoline as often as possible.
- Keep the trampoline from heat or fire sources like a fire point or grill.
Factors to Consider Before Patching a Trampoline
Before getting the knowledge you need to repair the trampoline, the question is, does your trampoline need to be repaired? If it does, how much repair is required? The factors below will help you decide whether it is appropriate to repair your trampoline.
Age of the Trampoline
Suppose your trampoline has served you for years, say, ten; look at the mat’s surface. For a trampoline that has been on duty for that long, the mat must be severely worn out and damaged, especially if it is always under the sun—repairing such a trampoline may be a waste of time.
It is better to get another one that will last you another ten years than repair an old trampoline that might survive for a few weeks or months before needing another repair.
The Magnitude of the Damage
Suppose the trampoline is still in good condition, and the damage is not related to how old it is, check the magnitude of the damage. How big is the hole if it is cut? It is easier to patch up a trampoline with a tear that is 1/2 inch wide or less.
If it is more significant than 3 inches, patching it will be more challenging than you expected. You may not necessarily need to get a new trampoline, but you might need a professional to do the patching for you. Doing it yourself may do more harm than good.
Also, when the edges of the trampoline are not frayed. Such damages will require minor repair skills like duct tape or simple hand-sewing tools.
Availability of Patching Up Tools
When you plan to patch up a trampoline, it is wise to precisely know the tools you need to have for the process to be successful. As mentioned earlier, duct tape will do just fine for simpler damages.
In other cases, you will need to purchase a trampoline repair kit. The kit contains two large patches (8″ x 4″) of the trampoline material, UV-resistant thread, and a needle firm enough to pierce through the strong trampoline material.
Conclusion
You can easily patch up a trampoline using the steps described in this article. However, before using any of the methods, ensure the trampoline actually needs patching it has gone through too much wear and tear, you might as well let it be and purchase another one.
An alternative method is hiring a professional to do the work for you and save you the trouble.
Featured Image Credit: Irina Wilhauk, Shutterstock
Contents
