4 DIY Septic Tank Risers You Can Build Today (With Pictures)
-
Jana Blagojevic
- Last updated:

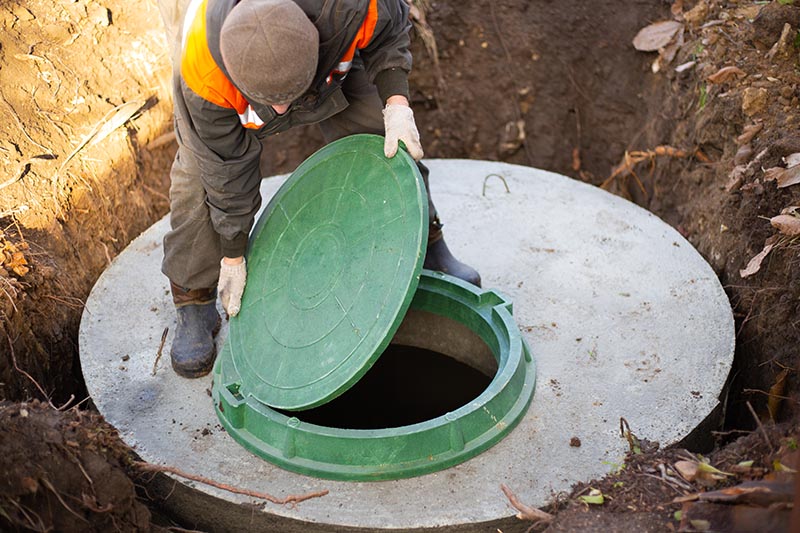
Septic tank risers are handy contraptions that act as a vertical portal from the concrete lid of the septic tank, which is underground, to the surface. The risers provide easy access to the septic tank for inspections and servicing without the need for digging. While these structures sound like a common and essential part of the septic system, not all households have them. Having a professional install a septic tank riser can be a costly investment, which is why many homeowners opt to build one themselves.
Many materials are used for building septic tank risers, such as plastic, concrete, fiberglass, and even other unconventional materials. If you are looking for ways to save some money, you can always DIY a septic tank riser on your own.
 The 4 DIY Septic Tank Risers
1. Simple Plastic Septic Tank Riser
- Materials: Foam sealant, screws, butyl sealing rope (optional), polypropylene septic tank risers
- Tools: Tape measure, cordless screwdriver, utility cover hook
- Difficulty Level: Easy
Plastic Septic Tank Risers are perfect because they will stand the test of time and be safe and durable for long-time use. This simple yet incredibly effective plastic septic tank riser is ideal for DIYers looking to save money, time, and effort. After collecting all the materials and tools, you’ll need for this project, the building of the septic riser is incredibly easy.
You’ll need to dig the dirt around the septic lid to allow access to the concrete lid—which will already be cleared after pumping—and proceed to connect all the parts of the septic riser. After securing all the parts of the plastic septic riser, you’ll need to glue them to the concrete base, and you’ll have yourself an ideal and functional tank riser.
2. Concrete Septic Tank Riser Cover
- Materials: 8 ft. 4×4 lumber, four pieces of 1×4 poplar lumber, waterproof carpenter’s glue, reinforcing rods, motor oil, bucket, concrete
- Tools: Tape measure, saw, miter saw, screwdriver
- Difficulty Level: Moderate
The most important part of the septic tank riser is the cover itself, which needs to be durable and strong enough to withstand any bad weather. The best and strongest material for the lid itself is concrete, and this Concrete Septic Tank Riser tutorial will help you manage this project easily. The only thing you’ll need to craft is the mold, which will help you achieve your desired cover shape. This particular tutorial uses an octagon shape because it is the easiest mold to make.
This tutorial will require some time and thought put into it, but you’ll end up with a perfect and sturdy septic tank cover that will serve you for decades to come.
3. Wine Barrel Septic Tank Riser
- Materials: 14 fire bricks, adhesive, screws, roof tar, butyl seal, wood finish oil, 24’’ x 24’’ patio block, two large wine barrels
- Tools: Tape measure, pencil, tie-down strap, table saw, drill, jig saw, hammer, grinder
- Difficulty Level: Moderate
If you live in the countryside or are a fan of the farmhouse style, you can craft a septic tank riser to fit with the rest of the landscape. This Wine Barrel Septic Tank Riser is a fantastic idea to transform an excluded area of your garden into an interesting feature. With some leftover barrels sitting in your shed, you’ll be able to easily create a septic tank riser and save plenty of money.
To ensure your barrels last a long time, you can stain them with a finish of your choice, and for the finishing touch, make sure to clear the landscape around them.
4. Corrugated Septic Tank Riser Tube
- Materials: Shovel, screws, 14’’ plastic septic tank lid, 18’’ corrugated riser tube
- Tools: Tape measure, cordless drill, a reciprocating saw,
- Difficulty Level: Easy
Suppose you are looking to spend less money on professionally installed septic tank risers and expensive equipment that takes forever to install. In that case, there is a way to have a properly working riser while saving time and money. This Corrugated Septic Tank Riser Tube is an ideal solution for a septic tank riser, providing you with a high-quality riser that will serve you for years. It is risk-free of rotting or rusting in the soil, and it will be safe to work around it. Since this material is so robust, you can safely even drive over it with your car without worrying about any damage.
 Conclusion
After you’ve read this article, you can start one of these DIY projects on your own. Depending on what you are looking for—whether you need a simple and quick solution or a creative one that will make the area more appealing—you will hopefully find a solution in the above plans. Each of these tutorials can be done within a day and requires materials and tools you can easily find.
- Related read: 10 Decorative Septic Tank Cover Ideas (With Pictures)
Featured Image Credit: Natalia Kokhanova, Shutterstock
Contents
 The 4 DIY Septic Tank Risers