9 DIY Stair Runners You Can Construct Today (With Pictures)
-
Chris Dinesen Rogers
- Last updated:

A stair runner is a no-brainer for protecting the surface if you have hardwood floors. That’s particularly true if you have a dog. Canine nails can do a number on wood, especially if it’s uncovered. Our guide offers some excellent advice and unique takes on making your own stair runner. Many individuals kindly provided many tips and decorating ideas to get you inspired.
Fortunately, many projects used tools and materials you probably have around the house, anyway. You’ll find easy plans and others that are a bit more challenging.
The 9 DIY Stair Runners
1. Simple Runner With Detailed Instructions
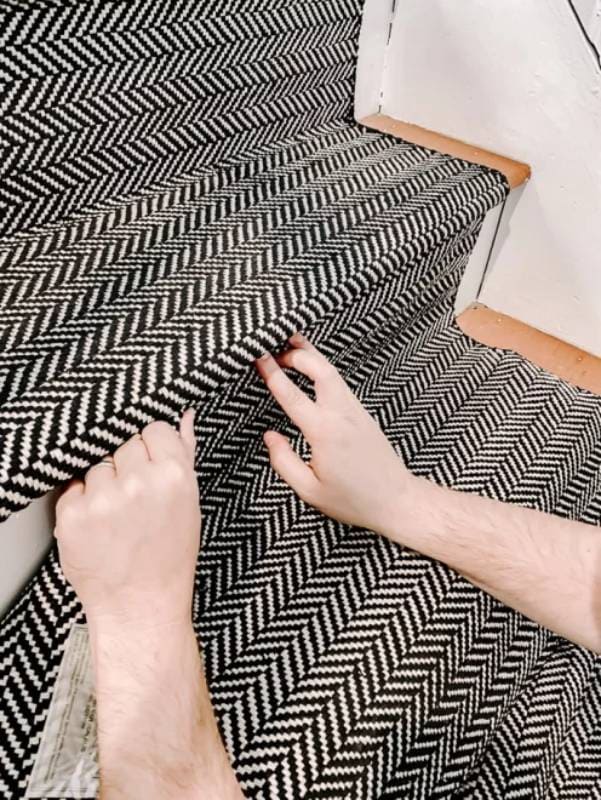
| Materials: | Staples, carpet padding, stair rods, carpet tape |
| Tools: | Staple gun, tape measure, drill, drill bit, scissors |
| Difficulty Level: | Moderate |
The best thing about this simple carpet runner is the detailed instructions that this DIYer provides with excellent photographs that cover every step of the way. This project isn’t hard. However, we can see it being unwieldy if you have a large staircase to cover. The trick is to go slowly and pull the material taunt to make it safe to use the stairs. We love the flexibility it gives you to decorate your home.
2. Jute for a Unique Look

| Materials: | Staples, jute runner, carpet gripper |
| Tools: | Staple gun, tape measure, scissors |
| Difficulty Level: | Easy |
This DIY project works with constructed materials, i.e., the jute runners, to give you a head start on the completed job. The choice of jute is brilliant. Not only does it look fantastic, but it’s durable enough to handle heavy traffic areas like a champ. It also makes it easy to hide the staples holding the runner in place. You don’t see the transitions or ends.
3. Padding It
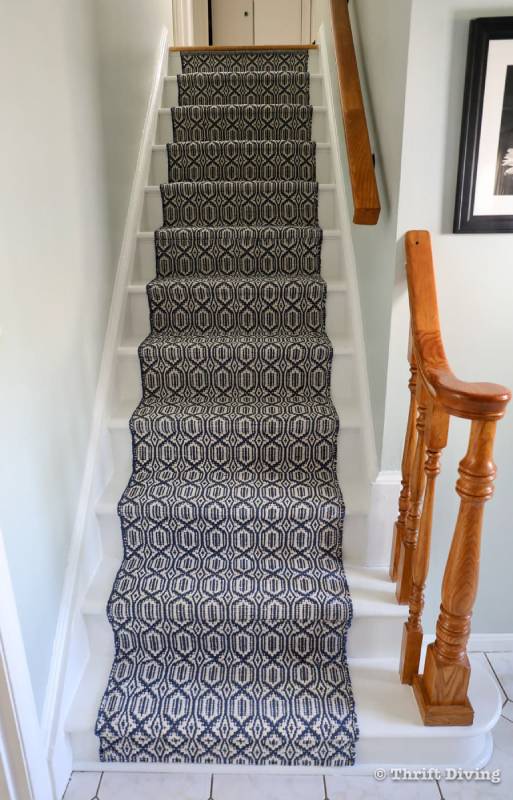
| Materials: | Staples, stair runners, rug pads |
| Tools: | Staple gun, tape measure, scissors |
| Difficulty Level: | Easy |
This clever take on the traditional runner is an excellent compromise between protecting your stairs and highlighting the beauty of the hardwood. The stain’s color may fade over time if your staircase is in a well-lit room. That will leave an eyesore if you remove the existing runner. This project is easy to do because it focuses on the steps. It’s practically foolproof, too.
4. Going Vintage

| Materials: | Staples, carpet padding, painter’s tape |
| Tools: | Staple gun, tape measure, carpet tucking tool |
| Difficulty Level: | Moderate |
You wouldn’t think of a stair runner as a focal point, but using this runner with its vintage design makes it happen. The instructions include how to remove an existing runner with details about fixing it before it gets its new wrap. After all, you shouldn’t rely on it to cover up the blemishes after you’ve taken off the old one. Repair the damage to make it adhere better to the stairs.
5. A Colorful Solution
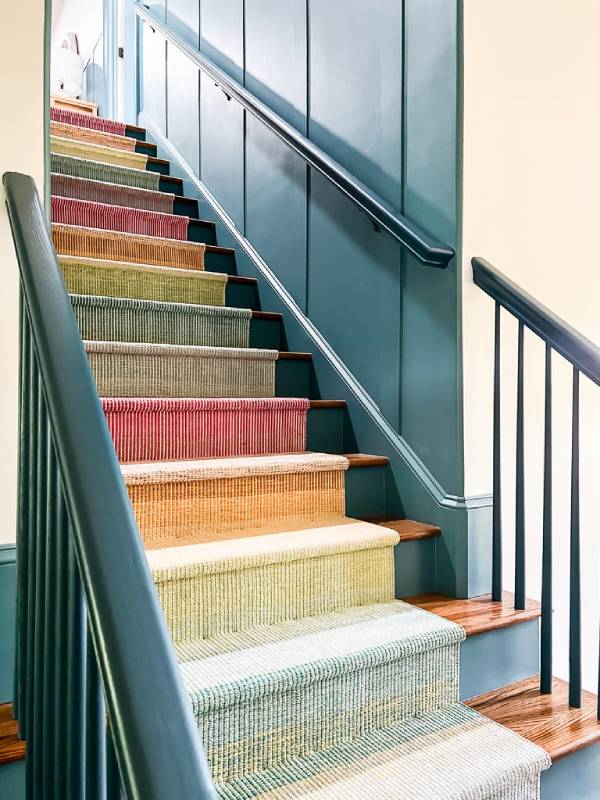
| Materials: | Staples, carpet padding, stair runner, carpet tape |
| Tools: | Staple gun, tape measure, chisel, scissors |
| Difficulty Level: | Moderate |
Who says a stair runner has to be boring or all the same color? That’s what makes this DIY project so fun. It’s functional yet adds some pop to a room. If you have kids, they’ll love it! This job also uses a chisel to get a tight fit. This take keeps the padding on the steps instead of going all the way down the stairs. It makes it quicker and easier to install.
6. Fully Covered
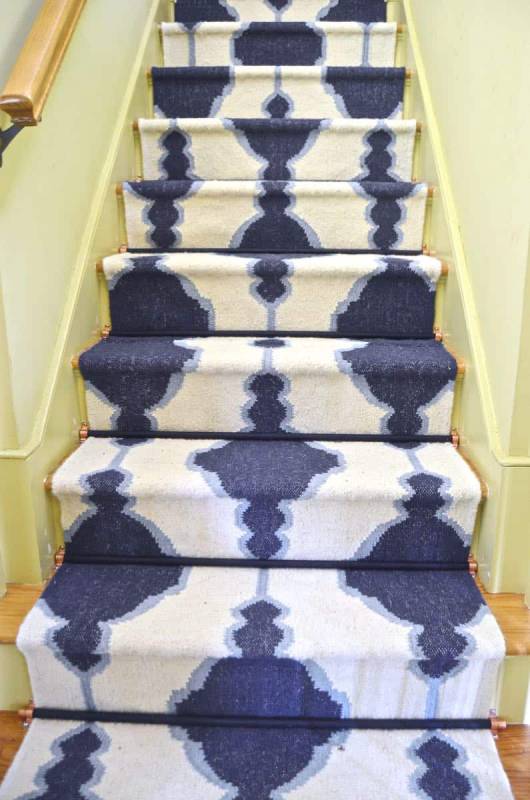
| Materials: | Staples, carpet padding, dowels, carpet tape, clamps, screws |
| Tools: | Staple gun, tape measure, drill, drill bit, scissors, screwdriver |
| Difficulty Level: | Moderate |
This DIY solution is an excellent choice if you need to cover the entire step because of the room’s location or the use it gets. This project uses dowels to hold the runner in place. It also allows you to take it off and wash it as necessary. They didn’t detract from the look of it, either. We liked this practical riff on something that will undoubtedly get a lot of use.
7. Easy-Peasy DIY Stair Runner
| Materials: | Carpet padding, carpet tape, staples, carpet runner |
| Tools: | Scissors, staple gun, tape measure |
| Difficulty Level: | Easy |
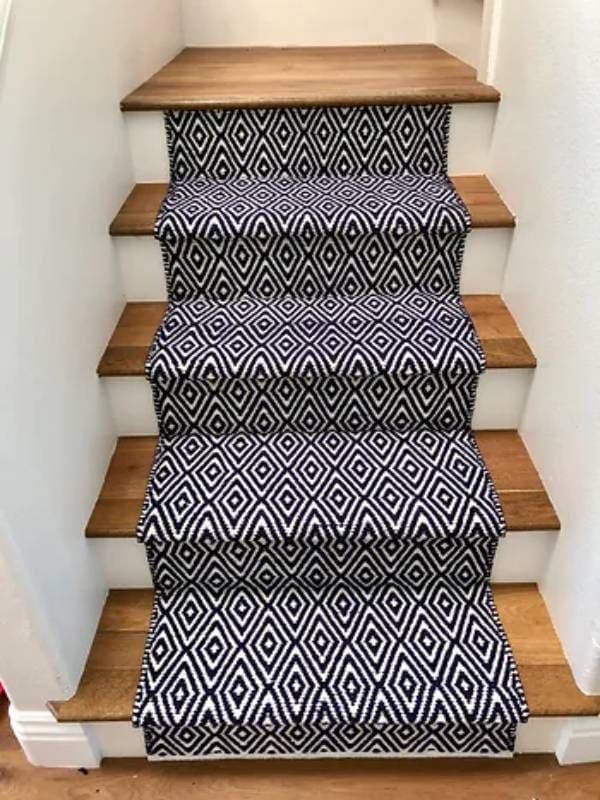
You can complete this easy DIY project in an hour. It skips the long runner going down the length of the stairs and swaps it out for pieces on the top of each step. The key to pulling this one off is accurate measuring and cutting. Correct placement is also essential. We recommend no stapling until you’ve taken a step back to make sure everything is in place.
8. Simple Runner With Detailed Instructions

| Materials: | Staples, carpet padding, adhesive, carpet tape |
| Tools: | Staple gun, tape measure, carpet tucker, scissors, iron |
| Difficulty Level: | Intermediate |
This intermediate DIY project delivers excellent results and gives you the flexibility to fit any space. It adds carpet adhesive to the mix, which explains the iron on our tool list. It ensures the pad and runner will stick together for a safer solution with this extra step. This job is a good choice if your stairs have a large nose. It’ll give you extra room for another staple and a secure fit.
9. Runner Without the Padding
| Materials: | Finishing nails, area rugs, carpet tape |
| Tools: | Hammer, tape measure, scissors, laser pointer |
| Difficulty Level: | Easy |
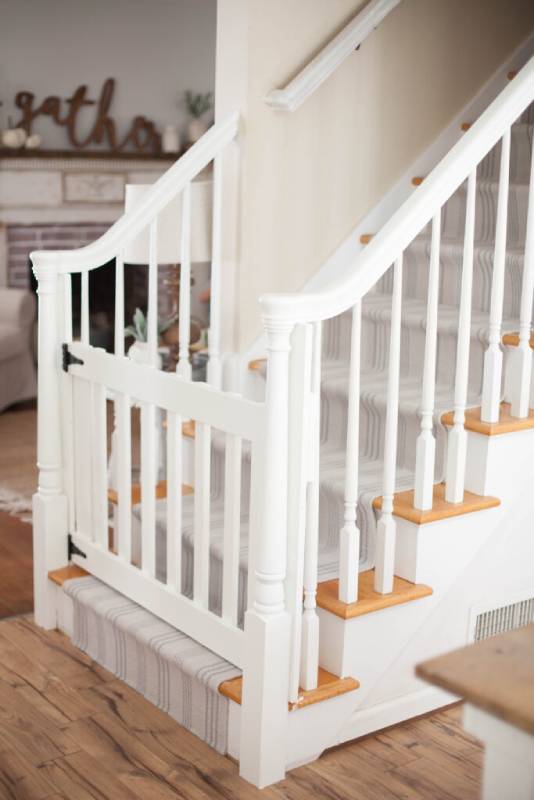
This project does away with the padding and sticks with area rugs that probably have a bit already. This couple made creative use of a laser pointer to help them sight their lines. Carpet tape held the runner in place with finishing nails doing the heavy lifting. Using this method allowed them to protect the decorative trim under the steps’ lips. They could also secure it from underneath for added safety.
Final Thoughts
A stair runner is a must-have if you have hardwood floors. It will protect the stairs from wear and keep them looking their best longer. Luckily, many solutions exist that can add a pleasing decorative element and added safety with more traction to prevent falls. Our round-up shows that it’s not a difficult project. Taking your time and measuring accurately will ensure an attractive result.
Featured Image Credit: PxHere
Contents
