

A standard metal hammer isn’t suitable for all tasks. It can deface the head of a nail or other metal fastening and doesn’t offer the same precision striking as other forms of hammers.
The wooden mallet is a simple design, typically consisting of a handle and a as mallet head-fixed together. It is commonly used in woodworking projects, to hammer blocks or pieces of wood, and to elicit greater control when hitting a chisel. They range in value from $10 to $50 or more, and the keen DIYer will likely have the wood and tools available to make their own. So if you’re up for it, one of the plans below will teach you how to build a wooden mallet of your very own.
Crafting a wooden mallet is a simple project, but it does require a keen eye for detail and precise measurements. While a woodworker will normally craft a wooden mallet from beechwood, any medium-density wood can be used, as long as it won’t damage wooden workpieces.
Below, we have found plans to make your own wooden mallet. Some suggest beechwood, while others offer alternative materials. Some suggest gluing the handle to the head, while others rely on a tapered design where the handle wedges firmly into place in the head. Depending on the tools you have available, the project can be completed in a couple of hours, but it might take longer if you are using manual tools.

The 6 Simple DIY Wooden Mallet Plans
1. Craftsmanspace’s Wooden Mallet Plan

Image Credit: Craftsmanspace
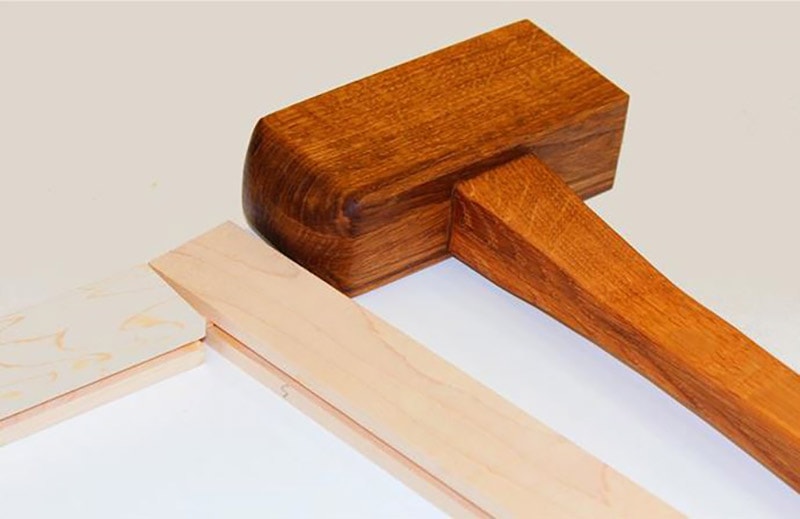
The Crafstmanspace’s wooden mallet plan gives detailed instructions on how to build a medium mallet. Like any good mallet design, the head of this piece is tapered toward the worker to ensure that you can get a square strike with every swing. The eye of the mallet head is also tapered. This enables the head to wedge onto the handle.
Rather than there being a danger of the head coming off during use, every swing and strike of the mallet will wedge the head tighter, so it always remains secure. The plans also point out that the tapered eye is difficult to create in a single piece of wood, so they recommend using two or three pieces of wood glued together. This makes it easier to get in and create the eye.
2. Domed Head Joiner’s Mallet Plans From the WoodWorkers Guild of America
The Woodworkers Guild of America suggests something similar with the head of the mallet in their plans. They use four pieces of wood glued together, which naturally leaves an eye in the center. This avoids the use of a chisel to have to taper the eye out of the center of a block of wood.
This mallet has a domed head, which allows for precision striking and no overlap when you strike the desired surface. Finally, the guide recommends finishing the mallet with linseed or another oil to protect the wood without the danger of scratching.
3. Popular Woodworking’s Joiner’s Mallet
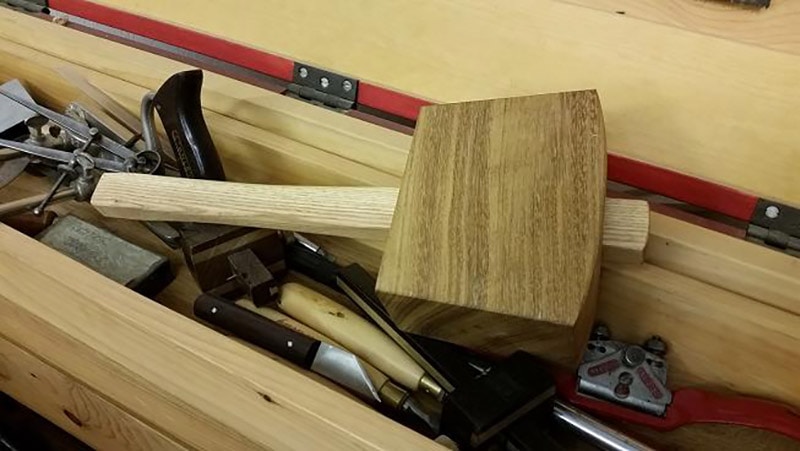
The joiner’s mallet design from Popular Woodworking uses ash for the head of the mallet. Ash is a hardwood, and because it has a degree of movement and flex, it absorbs the shock that comes when striking. The tapered handle fits through the eye of the mallet head and ensures that the mallet is connected without the use of glue. The head is also tapered, which will help you strike true with every swing.
4. Mallet Plans From Jay’s Custom Creations

Jay’s Custom Creations extols the benefits of a handle tapered from top to bottom. Once this is inserted through the eye, it is fully secured without the need to use any glue. Jay also points out that if the mallet head ever breaks, you will only need to fashion a replacement head because you can reuse the existing handle. This guide gives readers two methods of producing basically the same mallet, which means that you can choose the technique that you’re most comfortable with. The guide also includes a video so you can work along at the same pace.
5. Easy Wooden Mallet Plans From Instructables

The easy wooden mallet plans on Instructables point out that hardwood is only necessary for those who regularly use a mallet. Softwood is used because the creator is only a “weekend woodworker.” These instructions use a miter saw, table saw, and router, but you can enjoy the same results using a handsaw and a ton of sandpaper. You can also glue the handle in place, but the author suggests that this isn’t necessary.
6. IBuildIt’s Wooden Mallet Plans
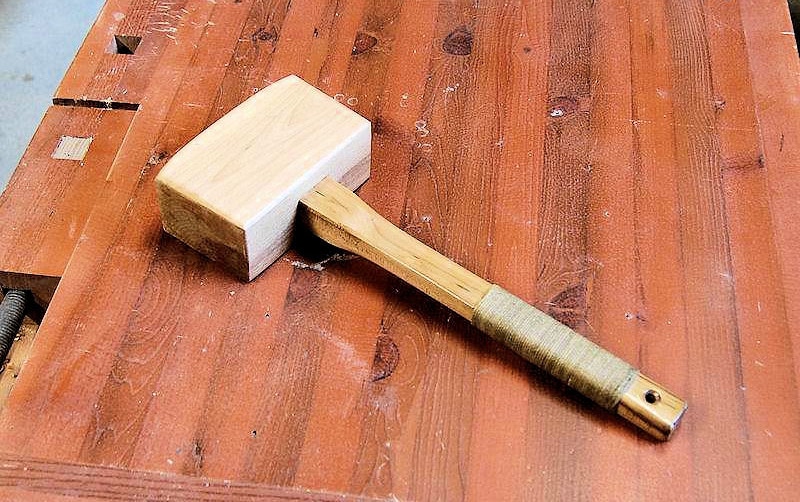
The iBuildIt wooden mallet plans can be used to create a mallet that is similar in design and shape to the others on this list, albeit with one difference. The handle of this mallet is finished with a twine handle. This offers improved grip and is easier on the hands, especially if you are a regular mallet user. This mallet uses a wedge design to keep the handle in place.
Make Your Own Wooden Mallet
Wooden mallets are better than metal hammers when you want to retain the shape and quality of fastenings or wood pieces. A woodworker will usually have a favorite mallet, typically because of the shape or taper of the handle or just how the mallet feels in their hand. Use the plans above to learn how to build a wooden mallet of your very own, modified to meet your required measurements, and to create your next favorite wooden mallet.
Related Reads:
- 6 DIY Child Rocking Chair Plans You Can Make Today (With Pictures)
- 8 DIY Wooden Go Kart Plans You Can Make Today (with Pictures)
- 11 Free DIY Chicken Brooder Plans You Can Make Today (With Pictures)
Featured Image Credit: Instructables
Contents
