
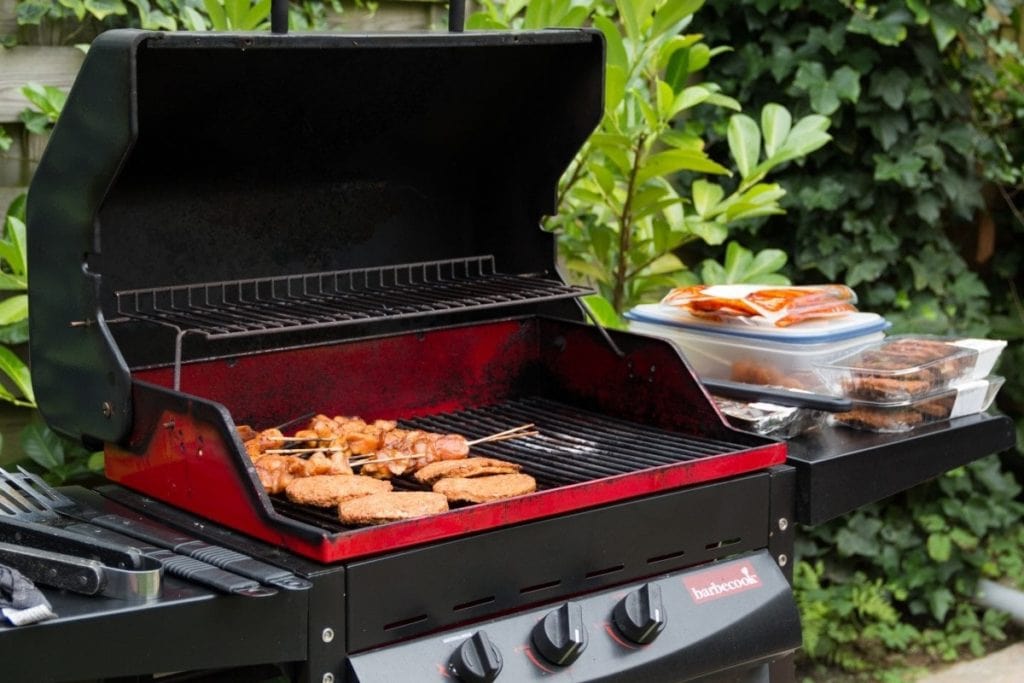
Americans are passionate about grilling, with about 70% of adults owning either a barbecue or smoker. Roughly the same percentage cite the unique flavor you can get from cooking on one as the reason they opt for it. Contrary to popular belief, that caked-on burnt stuff doesn’t season your grill any more than a dirty skillet enhances your result.
It’s essential to clean your BBQ grill for food safety and to reduce your risk of cancer from consuming charbroiled foods. Perhaps an even more compelling reason is that it can make your next meal taste funky, especially if the flavors are wildly different from what’s on the grate compared to your next dish. Cleaning it after every use is the best way to make all your food taste good and keep the grill in good condition.

Before You Start
If it’s been a while since you’ve cleaned your grill, beware that it’s a messy job. That’s probably why many people don’t do it after every time they fire it up—because it’s such a pain. Nevertheless, we recommend wearing the old clothes you usually wear for these types of chores.
Our guide includes directions for charcoal and gas grills. The latter has a few extra steps because it has more moving parts to clean. The size of the grates will likely make it an outdoor job, which is probably for the best. The last thing you want to do is work in the kitchen after you’re done with the grill. You can set up your cleaning station near a garden hose to make it easier as well.
Materials
We recommend borrowing a common cooking tip and setting up your mise en place before you start working. This basically means to have everything handy at the beginning, so you won’t have to go back and forth once you start.
The things you’ll need include:
- Long rubber gloves
- Wire grill brush
- Grill cleaner spray (optional)
- Paper towels
- Dishwashing soap
- Bucket, preferably two
- Rags
- Newspapers or a drop cloth
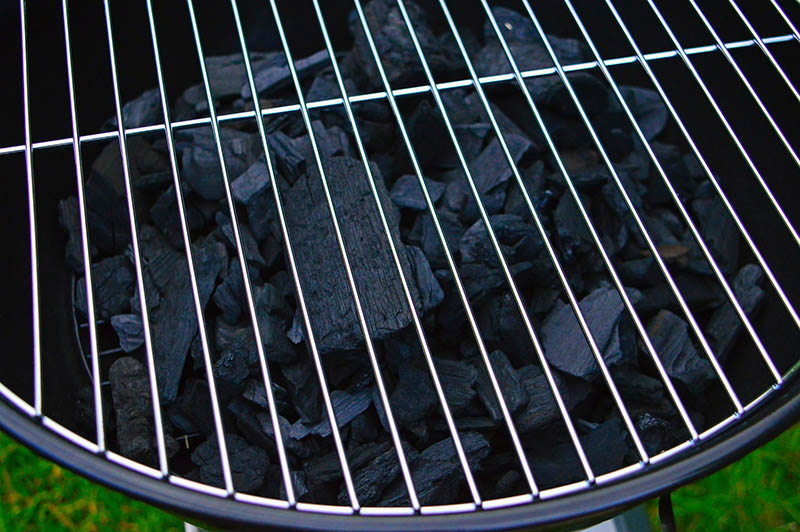
- Charcoal (optional)
- Chimney starter (optional)

The 12 Steps to Clean Your BBQ Grill
1. Set Up Your Work Area
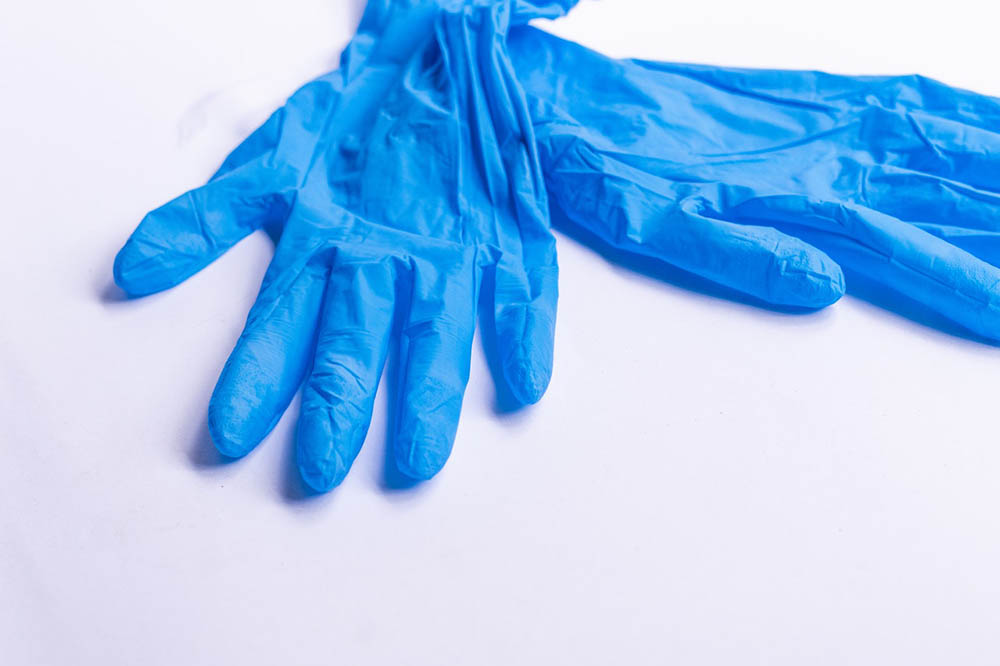
Gathering all your materials is an essential first step. We like using a drop cloth since it makes cleaning up easier. It also prevents food from getting on your deck or patio. Any leftovers can attract rodents and other pests. Don’t forget to put on your rubber gloves.
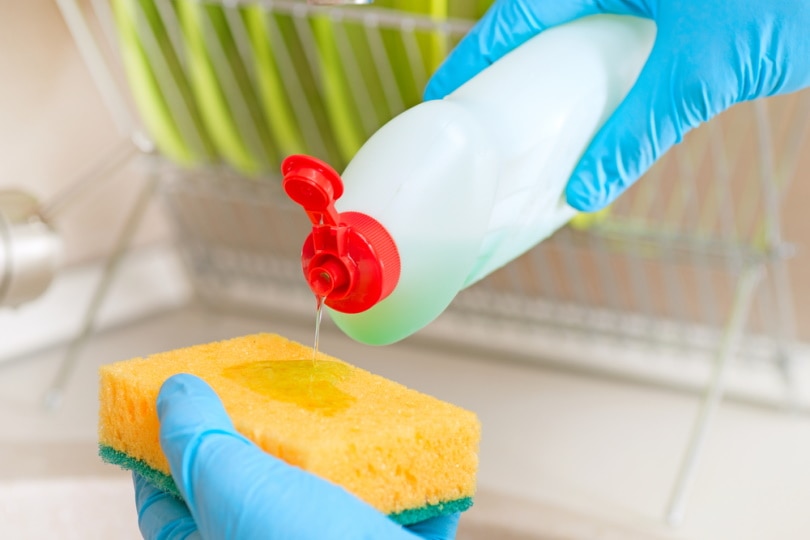
2. Fill Your Buckets
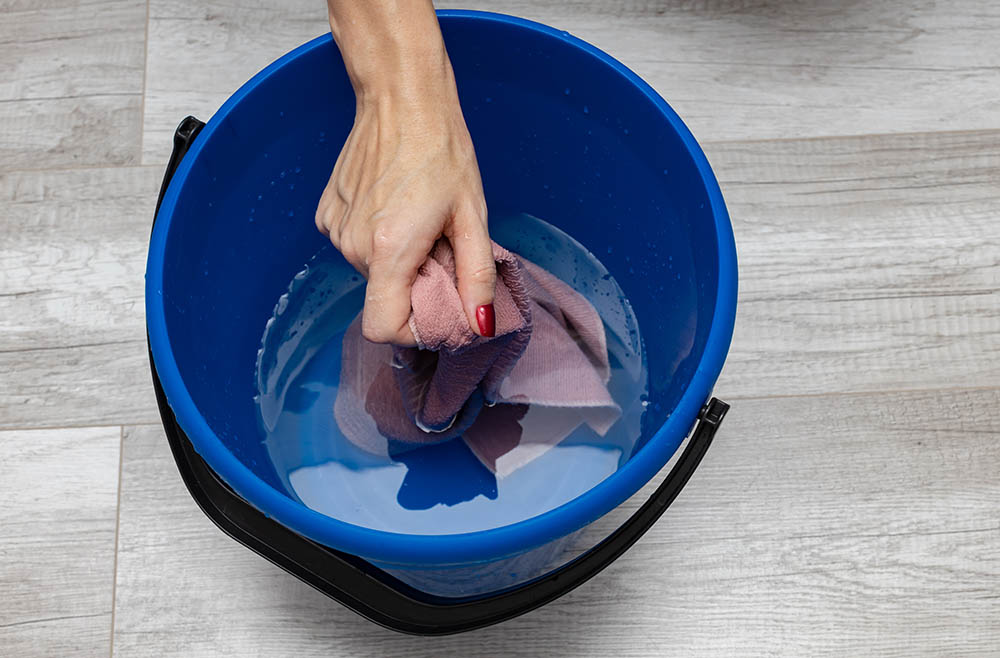
We suggest two buckets because of the mess. The debris will foul up one quickly. Instead, fill both with warm water, adding some dish soap to one. You can wash the grill using one and rinse your sponge in the other.
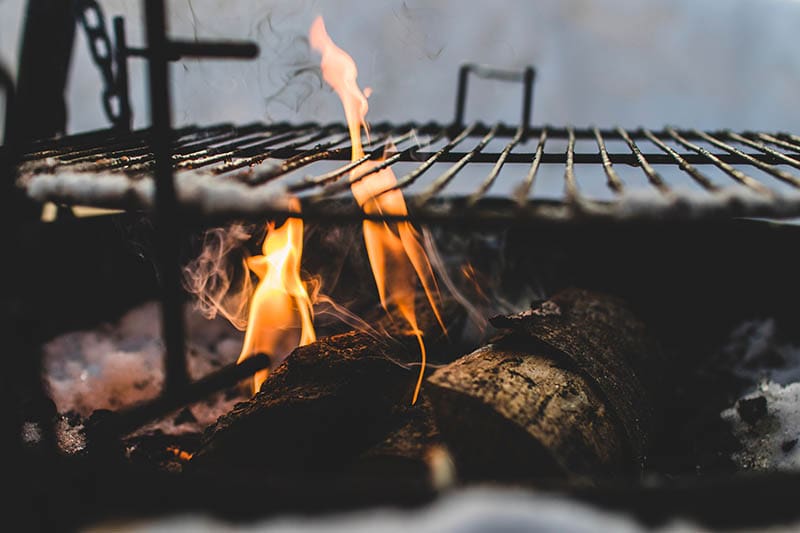
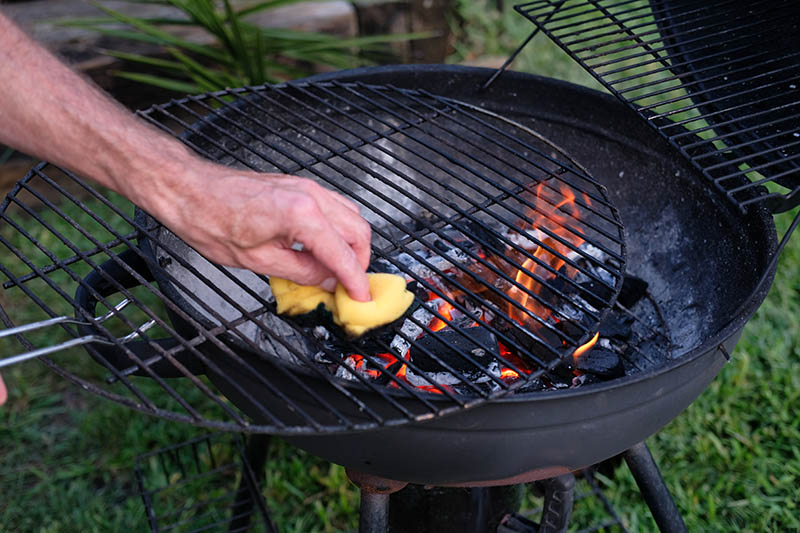
3. Start Your Grill
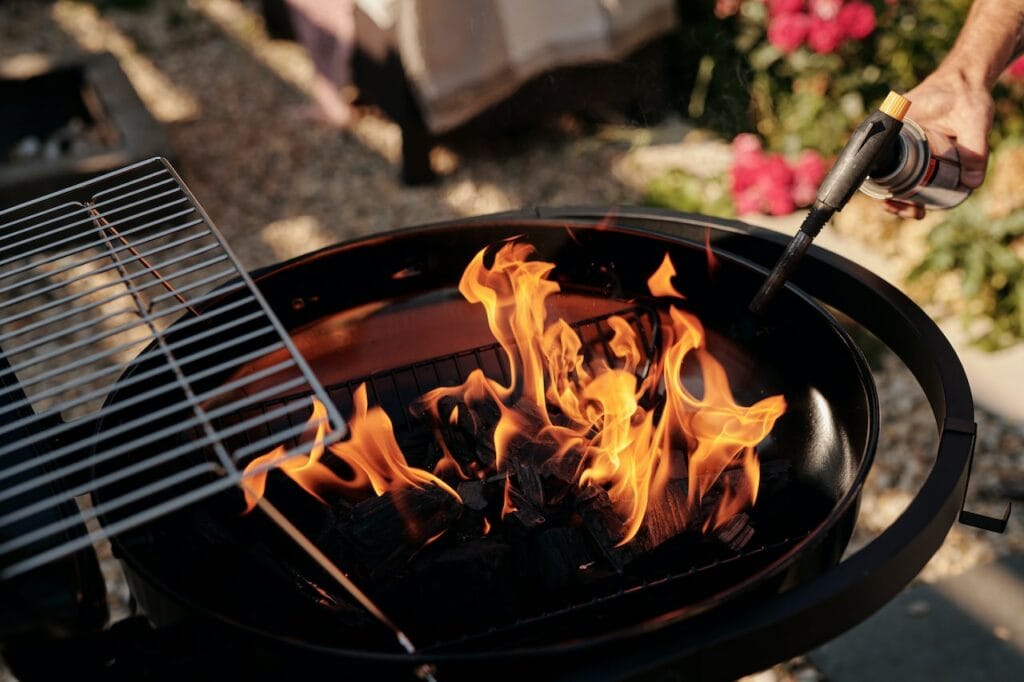
You should fire up your grill using a chimney starter or turn on the gas, depending on what you have. Leave the grate in place. Let it run for about 15 minutes before extinguishing the flame. Let it cool until it is safe to the touch.
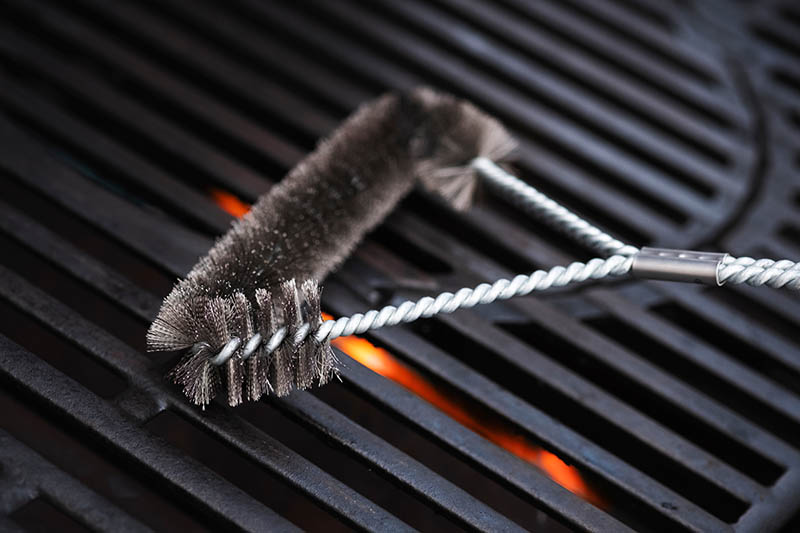
4. Scrap the Grate
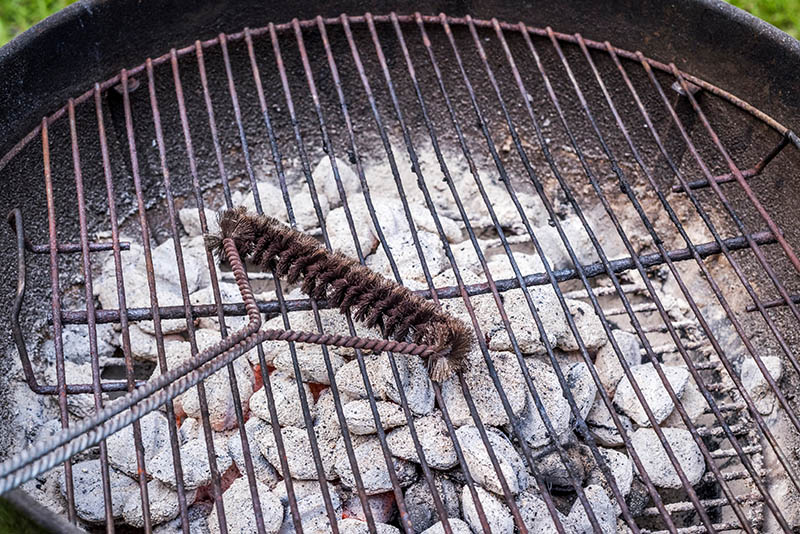
Scrap the grate vigorously using a wire grill brush. Make sure to do both sides. You should follow this step regardless of if you’re using a cleaning product. It will work better if it can come in contact with the debris to do its job.
5. Empty the Contents of the Grill
Empty the spent coals and ash from the interior of the grill and the plate underneath if applicable. If you have lava rocks in your gas model, toss them out and replace them. Otherwise, follow the manufacturer’s recommendation for cleaning ceramic pellets and remove them to start working on the interior.
6. Spray the Grate and Interior With the Grilling Spray (Optional)

The advantage of using a grilling spray is that it will cut through the grease well. Your grill likely rivals your oven for the most splatters on its walls. These products are likely safer for the environment since it’s a given that you’d use them outside. They are nowhere near as unpleasant to use as oven sprays. Follow the manufacturer’s directions and recommendations.
7. Soak the Grate
Soaking the grate will help remove any lingering bits of charred food or marinade. It will also get to the areas that your brush might miss. While this tool is useful, it may also shed stray bristles. The time under the water will loosen them to ensure your grate is completely clean.
8. Remove the Burners and Clean the Igniters (Gas Only)
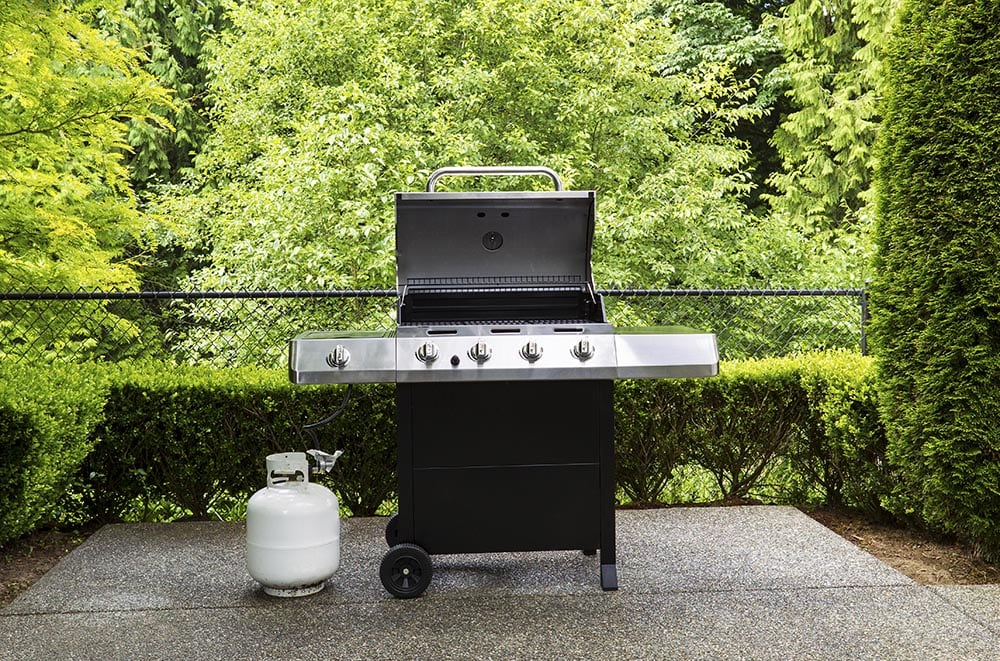
You must follow a similar procedure with the burners on a gas grill. They could also benefit from soaking. It’s an excellent time to inspect the igniters and clean them out as needed. Follow the instructions in your owner’s manual, particularly for how to disassemble and reassemble the unit.
9. Wipe Down the Kettle
Wipe down the kettle using your warm, soapy water. You’ll likely have to repeat this step a few times to get the interior clean. Don’t forget the little spots, like the brackets that hold the grate in place. Follow the same procedure with the interior of the cover. Dry the kettle using rags to avoid rust formation.
10. Clean the Grate and Rinse It
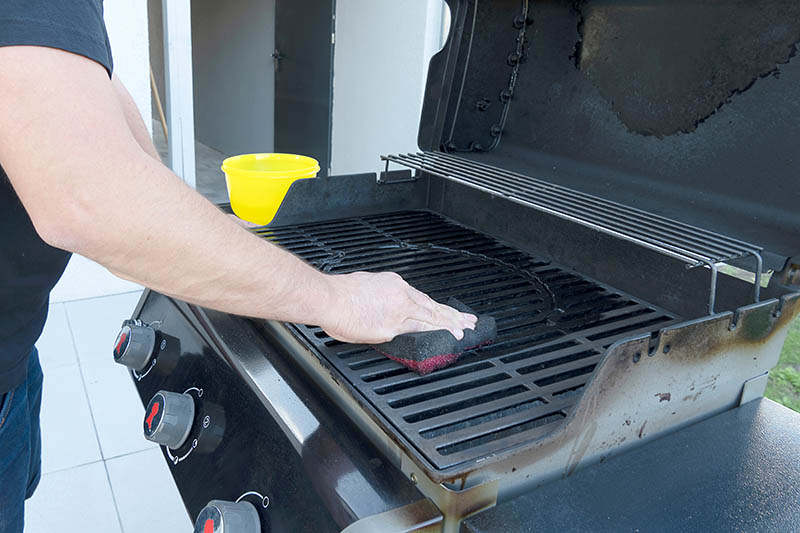
Rinse off the grate and go over it with a rag to remove any lingering debris. Wash it off again and dry it with a rag. Taking the time to clean it thoroughly will ensure you can reuse it the next time.
11. Clean the Exterior of the Grill
Make sure to give some love to the exterior of your grill. Sponge it down with your warm, soapy water, and then rinse it. It’s a good time to inspect the wheels to make sure they’re tight and secure on the frame. Dry the kettle with some clean rags.
12. Cover the Grill
Don’t let all your hard work be for naught by neglecting to cover your grill. You’ll find products to match the model to ensure a snug fit. A couple of extra binder clips will make sure that a strong wind doesn’t blow it off your grill.
Bonus Cleaning Tips
We’re sure that anything you can do to make this job easier is welcome. The heat is both your friend and enemy. You might get those tasty foods, but the high temperatures practically seal them to the surface of the grill. However, do yourself a favor to make this task less unpleasant by following our bonus tips.
1. No Brush? No Problem!
An old campfire trick that works equally well for a grill is to use a wadded-up piece of aluminum foil with a pair of tongs. It can easily mold into the shape of the grate to get to those hard-to-reach places. It’ll work comparable to a wire brush in a pinch.
2. Clean the Grill After Every Use
Your owner’s manual undoubtedly says it, but the best way to make cleaning your barbecue easier is to wipe it down after every use. It makes sense. After all, the grill is still warm. The food hasn’t hardened on the grate yet. Do yourself a favor and get it done while the timing’s right.
3. Prep the Grate With Oil Before Cooking
Foods are less likely to stick if you oil up the grate before you put them on the grill. We recommend letting the grate warm up, removing it to either wipe it down with oil or using a cooking spray, and putting it back in place to get hot. Heat and fat will provide the perfect surface for grilling.
4. Use Dishwashing Liquid on Cookware
Another old campfire trick that works is to coat the bottoms of your cookware with dishwashing liquid before putting them over the coals. Of course, it’s not a solution for pans with grates since the soap may come in contact with the food. However, it’ll work like a charm for skillets and other cast iron pans.
5. Replace Your Wire Brush Annually
No matter how much you wash it, it seems like you can never get a wire grill brush completely clean. There are too many nooks and crannies. It doesn’t help that the bristles are sharp. Remember that it also can rust if not dried properly. Instead, get a new one for the next grilling season.
Final Thoughts
Grilling is more popular than ever as people realize the pleasure and savings of making meals at home. There’s probably not a more delicious way to extend your household’s food budget. However, cooking over a fire still means maintenance to get the most out of your grill.
Luckily, it’s not hard to get it spick and span without much effort. Besides, it’ll make cooking easier and your food taste better.
Featured Image Credit: CC0 Public Domain, Pxhere
Contents
