
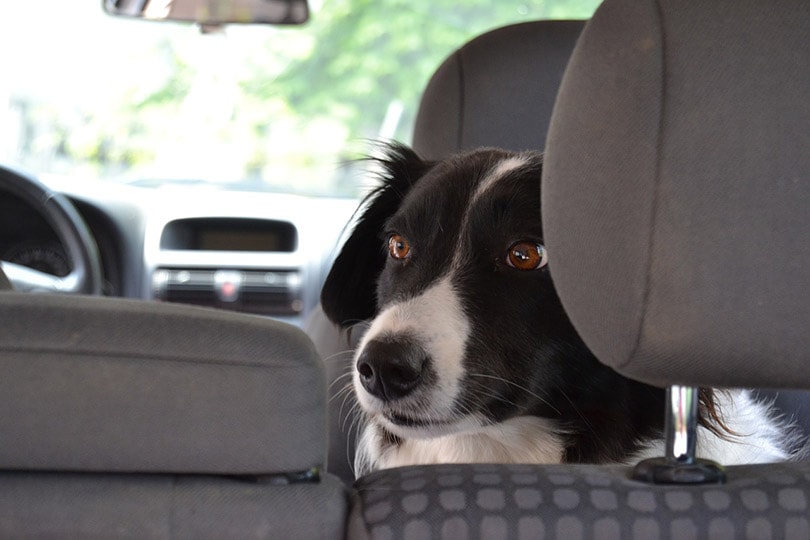
Although dogs feel soft when being pet, their fur can stick up like porcupine quills when stuck in car seats! As a result, the hair continues to latch onto the seat, even when you try cleaning it out. Removing dog hair from your car can be seemingly impossible, especially if you have fabric seats.
Even so, removing annoying dog hair from your car seats is possible. Below, you will learn how to clean dog hair from a car in 6 steps. Let’s dive right in.
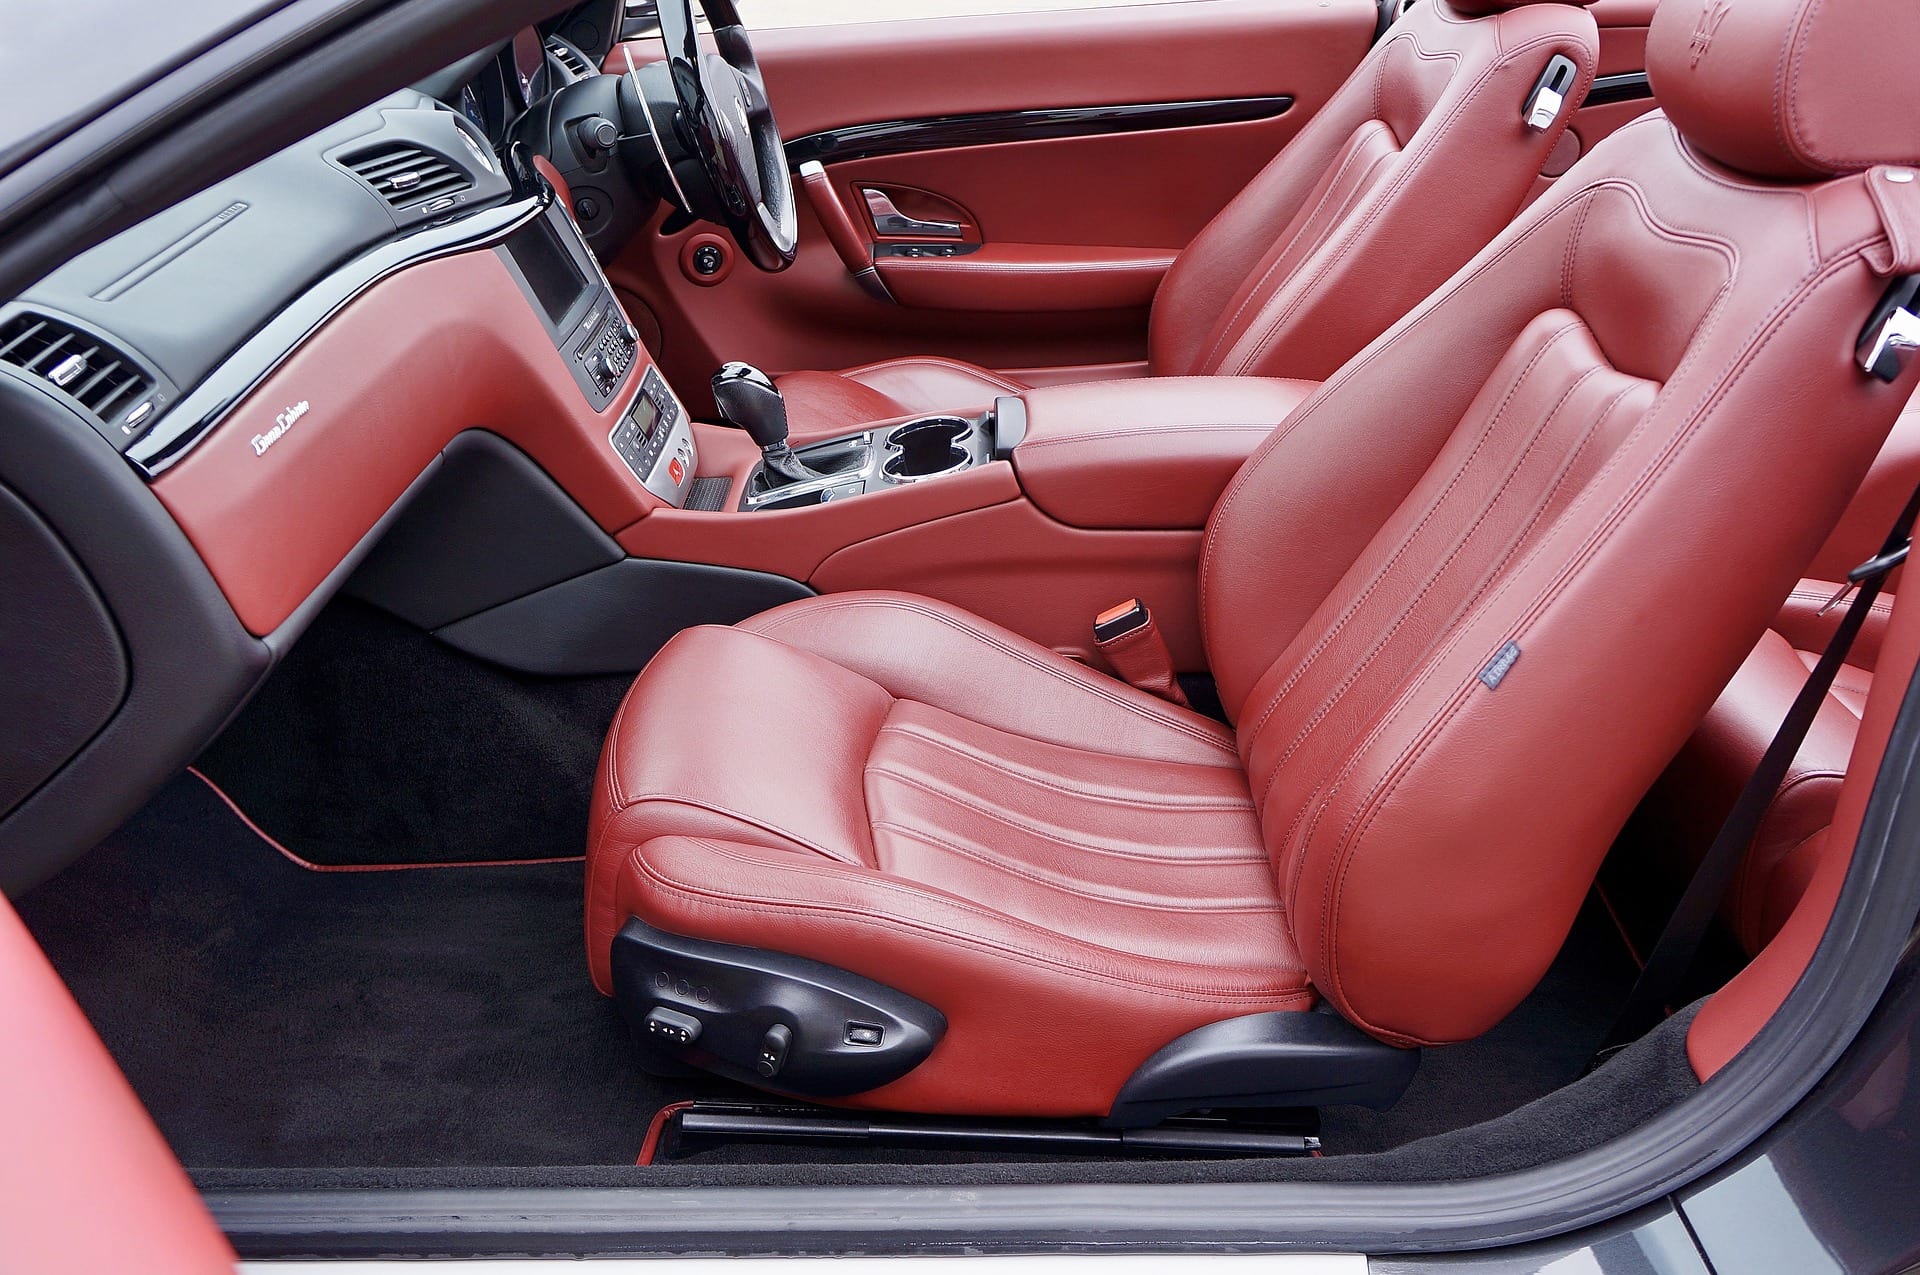
 Leather vs Fabric Seats
 Leather vs Fabric Seats
Before you get started, know that removing dog hair from your car will largely depend on the type of seats you have. If you have leather seats, all you will need to do is get a handheld vacuum to vacuum up the hair. You shouldn’t have to do any more work since the dog hair sits on top of the leather.
If you are reading this article, it’s likely because you have fabric seats, not leather. Fabric seats make it more difficult to remove dog hair since the hair actually gets stuck in the material. The rest of this article explains how to remove dog hair from pesky fabric seats.
The steps below can work for leather seats as well, but they are less likely to be required. As a result, we recommend simply vacuuming the dog hair if you have leather seats but moving on to the steps below if you have fabric seats.
What You’ll Need
- Rubber gloves
- Vacuum
- Bristle brush
- Lint roller
How To Clean Dog Hair From a Car
1. Pick Up Excess Hair

To get started, put on some rubber gloves and manually pick up what hair you can. This is best if there are clumps of dog hair stuck to particular seats. The purpose of this step is to remove any excess hair so that you can focus your hard scrubbing on hair that is embedded into the seat.
Gloves will protect your hand from the nasty feel and grime from the dog hair, but they will actually help you to grip the dog hair because of the material too.
You don’t need to spend a lot of time on this step. Simply pick up any obvious clumps and toss them in the trash.
2. Vacuum What You Can

Now that you have picked up excess hair, take a vacuum and vacuum up all the floors and seats. This will further remove any excess hair that you couldn’t pick up with your hand. Once again, you don’t need to spend a whole lot of time on this step because you will be vacuuming in later steps as well.
3. Scrub Affected Areas With a Bristle Brush
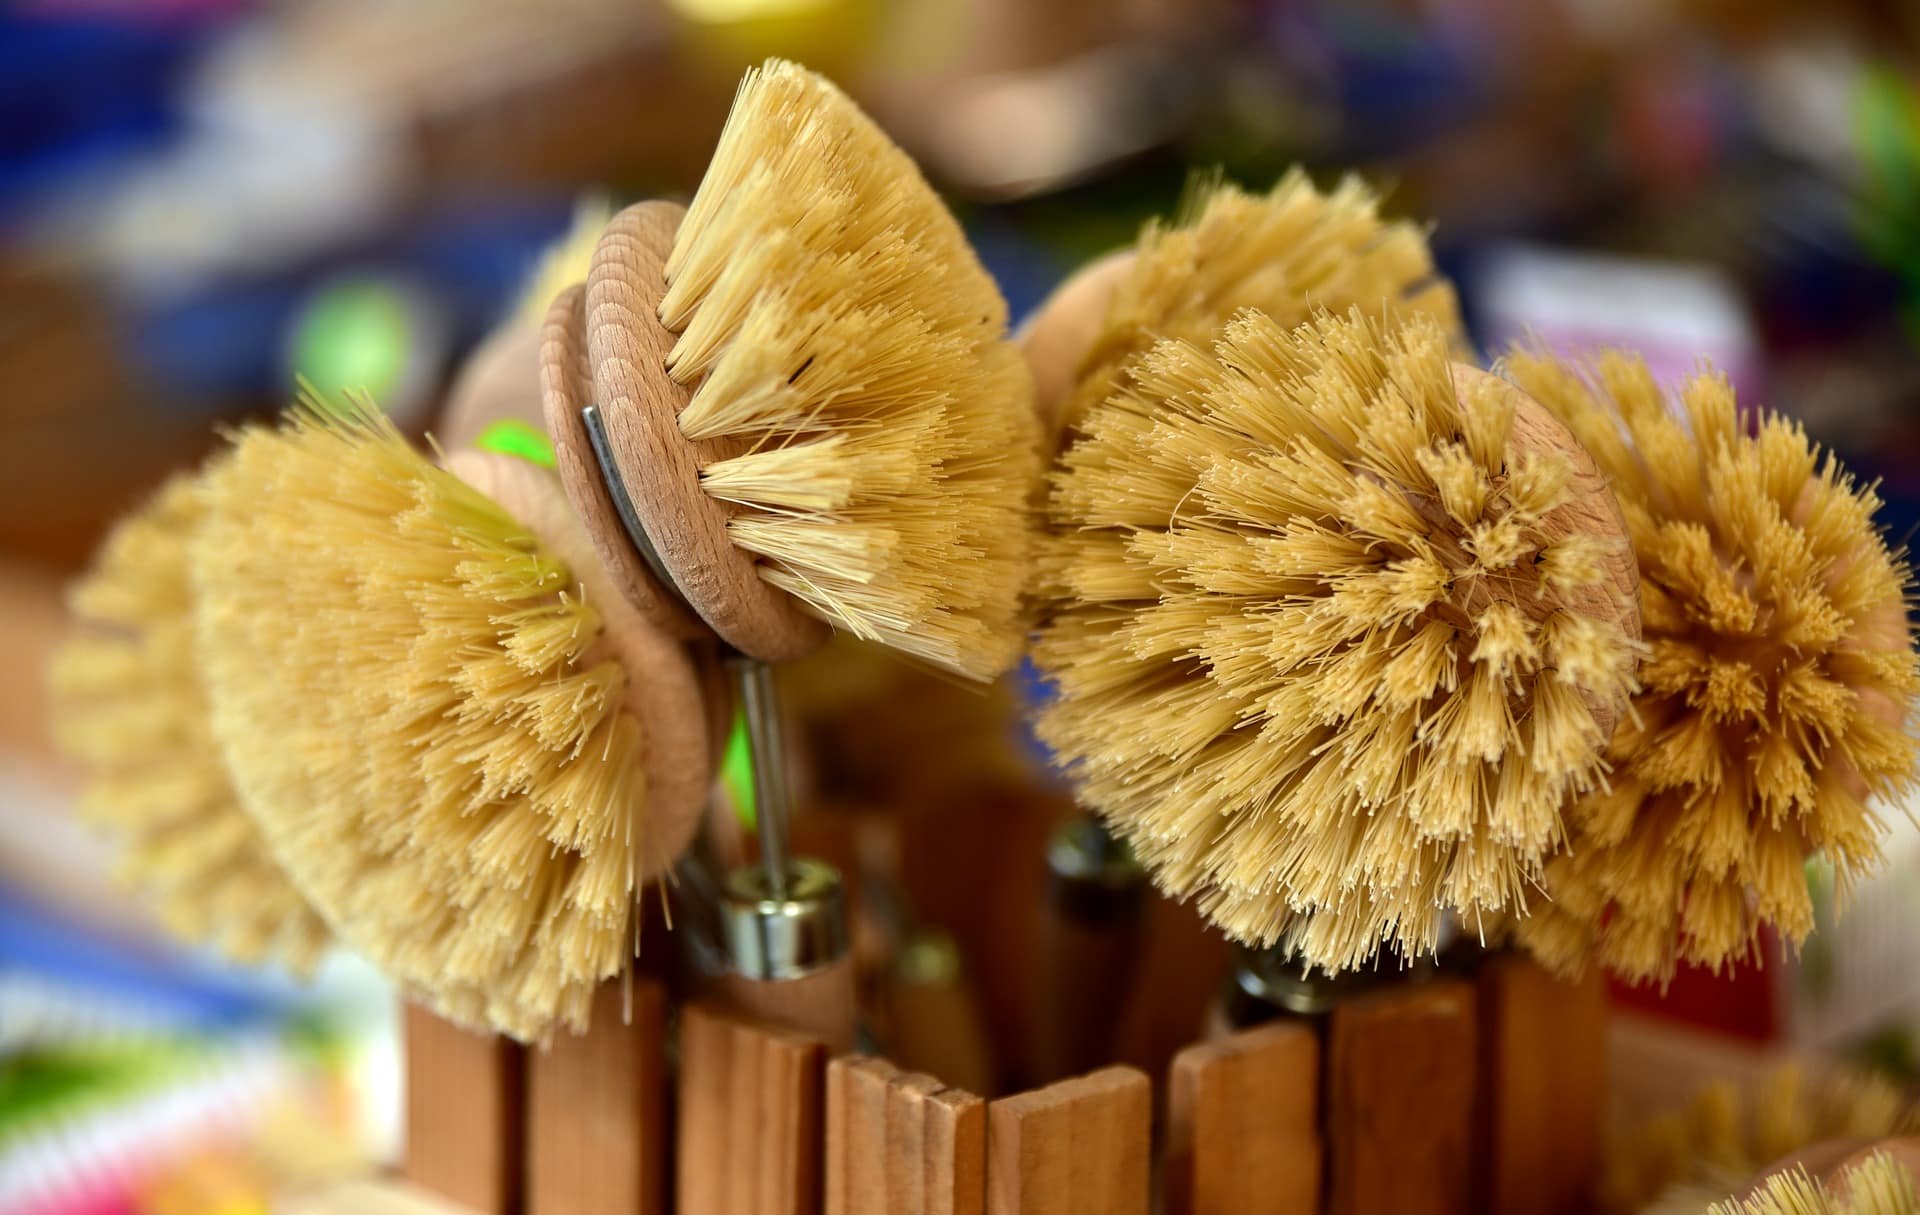
At this point, you have effectively removed all of the fur that is not embedded into the seats. However, fur that is stuck into the fabric likely did not come up from steps 1 and 2. To remove this fur, you will need to take a bristle brush and gently scrub the affected area. The purpose of the bristle brush is to dislodge any fur that is embedded in the fabric.
During this step, be gentle with the brush. You don’t want to brush so harshly that you ruin the fabric. Luckily, you should not have to brush that harshly if you change the direction frequently. This will agitate the fur enough that it is dislodged from the seat, even if you don’t use a lot of pressure.
If you are working with a leather seat, do NOT use a bristle brush. The bristles will damage the leather. Instead, use a squeegee or some other rubber material to agitate the fur and dislodge it from the seats.
4. Vacuum Again
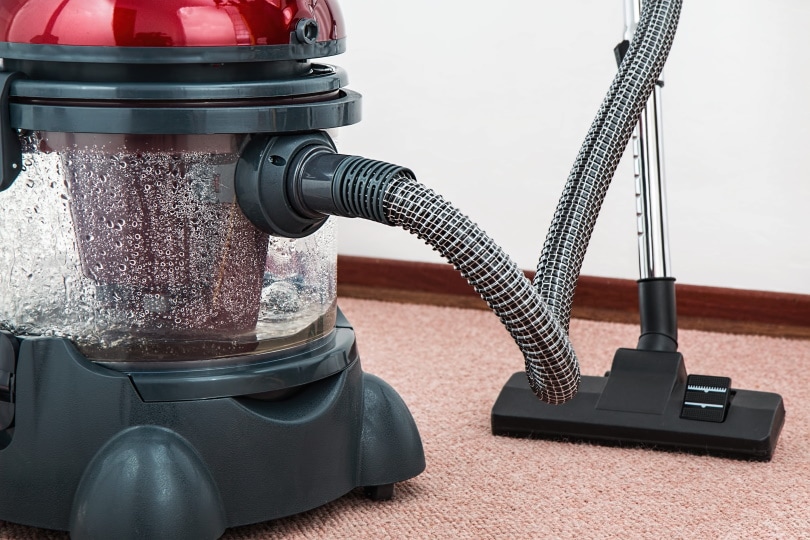
Once you have dislodged a lot of the fur, vacuum again. This will pick up all of the dislodged hair and allow you to see what areas still need to be worked on.
5. Repeat Steps 3 & 4 Until All Fur Is Removed
Repeat steps 3 and 4 as many times as needed to remove all of the dislodged hairs. You may have to repeat the steps as many as 5 times before all of the fur is removed.
6. Lint Roll The Seats
After you have repeated steps 3 and 4 enough that there is no more obvious fur, take a lint roller over your seat one last time. This will help to pick up any stragglers that you missed or that the vacuum missed. Once you lint-roll the seats, you are finished!
Prevention Tips
To help make sure you don’t have to go through the 6 step process again in the future, it’s a good idea to incorporate some prevention tips into your vehicle so that fur does not build up in your seat and car again. Here are three tips you can use to prevent hair from building up in your car in the future.
Brush Your Dog
Dog hair gets stuck in your car because of shedding. You can prevent this buildup by brushing your dog every time you bring them in the car. Brushing your dog beforehand will minimize how much shedding takes place, thereby minimizing how much hair can get caught in your car.

Invest In Seat Covers
Even if you do a great job at brushing your dog, some fur will still get in your car. Catch any loose fur by adding seat covers. The seat covers will protect your vehicle and allow you to easily toss the covers in the washing machine after every use.
If you don’t want to invest in seat covers for all your seats, invest in one seat cover and some sort of vehicle doggy divider. This will keep your dog in one seat where the seat cover is located.
Invest In a Handheld Vacuum
Something else you can do to prevent this hair buildup is to keep a handheld vacuum in your vehicle. After every ride, quickly vacuum out the seat your dog sat on. This will help keep the vehicle clean and prevent hairs from getting embedded in the seat.
Final Thoughts
By following the 6 steps above, you can remove even the toughest of dog hair from your car seats. After you go through all of this hard work, prevent dog hair from causing the same problem in the future by brushing your dog, investing in seat covers, and investing in a handheld vacuum. The extra money spent on the prevention tips will save you a whole lot of effort in the future.
Featured Image Credit: simpleclipsbyclicks, Pixabay
Contents
