
Dryers need routine maintenance for consistent top performance. The dryer vent accumulates dust, lint, and dirt over time, making it crucial to schedule a cleanup.
Dirty dryer vents can cause your machine to heat up, take longer than usual to dry a load of laundry, and ultimately increase your power bills. Any blockage along the vents slows down proper air circulation and can eventually lead to expensive repairs or pose a fire risk in your home.
Hiring a professional to help you clean your dry vents is perfectly fine. However, if you want to handle the work by yourself and still do a meticulous job, here is a detailed guide with eight simple steps. We will also discuss what you need for the project and how frequently your dryer vents need a good scrub.

The 8 Steps For Cleaning Your Dryer Vent
1. Preparation
Cleaning the dryer vent is a simple task that should not take more than an hour. But before you get started, you must get a few tools and supplies ready for the project.
- Dryer cleaning kit
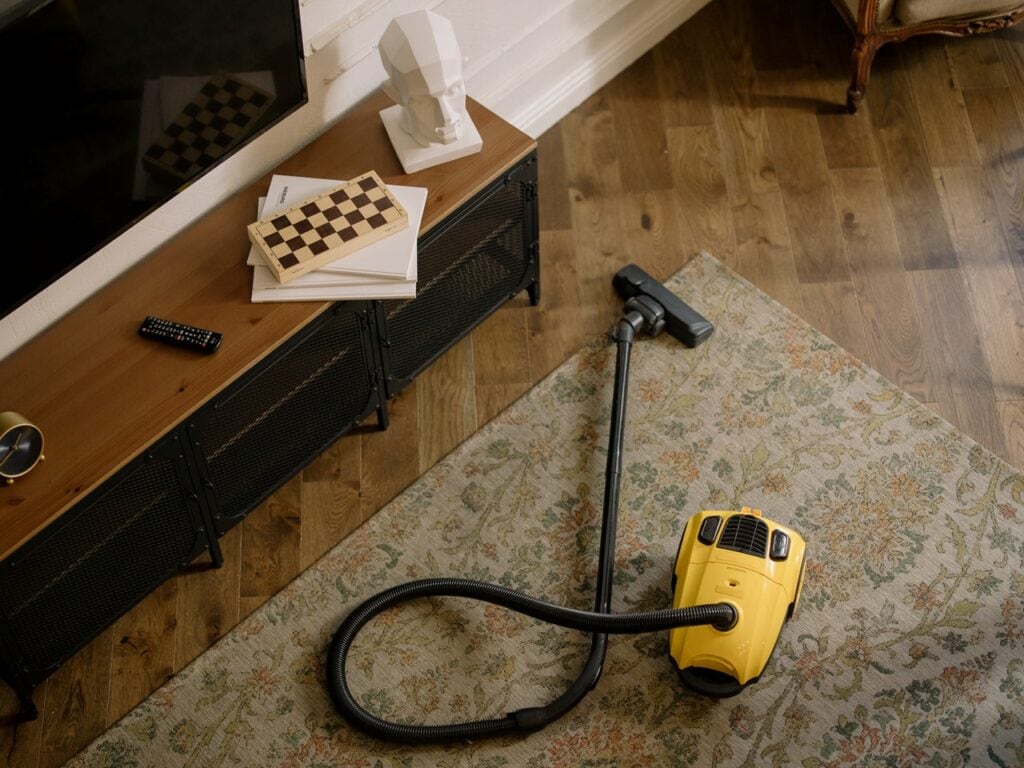
- A vacuum cleaner with a hose
- Broom and dustpan
- Lint brush with a flexible wand
- Screwdriver
- Gloves (optional)
Also, seek the help of a friend, especially if you lack the muscle and elbow grease to do a one-person job when moving your dryer. Some help is always recommended because you need to be extra cautious when disconnecting the machine from the power or gas line and moving it to access the vent.
2. Locate the Ductwork
Dryers have very straightforward ventilation systems, and locating them is easy. Move your appliance slightly to access the back side and find a hose that leads to the exhaust vent in the exterior of your home. The hose attached to the dryer connects to dedicated ductwork that allows hot air to escape outside.
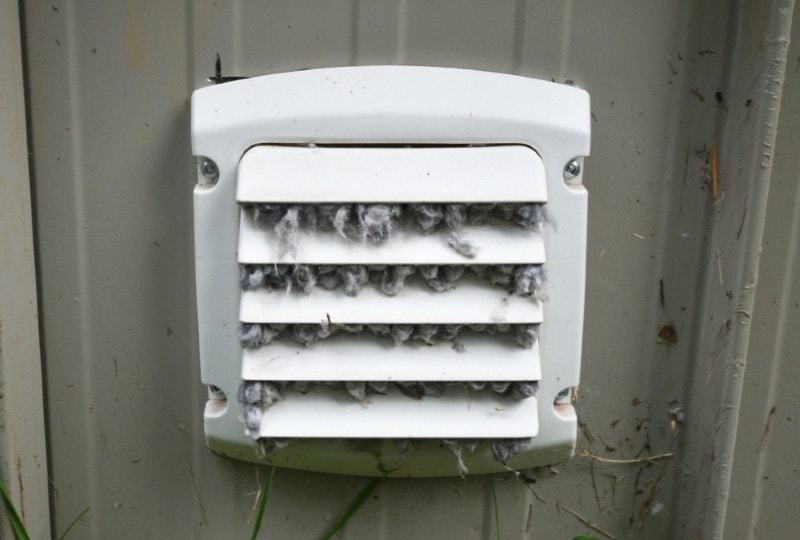
From the exteriors of your home, you will notice an exit vent typically installed at ground level. It has a plastic cover that opens, allowing hot air to flow out, and closes to deter animals from building their nests inside the vent. Get familiar with the ductwork before proceeding to the next step.
3. Disconnect the Dryer
Disconnect your dryer from the power or gas lines. Unplugging the machine from power is easy, although taking the necessary precautionary measures if you have a gas dryer is essential.
The next step is to inspect the ductwork to find any clamps or metal tapes attaching the dryer vent pipe to the exhaust vent. Remove the connecting material and pull the dryer vent from the wall duct. Your screwdriver will come in handy during this step, especially if the ventilation hose is secured on the wall with a clamp.
Be gentle when removing the clamp to avoid breaking any plastic on the ductwork. Also, go outside to access the exit point of the ductwork and use your screwdriver to remove the duct cover.
4. Move the Dryer
Now that you have detached the ventilation hose from the wall, you can move your dryer some more to create ample working space. Depending on the size of the machine, you may need the help of a friend. If you can not find help, always use an appliance dolly and secure the machine with bungee cords.
5. Clean the Interior and Exterior Vent
Start by using a vacuum cleaner with a flexible hose to clean out any visible dirt and lint in the dryer vent. If you have a cordless vacuum cleaner, access the exhaust pipe outside and remove visible lint.
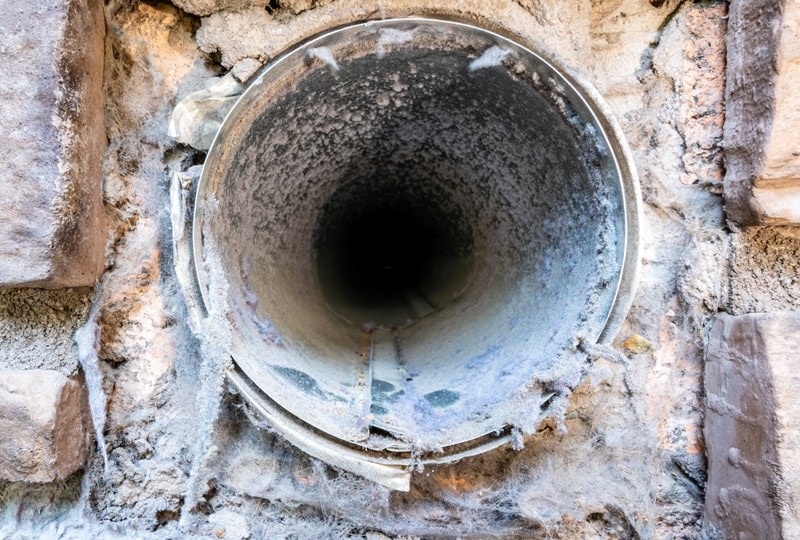
It’s time to dig inside with your lint brush to clean the ductwork. Insert it into the vent and extend the wand to reach as far as possible. Spin the brush counter-clockwise to loosen dirt and lint lodged in the ductwork. If you spin it clockwise, you risk unscrewing the segments of your flexible wand. Aim to reach the duct’s end and push out any dirt clogging the vent.
6. Clean the Vent Cover
There is more to cleaning the dryer vent than removing buildup from the filter and ductwork. You should also give the vent cover a sparklingly clean look by washing it with warm soapy water. Let it dry and fasten it back into the wall.
7. Tidy up
If you have not cleaned the dryer vent in a long time, you should expect quite a mess from the ductwork. Pick up the lint, dirt, and dust with your broom and dustpan, and vacuum the tiny granules left on the floor. Depending on the type of junk you are dealing with, you may also want to mop your laundry room.
Before wrapping up the project, reconnect the vents, move your dryer to its position, and plug it into your wall outlet.
8. Take a Test Run
If you have reconnected everything correctly, your dryer should work perfectly. Run an empty dryer cycle for 10 to 15 minutes to clear residual dust along the vents. You should notice enhanced functioning because of the improved airflow.
When, Why, and How Often Should You Clean Your Dryer Vent?
Cleaning your dryer’s vent helps to remove lint, dirt, and debris buildup that can affect the machine’s efficiency. You can tell that your dryer vent needs cleaning if you notice the following signs.
- The machine takes longer to dry a load of laundry
- There’s a sudden spike in your power bills
- Overheating of the machine’s exteriors
- Clothes from the dryer have an odd burning smell
- Dirt or debris around the hose
- The vent hood flaps don’t open properly
Why Should You Clean Your Dryer Vent?
Keeping the dryer vents clean can improve the machine’s efficiency and reduce the power needed to dry your loads of laundry. It will also enhance the appliance’s longevity because your dryer needs to work twice as hard when the vents are dirty or clogged. Cleaning also reduces the likelihood of breakdowns that require expensive repairs and, most importantly, lowers the risk of a house fire.
How Often Should You Clean Your Dryer Vent?
The ideal frequency for cleaning your dryer vent will depend on various factors. These factors include the size of your family and how often you use the appliance, whether you have pets in your home, and so on. But generally, you will need to clean the vent at least once annually.
Final Thoughts
The vent is perhaps the most overlooked part of your dryer. Unfortunately, it is susceptible to lint and dirt accumulation that can affect the performance of the entire machine. We hope you now understand why, when, and how to clean your dryer vent.
To prevent any problems stemming from a clogged dryer vent, do not forget to inspect the ductwork periodically. Also, clear any obstacles on the outside, like shrubs and pest nests, to ensure proper airflow and the removal of lint. While you cannot stop lint buildup entirely, you can slow it down and, by extension, prevent problematic clogs.
Featured Image Credit By: Greenseas, Shutterstock
Contents
