
After a long winter of being forced to cook inside, many people emerge onto their decks only to find that their beloved grill has ceased working. This can be a frustrating problem, but it happens to many people each and every year. Luckily, BBQ grills are fairly simple machines that can readily be diagnosed and fixed at home if the problem is light. One of the biggest issues that prevent grills from working properly is a build-up of soot, grime, and ash that hampers the grill’s functionality.
Here are seven easy steps you can follow to try and fix your grill at home without the need for expensive parts or costly repairs.

Preparation
Before you start, you should take some time to plan and prepare for your grill fix. Most non-functional BBQ grills suffer from a combination of neglect, wear, and dirt and just need a good cleaning and inspection to get back up and running once again. Many people need to pay more attention to cleaning and inspecting their grills on a regular basis. Neglect can lead to a grill that stops working out of nowhere, but it can also be set right with a few steps.
Grills need just a few basic things in order to work properly. Grills need air, fuel, and ignition. That is it. If your grill is not working, it is likely that one of these three components is clogged, damaged, or worn out.
Here is what you can expect from your basic grill repair job:
| Complexity: | Basic |
| Time: | 3-6 hours |
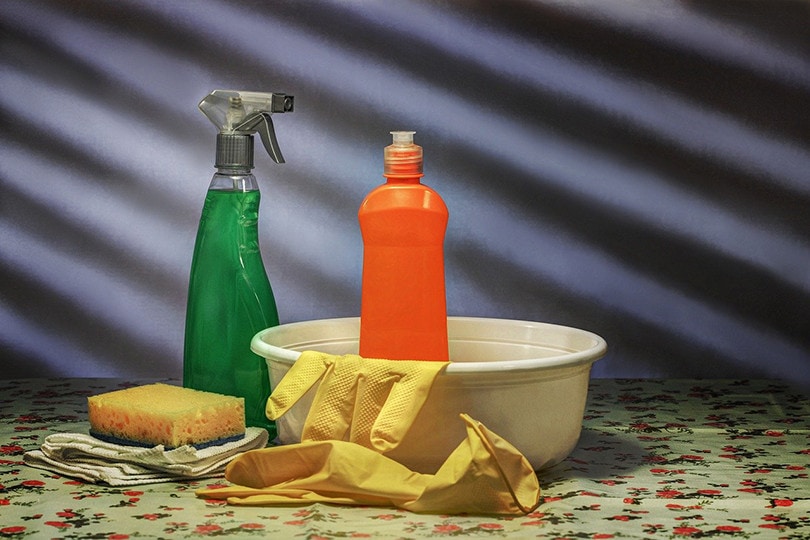
What You Will Need:
- Steel wool
- Degreaser
- Gloves
- Screwdriver
- A scrubbing pad

How to Fix a BBQ Grill in 7 Easy Steps
1. Remove the Cooking Grate and Sub-grate
Before digging around inside your grill, you first need to remove the cooking grates and any sub-grates that might be present. Some grills have a lower grate, or rock grate, that sits over the burner assembly and protects the bottom of the grill. You will need to take these out and set them aside. Some grates need to be unscrewed with a screwdriver or rivet gun to get them detached. Do that before proceeding any further.
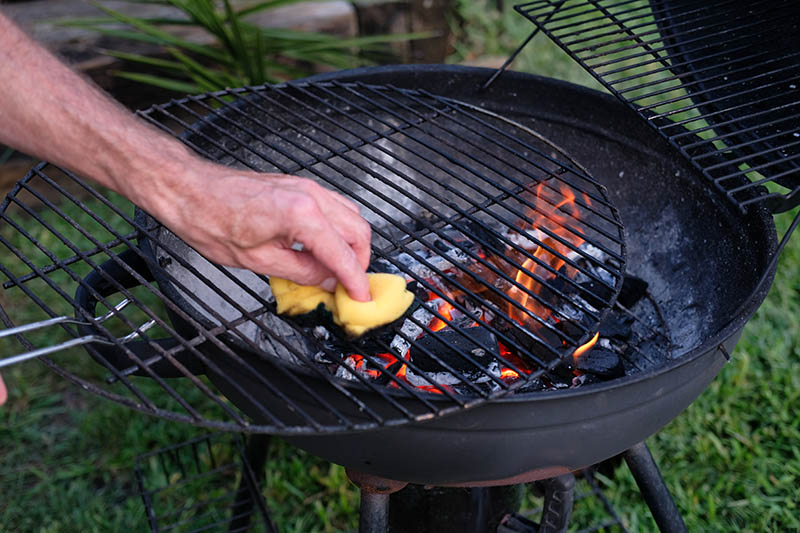
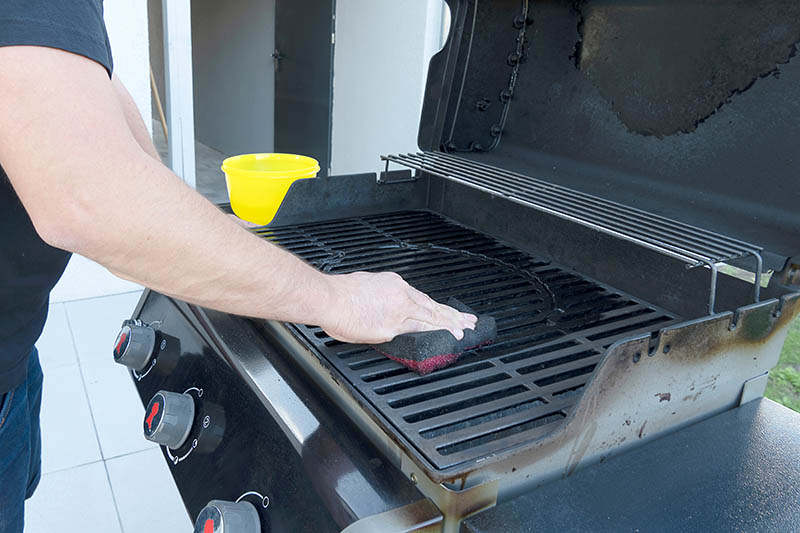
2. Thoroughly Clean Grates
Dirty grates are a source of many problems for BBQ grills. If you do not clean your grates after use, the grates will drop fat, meat particles, dirt, and ash into the body of your grill. This is how sensitive components like the burner assembly, air intake vents, and ignition can get dirty and stop working. You want to clean the grates first to avoid accidentally dropping any new material into the grill after you are finished cleaning and inspecting everything. Scrub the grates hard with a brush or steel wool until they are free from any old debris.
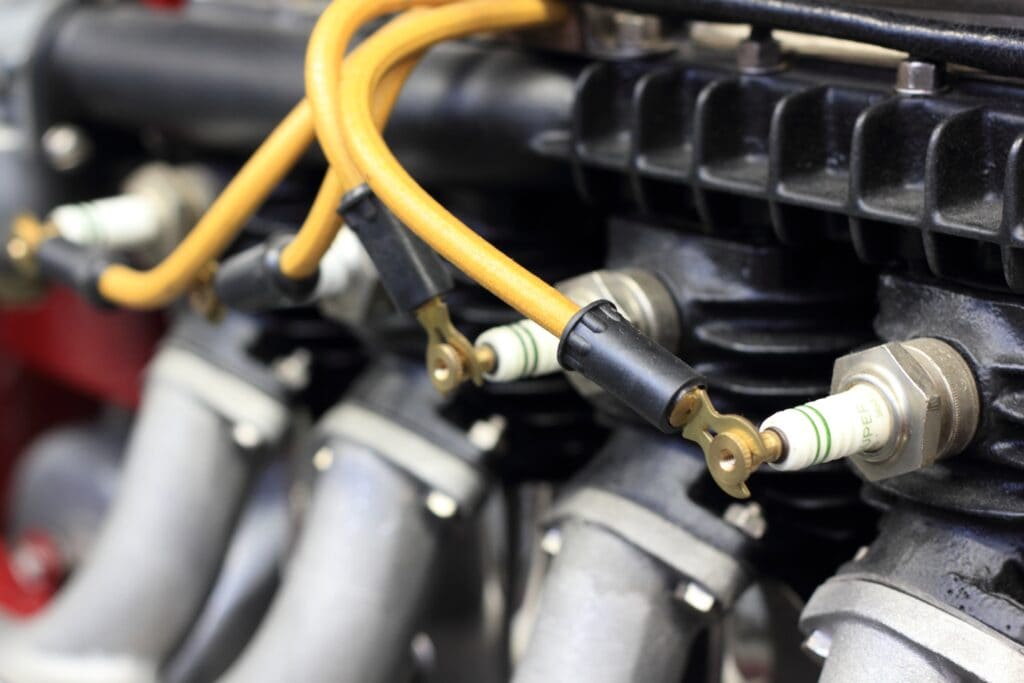
3. Test the Ignition
A bad ignition is a common problem that can affect many BBQ grills. The ignition can wear out over time, or the wires can become frayed or loose. Check the ignition by pressing the button and looking for a spark. If you can’t see a spark, you might need to hold a mirror or get a friend to hold a phone with a camera over the ignition so you can see it from all sides. A good ignition will create a large visible spark when it is pressed. If you do not see a spark, this is likely the reason that your grill will not start.
If your ignition is not working, check the wiring assembly to make sure that nothing is exposed, cut, or frayed. If the wires look fine and the ignition is clean but won’t start you might need to replace it. Replacing a grill ignition is not too difficult, and the parts often cost less than $20.
4. Clean Burner Assembly
One of the most common problems with a nonfunctional BBQ grill is a dirty burner assembly. The burner assembly is the section of the grill where the flames come out. It is inside this component that the air and propane mix to create a quality fuel source for the grill. A dirty or damaged burner assembly will prevent your grill from getting the fuel it needs to run properly.
Carefully remove the burner assembly if you can. (You can look up how to do this for your particular model online or in your owner’s manual.) You want to clean off any old burned material and look for signs of rust or damage. If you have light rust, you can scrub it off with your steel wool. Check for holes, signs of corrosion, or denting. A bad burner assembly cannot be fixed and will often doom a grill to the landfill, but in many cases, the burner assembly is simply loose or covered in gunk.
After you are done cleaning it, carefully replace the assembly and make sure that you hook everything up properly. Make sure the assembly is snug and clean.
5. Clean Grill Body Inside and Out
You want to give your grill a good bath. Scrubbing both the inside and the outside of your grill is important to get it back into pristine shape. Pay attention to the inside of the grill especially. You want to get up any burned remnants of old food, ash, dirt, debris, and any black charred material stuck to the bottom. If you have never cleaned the bottom of your grill before, you might need to put some elbow grease into it. Use the degreaser to try to break up particularly tough sections. Scrape out all the old material and remove it entirely from the grill.
Wash the outside of the grill and make sure that there is nothing clogging the airflow around the grill. Clean the lid and the cover to get off anything that could fall into the grill and hamper its operation.
6. Check Hoses and Valves to Propane Tank
One component of your grill that can easily wear out, especially after a long winter outside, is the valves and connections that attach your propane tank to the grill. The grill will have an inlet for the propane, a hose linking the tank to the grill, and a valve on the propane tank. Any one of these pieces could corrode and fail under the right circumstances.
Check the length of the hose, looking for any tears or holes that might have opened. Next check the connections on the tank and the grill. Look for signs of rust, corrosion, or dirt. You can clean the connectors with the steel wool to remove any grime that could be clogging them up. Check the open and shut off valve for the propane tank and ensure that the tank is filled with good propane. If you suspect that the tank’s valve is wearing out or that the propane levels might not be where you want them, you can swap out the propane tank at your local hardware store for a fresh one.
7. Test the Grill
After you’ve cleaned everything out, checked the hoses, tank, and valves, and put everything back the way it was, it is time to test the grill. If the burner assembly is in good shape, the igniter is working, and the propane tank is healthy, there should be nothing preventing you from getting a flame.
When you are testing the grill, here are some things you should watch out for:
- Uneven or sputtering flames
- Red or yellow flames as opposed to blue
- Lots of black or white smoke
If you are having any of these issues, there could still be a problem lurking. Smoke is generally caused by improper materials being burned inside the grill, which could simply be leftover ash from your cleaning. Red flames usually indicate a problem with the venturi tubes, which you should have been able to spot when cleaning and inspecting the burner assembly. If there was rust or holes in the assembly, it would lead to uneven air distribution. Uneven flames could indicate a bad flow from the tank or holes somewhere along the airways.
Problems with the burner assembly or the tubing that carries air and propane into the body of the grill can be expensive and tricky to identify and fix. If you are still having issues after a thorough cleaning and inspection, you might need to replace the grill or have it looked at by a professional.
When to Fix vs. When to Replace
Many BBQ grills can be fixed at home with a little bit of time and effort. However, sometimes the problems run deeper than a typical griller is able to handle on their own. Typical BBQ grills are fairly inexpensive, especially if you already have a propane tank and some accessories left over from your previous grill. If fixes become too challenging or too expensive, you might simply want to replace your grill instead of fixing it.
If repairs start pushing past $200 or multiple days of fiddling, it might be worth it to throw in the towel. Many basic BBQ grills can be bought for less than $400. If you have a larger or more expensive grill, it might be worth investing more time, effort, and money in trying to get it fixed rather than replaced, but the ultimate choice will depend on your budget, level of patience, and the cost of your particular grill.
If you do have a larger or more expensive grill, don’t forget to check on any warranties that your grill may have before throwing in the towel and buying a new grill. Oftentimes, if the problem is covered by the warranty and the warranty is still valid, the grill manufacturer will replace the grill at no cost to you.
Conclusion
These seven steps won’t be able to solve serious damage or advanced wear in your grill, but they can identify and solve most basic problems. A dirty grill is one of the most common culprits for many basic problems. As long as your grill is clean, and has a spark and good fuel, it should work. If not, you might need to look at replacing your grill completely, as it is often easier and cheaper than replacing just the innards of your old grill.
Featured Image Credit: Z Grills Australia, Unsplash
Contents
