

If you’ve noticed your window leaking during heavy rain or felt a cold draft seeping through your window, you’ve likely got a broken seal that needs to be repaired.
This can cause not only a mess, but wet floors and walls on a consistent basis can create structural issues too. Luckily, it’s an easy fix, and you don’t need to call a professional to fix it in most cases.
In this article, we’ll look at how to detect a leaky window seal, and how you can fix it yourself relatively easily. Let’s get started!
- Pliers
- Razorblade
- Replacement rubber seal
- Superglue

How to Fix a Seal on a Window (5 Steps)
1. Before You Start
While you may be certain that your window seal is leaking, it can be challenging to find out exactly where the leak is barring removing the entire window. But before you can repair the leak, you’ll naturally need to find out where exactly it is.
Typically, windows with better-rated insulation properties have more than one layer of glass, and spacers and seals are used to keep the layers of glass rigid. Over time these seals can perish, reducing insulation and causing a haze of the window in some cases, plus wet floors! These can be fairly tricky to repair on your own, so it’s a good idea to get an extra pair of hands to help you.
Try and look carefully during heavy rain and see where the water is coming in. Also, on a cold day, you can place your hand an inch or so away from the window to feel for any drafts coming in. If neither of these methods reveals the leak, you can perform the candle test. Light a candle and trace the outline of the seal of the window, and try to notice where the flame pulls, which is where your air leak is. With most windows, the leak is most likely at the bottom of the window, but it can be almost anywhere.
Once you’ve found the leak, you can follow the steps below.
2. Remove The Old Seal
The next step is to carefully remove the old seal from your window. Grab your razor blade or sharp knife and slowly and methodically remove the old rubber and glue attached to the window. This may be fairly easy or take a long time depending on the age of your window, but the key is patience.
3. Apply Glue

Once the window is clean and free of any old rubber or glue, you can apply the new layer of glue. Apply a thin layer of glue to the contact points around the window—not on the glass itself! The glue will dry fairly quickly so you’ll need to work fast, otherwise, the new seal will not stick properly, causing the problem to begin all over again!
4. Apply New Seal

You can now grab the new rubber seal and wedge the insert tab between the glass and the window frame. This may also be a tricky process depending on the age of your window, and you may need to apply a small amount of force to wedge the seal in properly. Still, be very careful.
5. Final Glue

You can keep this process going until you’ve reached the starting point again. Once you do, cut the extra length of the rubber seal with a knife or razor blade as closely as you can so that it sits flush with the point where you began. While you want it to be as tight as possible—be very careful—the last thing you want is to cut it too short and leave a small section exposed. Once you get the perfect join, you can add a small drop of glue to join the seal ends together and then leave them to dry.
When Should You Call a Professional?
While this can be done easily on your own for the most part, there are times where a professional can be called in. If you need to repair a large window, there’s plenty of room for error, and it may be best to call in an expert. Also, if you don’t have much DIY experience or the old seal just won’t come off the window properly, it may be better to call in for some help.
Final Thoughts
A leaky window seal can cause damage to your home, plus moisture and pesky cold drafts, so it’s best to try and fix the problem before it gets too bad. Regular maintenance can certainly help prevent leaks, but there will eventually come a time when the seal needs replacing, and you can save a lot of money doing it yourself.
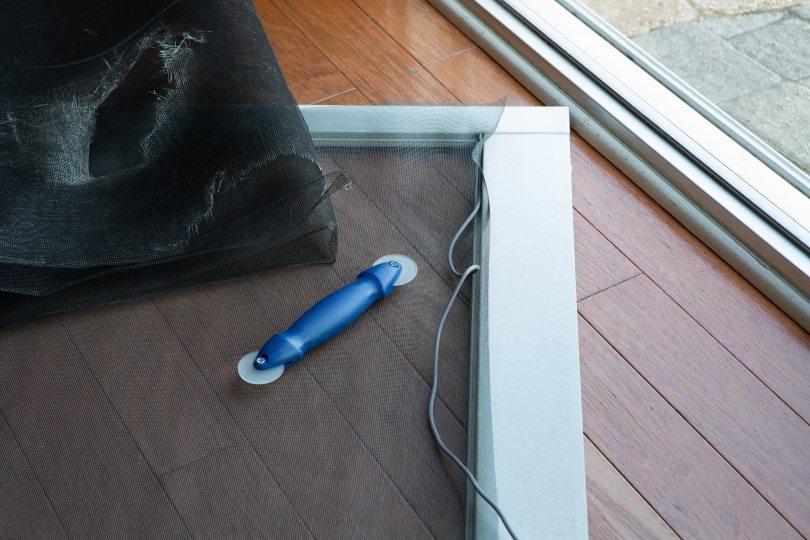
Featured Image Credit: juandavinci, Pixabay
Contents
