

Nothing improves the aesthetic appeal of a home more than using stylish and sophisticated frames for your photographs, posters, and paintings. Not only do picture frames serve as elegant transitions between your furnishings, room architecture, and paintings, but they also protect your artwork from damage. Unfortunately, accidents happen, and your treasured frame could end up getting damaged, especially if you have young kids and pets in your household.
So, what should one do in case of picture frame damage? If you were using a standard cheap and small picture frame, you could always opt to replace the frame because they are not worth fixing. However, if you were using antique, glided, or carved frames, these fixtures are worth restoring, provided the damage is not too severe.
So, before heading back to your local convenience store to purchase a new picture frame, read on to learn more about common damages on picture frames and how to fix them using DIY methods. Shall we begin?

The Step-By-Step Guide for Fixing Broken Picture Frames
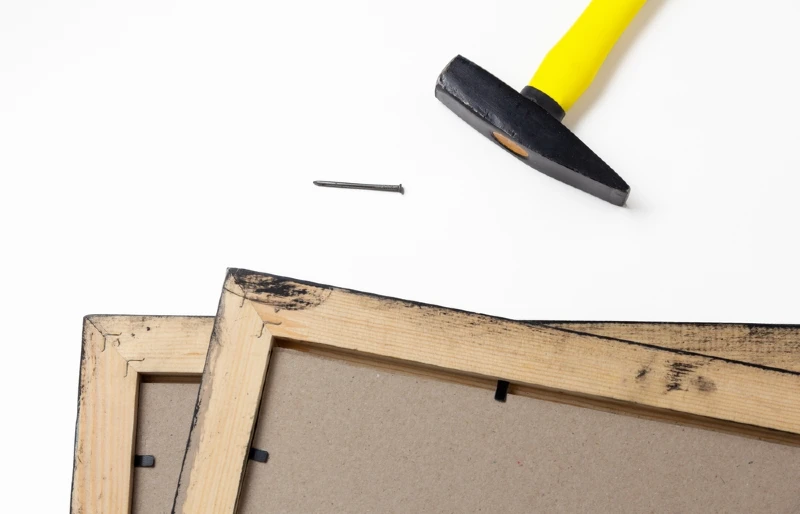
1. Evaluate the Damage by Inspecting the Frame
Before attempting any repair services on a broken-down frame, you must first evaluate the extent of the damage. As mentioned earlier, small picture frames are not worth restoring because they are cheap. The only exception is if your frames are made from valuable materials like silver or even gold.
Additionally, some larger frames can be too damaged for economical repair. If your frames are warped or badly damaged by water or fire, it’s best to dump them in a garbage can. If not, then you can follow our systemic guide for picture frame restoration outlined below.
2. Clean the Frame
Usually, antique frames, particularly those ornate decorative varieties with gesso or carvings, accumulate dirt and grime over time. Before attempting any repair, these picture frames have to be thoroughly cleaned. Here is how to clean the frame:
- Remove Loose Dust: First, start by wiping the dust off the surface using microfiber cloths. Then, proceed to clean the cavities with a Q-tip or soft toothbrush while taking care not to damage the finish. If you own a small vacuum cleaner, you can use it to suck up dust. However, it is best to put a filter over the vacuum nozzle to avoid removing loose chips of wood or gesso from the frame.
- Cleaning With Liquids: Sometimes, grease and dirt can be too stubborn to remove using a cloth or vacuum. In such a situation, you can dissolve the debris, but first, you have to test the cleaning liquid on a small part of the frame. Water mixed with dish soap or conservation detergents is ideal and is always effective when used on cotton balls or Q-tips. Alternatively, you can utilize lemon oil polish and cleaner to restore the frame to its original gleaming condition.

3. Straighten the Frame if Warped
Warping tends to happen on solid wood because of humidity and temperature variations. If you happen to have a sentimental attachment to your frame, you can rescue it by soaking the wood in wet rags. Then, flatten it under a sheet weighed down by plywood. If you maintain the moisture content of the rags, gravity will eventually straighten the picture frame.
4. Repair Loose Corners
Sometimes a frame can get damaged from having loose corners. If you notice that your corners are loose, you have to take the frame parts apart and then re-glue them. Remember to mark each corner side so that you will know how to fit the pieces back together after reassembly.
Proceed to separate the frame with a rubber mallet. Some situations may prompt you to use a putty knife but be careful not to destroy the finish.
After the nails and staples are out, remove the previous glue and sand the joints at a 45-degree angle to reach bare wood. Finally, size the end grain joints with wood glue that has been watered down (50% glue and 50% water). This mixture will allow the frame to dry before applying industrial-strength glue.
- Gluing and Clamping the Frame: If your frame lacks corner clamps, you can use bar clamps set at right angles. Simply apply yellow glue to each miter, then clamp and squeeze them together. Don’t forget to wipe off any excess glue before it dries up to reduce the time spent cleaning. There may be other cheap clamping systems available in the market, but most woodwork technicians prefer Ratcheting and Powertec band clamps.
- Reinforce Glued Miter Joints: Even though glued joints are strong enough for stability, it is always best to reinforce the frame corners with mechanical fittings. You can use a brad nailer to secure the miters by shooting several brads into the corners of the frame.
A hand-hammered brad is a viable option, but if working with hardwood frames, you have to drill a pilot hole. V-nails are also popular options, but they are mostly used by professional framers, and they require expensive tools to reinforce the corners.
If these options do not appeal to you, you can always use L-shaped braces to secure the corners. Once attached to the back of the frame, you cannot tell if the picture is hanging on the wall. Just make sure you use screws that do not protrude at the front.
Unfortunately, corner braces may not be viable on frames with thin moldings. The screws can easily split the wood, but they are great for heavy picture frames.
- Repairing Corners Without Taking Them Apart: In old picture frames, the corners can separate without fully coming apart. If only one corner of the frame is loose or the separations are minimal, you can re-glue the frame without taking the whole frame apart.
Therefore, you should thoroughly inspect the corners, and if possible, wedge the joint apart just a little and remove as much of the old glue as you can. Then, proceed to apply the new glue and clamp the joint closed. If the joint is not as weak as anticipated, simply add epoxy putty to the tiny gap and clamp the joint.
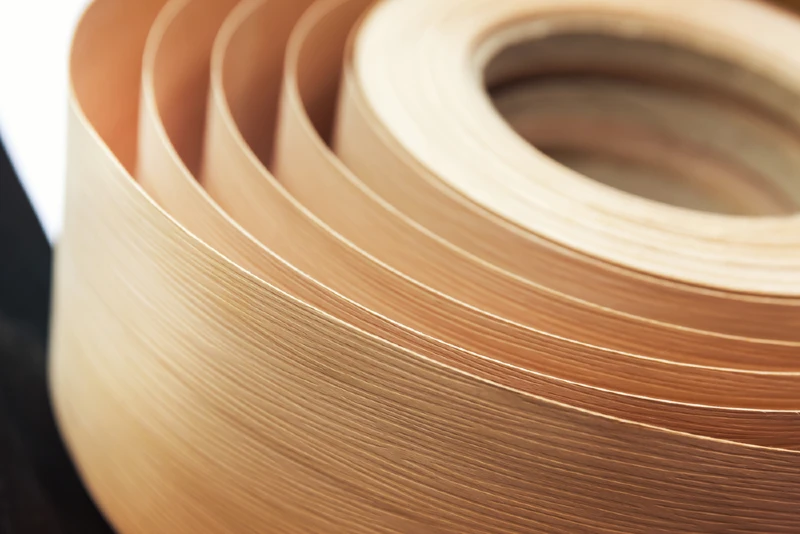
5. Fix Delaminated Inlays or Veneers
Another common type of damage to the picture frame is the delamination of wood veneers, which are usually applied to the surface of the wood as decorative finishes. These veneers and other types of inlays tend to get loose because they expand at different rates when subjected to high humidity or moisture.
Fixing extreme veneer damages is very tasking and, as such, should be left to professional furniture refinishers. However, newbies can make minor veneer repairs. Simply remove the damaged or loose veneer, then clean and sand the substrate to get rid of any lingering old glue. Then use the approaches below to fix it.
- Replace With Real Veneer: Remove the damaged veneer and trim the areas missing to create a straightedge shape for replacement. Remove the old glue by cleaning the substrate, and then cut a new piece of veneer that matches the old one. Then, fit it and glue it into place.
You can also add wood filler to the small gaps remaining, sand, stain then polish to match the original frame.
- Fill With Epoxy Putty: If you do not have a replacement veneer, you can restore the missing veneer by removing any loose materials, then cleaning the substrate to get rid of old glue. Proceed to fill up the space with plastic wood or epoxy putty. Afterward, sand the putty stain or paint the frame to match the original veneer.
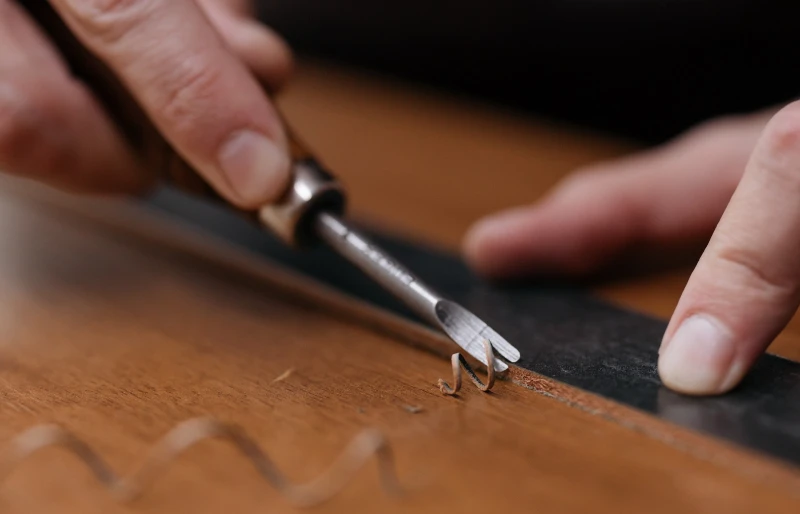
- Puncture Blistered Veneer and Re-Glue: In some scenarios, the veneer can get blistered even without getting detached. In such a case, the best way to fix it is by creating a slit into the blister with a sharp utility knife. Add some wood glue into the cut split and flatten the blister using a warm iron.
6. Replace the Missing Decorative Elements
You can tell a picture frame is damaged if it is missing the decorative elements. This is usually gesso, but sometimes it can be carved wood. Gesso is essentially a mixture of animal glue, chalk, and white pigmentation molded to form ornate 3D decorations on standard frames. It is then covered with red-colored clay known as ‘bore’ before gilding with gold leaf.
Unfortunately, gesso is very brittle and can easily break off due to stress. Usually, complete gesso restorations are done by experts, but you can do it yourself if you are a handy homeowner. Here is how:
- Remove the loose gesso and set the pieces aside for re-gluing. Clean the underlying substrate
- Create a mold from the undamaged areas of the frame
- Fill the gaps with epoxy putty
- Use the mold earlier created to imprint the epoxy
- Finally, sand the frame, paint it, and add a gold leaf to match the original
7. Making a Mold
If your frames feature complex 3D decorations, make a mold to recreate them. You need molding materials and plaster of Paris or epoxy putty to cast into the mold.
8. Finish by Painting and Gliding
The final stage of this repair process involves gliding the putty to match the original. Traditional gesso usually has a red bole undercoat that adds a warm sub-color to the gold. You can simulate this finishing by painting the frame with red-brown acrylic paint.
Solid wood frames also feature 3D decorations made by carving. Unfortunately, if the carved wood is not correctly preserved, it can get brittle and break off.
Fortunately, repairs can be made using the same method of replacing missing gesso but with one key difference. Wood staining instead of gilding does the finishing on wooden carvings.

Final Thoughts
Since picture frames help us to highlight precious moments and artwork, it can be frustrating when one is damaged. Before throwing a fit over a wasted investment, you should evaluate the frame to see the extent of the damage.
If the frame featured ornate decorations, such as gesso, gold leaf, or had sentimental value, then repair the frame. The repair process may be daunting, but if you follow the steps highlighted above, it should be easy. You can repair warped frames, loose corner joints, or even delaminated veneers and missing decorative elements.
If the frame is badly damaged or not all the repair steps listed above work, then it is time to get a new frame. Do not fret about losing the old frame. You can refurbish it to use as a magazine holder or even to organize jewelry.
See also: 16 Types of Photo Frames (Our In-depth Guide with Pictures)
Featured Image Credit: Roman Samborskyi, Shutterstock
Contents
