

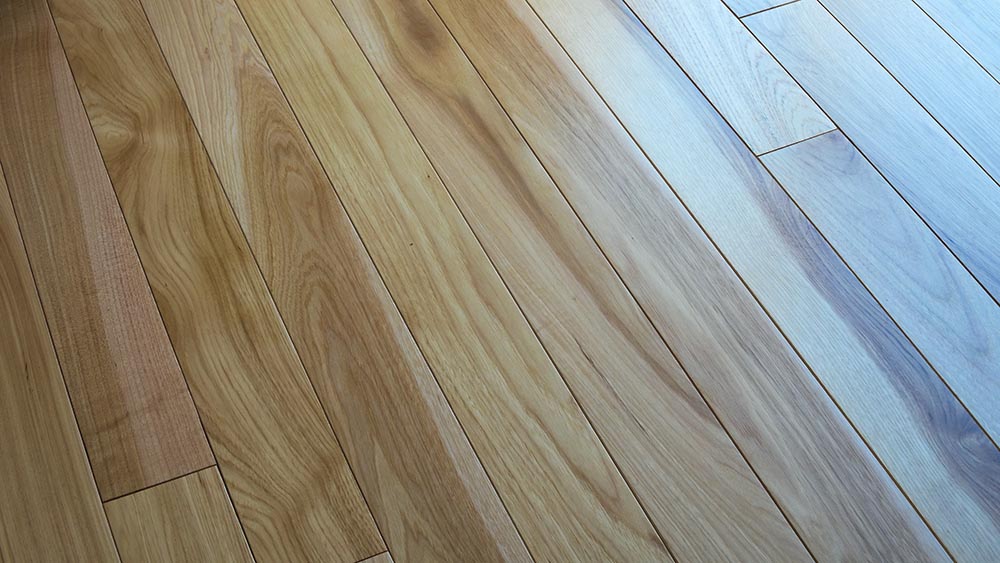
Hardwood floors are naturally beautiful and can have a warm appearance. They’re also comfortable underfoot. As long as they are well maintained, they should last years without needing replacement. However, where there is high humidity or where the floor undergoes regular temperature changes, the hardwood can expand and contract, causing gaps to appear.
While some gaps are to be expected and can add character to the floor surface, large gaps are not only unsightly but can develop to become a major problem. If you find that a coin easily slides into the gap, it is time to consider a fix.
Below are five methods you can use to fill those unsightly and inconvenient holes.

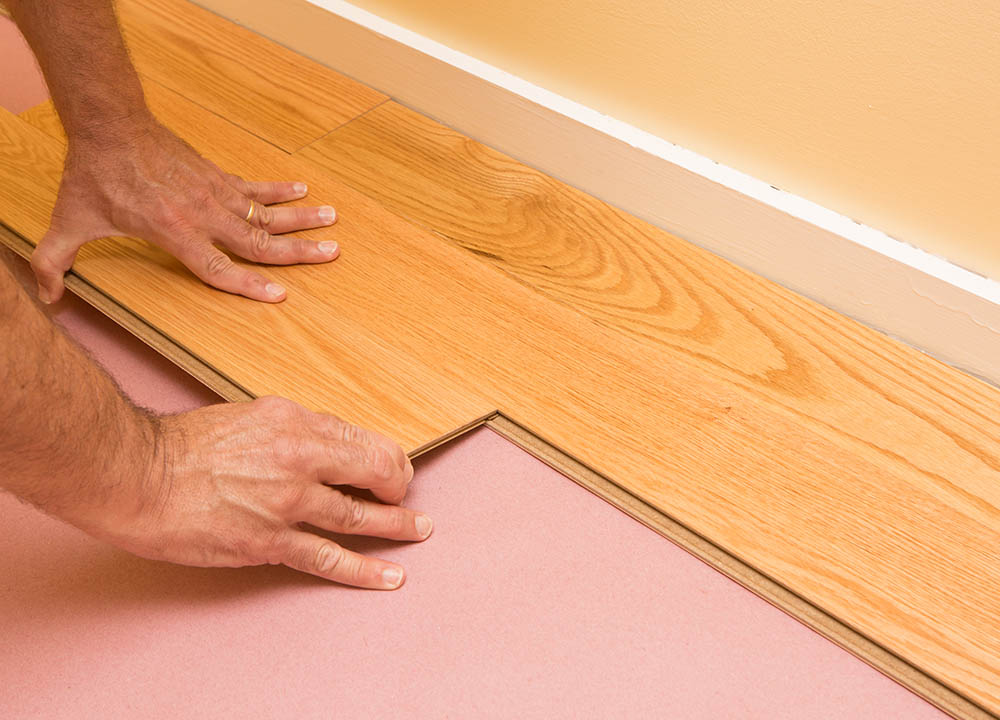
The 5 Steps on How to Fill With Wood Strips
When filling gaps with wood strips, it is best to use the same type, and ideally, the same cut, of wood as was used to make the floor. If you have any planks or offcuts left from the original installation, these would be ideal. You will need a table saw, some glue, and basic tools for this method, as well as suitable-sized pieces of offcut wood from the floor.
1. Measure the Gaps
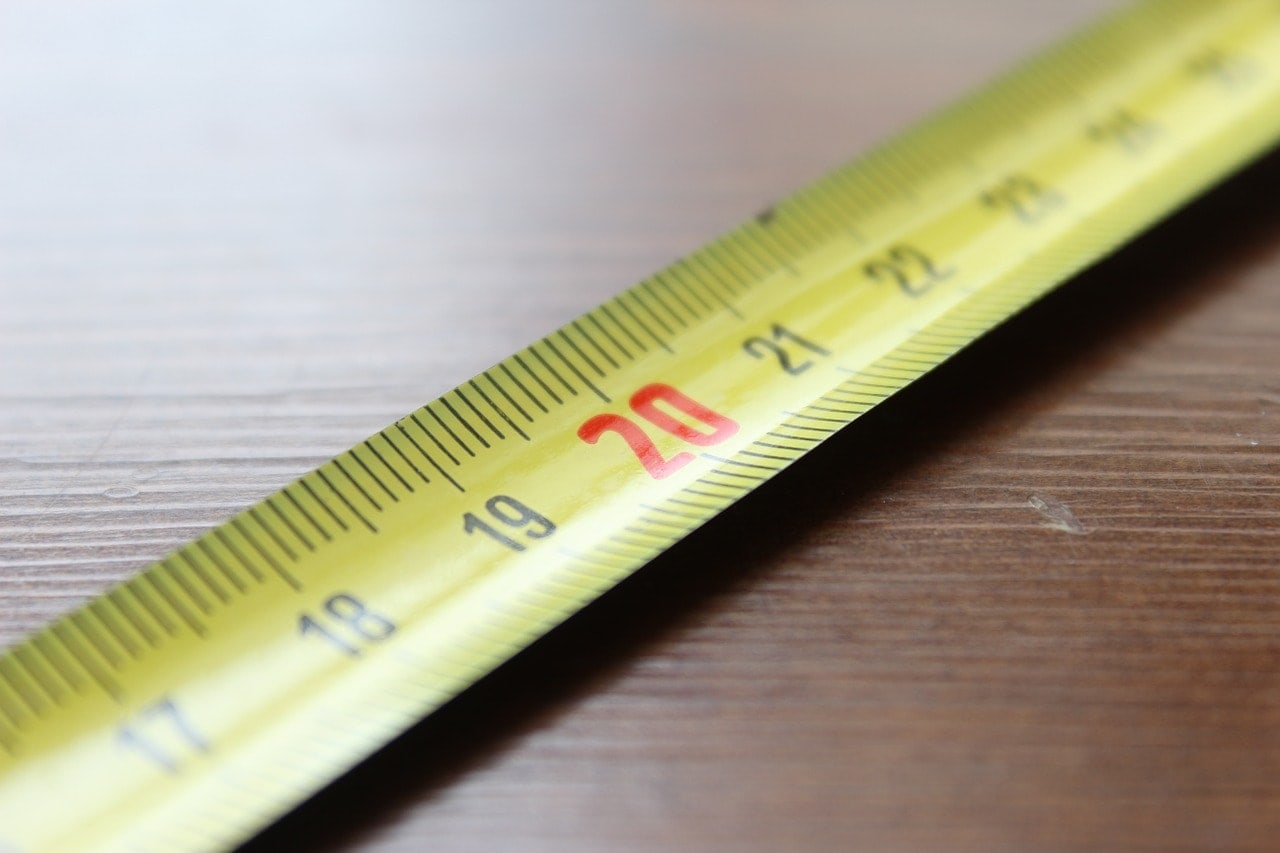
Measure how wide and long the gaps are that you want to fill. You want the wood to fit tightly, but you don’t want to have to force the strips too hard, so ensure accurate measurements are taken.
2. Cut the Wood
Using a table saw, cut strips of wood according to your measurements from step 1. You will likely be cutting pieces of wood just a few millimeters thin, so if you aren’t comfortable using a table saw for this, get a professional to do the cutting.
3. Glue the Wood
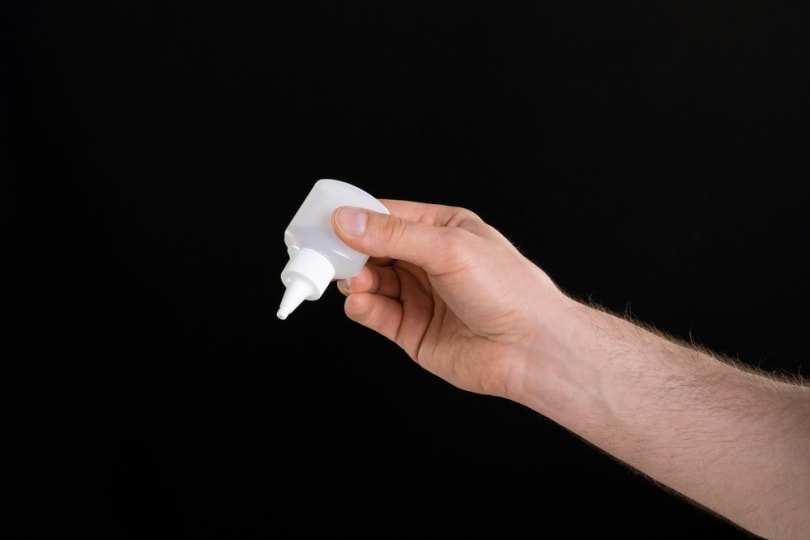
Apply good-quality wood glue to both sides of the wood.
4. Fix into Place
Push the wood into the gap and then, using a mallet or hammer and some padding to protect the wood, hammer the slithers into place. Try to get the strips flush to the existing floor, where possible, but it is better to leave a small amount of wood protruding rather than pushing the wood too deep. Allow the glue to dry.
5. Finish

If there is any wood above the level of the floor, use a box plane to achieve a flush finish. Sand the finished area down and then paint or stain it to match your existing floorboards. Let the stain dry and you should have a perfectly finished floor with no gaps.
Fill With Sawdust
If your floor is unfinished, you can use sawdust of the same type of wood as was used to make the floor. You will need a decent amount of the sawdust if you have large gaps, and it will need to be mixed before it is applied. You are essentially making your own wood filler using this technique but with the added benefit that it should match your unfinished floor.
1. Mix the Sawdust and Polyurethane
Start with a small amount of sawdust and mix it with polyurethane. Mix it with a mixing stick and keep adding a little more sawdust until you achieve a putty consistency.
2. Apply the Mix
Using a putty knife or decorator’s tool, apply the homemade wood filler to the gaps in your floor, ensuring that you push a decent amount down into the cracks. If you just cover the surface, the gap will easily open up again.
3. Finish
Allow the putty mixture to dry before you walk on the boards. Too much movement will cause the floorboards to move, and this will reopen the holes.
Fill With Rope
If the gaps in your hardwood floor are especially large, and you don’t have access to the original wood, you can fill them with a natural rope. This is a technique commonly used in old properties. The result won’t be perfect, but once treated, it will look a lot better than large vacuous holes.
1. Prepare the Gaps
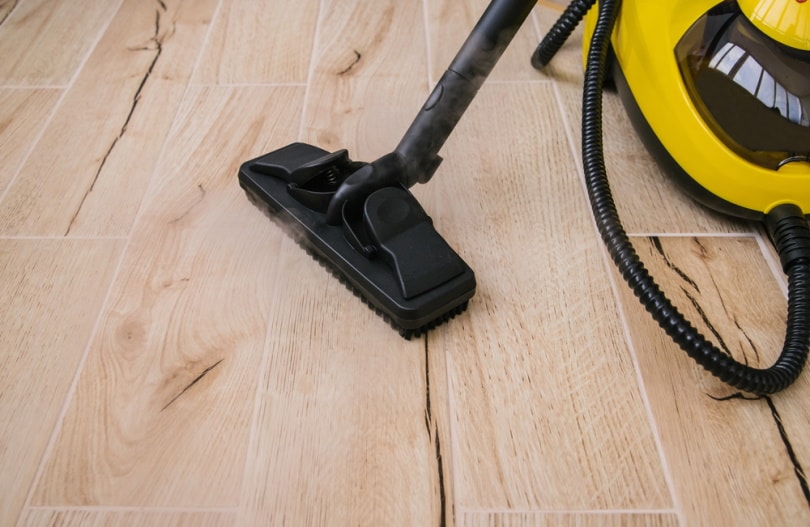
Using a screwdriver or decorator’s tool, scrape out the gap to ensure there is no dirt or other debris in the hole. You can use a shop vacuum or even a keyboard vacuum to remove the dirt that has been removed and repeat the process until the gap is completely free of dust.
2. Stain and Dry the Rope
Choose a natural rope and one that is just thick enough to fit the hole. Cut it slightly longer than required and dip it in a stain that matches the color of your floor. You won’t get the rope to exactly match the color of your wood floor, but you should get as close as possible. Lay the rope out to dry completely.
3. Fill the Gap
Apply a little wood glue to both sides of the gap. Once the rope has dried, push it into the gap on the floor. Use your putty knife to push it firmly into the gap and try to get the rope flush with the surface of the floor. With this method, it is better to have the rope slightly below the surface, rather than leave any protruding.
4. Trim and Finish
Use a utility knife to trim the rope and allow everything to dry. Finish with a clear varnish to protect the rope and negate the need for further work.
Fill With Wood Putty
For small gaps, it is possible to fill them with wood putty, but this is unlikely to prove a permanent solution to the problem. However, this is a relatively simple technique.
1. Prepare the Floor
Clean the floor on both sides of the gap and use a decorator’s tool and keyboard vacuum to clean the gap as much as possible.
2. Apply the Putty
Add a small blob of putty to the area and work it into the gap using your finger or a putty knife. Ensure that the putty is pushed down into the gap and doesn’t just sit on the surface. Remove any excess putty before it is allowed to dry.
3. Let it Dry
Let the putty dry before you walk on the floor or the movement of the boards could cause it to separate.
Fill With Flexible Filler
Flexible fillers present another temporary solution that is easy to apply, but this technique is only really suitable for very narrow gaps, and you might struggle to get one that matches the color of your floor. Flexible filler will move as the boards contract and swell in the future, so it won’t crack as easily as a wood putty.
1. Prepare the Floor

Try to clean out the gap in the floor. Use a putty knife or utility knife to get the dust out of fine cracks.
2. Apply Filler
Using a caulk gun with a fine nozzle apply the filler to the gaps, ensuring that you get it down into the crack and not just at the opening. Use a utility knife to remove any excess, taking care not to damage the surface of the floor itself.
3. Let it Dry
Let the filler dry before walking on the area.
What Causes Gaps in Hardwood Floors?
Gaps typically form in hardwood floors because, as wood gets damp and then dries, the boards swell and then contract. Over time, the natural oils in the wood dry out, which can cause them to dry and leads to cracking. This is especially a problem if the wood floor is above a furnace room, which will naturally get hotter and dry out the floor during the winter months when the furnace is running at full heat. Try to control the humidity in the furnace room and the room where the wood floor is to prevent too much swelling and contracting.
Should I Fill Gaps in Hardwood Floors?
Small cracks and tiny gaps do not necessarily need filling, but they can start to attract dust and dirt if they get too wide. Filling the gap early may prevent this, and if gaps do get wide, the boards can start to curl at the edges which can even become a trip hazard.
Final Thoughts
Natural wood floors are popular because they look good and are relatively hardwearing, but they do require regular maintenance to ensure long life and continued good looks. Filling gaps not only improves the look of the floor but can also prevent further problems including the curling and warping of boards. The best technique will depend on whether you have any of the original wood left over and the size of the gaps that have formed.
Featured Image Credit: Powerofflowers, Shutterstock
Contents
