How to Fix Solar Lights In 12 Easy Steps (with Pictures)
-
Visnja Radosavljevic
- Last updated:
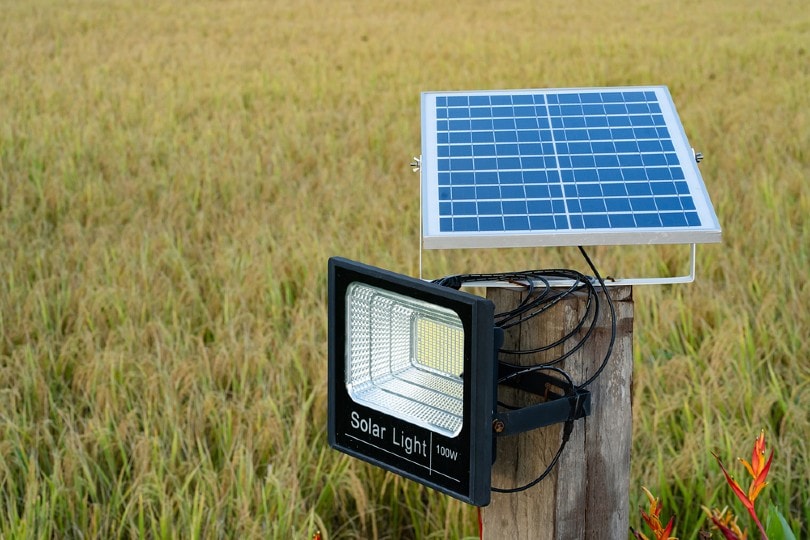
Solar lights are a great way to illuminate your outdoor space while saving on costs and taking care of the environment. As with any other light fixture, solar lights can get broken or start malfunctioning, so you need to know how to fix them if there’s a problem.
Today, we’ll provide you with a step-by-step guide for how to fix solar lights in 12 easy steps. Since there can be multiple problems, we will mention the most common ones and their solutions.
The Most Common Solar Light Problems and Their Solutions
There are a couple of issues that often occur with solar lights. They are usually easily manageable, so you should be able to fix them without any issues. Below, you can see the problems along with steps to resolve them.
Not Receiving Enough Sunlight
The first problem that can happen is that the solar light is not receiving enough sunlight. Solar lights should be placed in bright, sunny areas to function correctly. So, they might not fulfill their purpose when they’re in the shade or a covered area. Here’s what you need to do to fix that.
1. Verify the issue
Before you do anything, confirm that the solar lights are not receiving enough light and this is causing the malfunction. Check the battery and all other parts of the solar light to check for other potential problems. Once you’re sure the problem is not enough sunlight reaching the solar lights, you can proceed to the next step.
2. Provide enough sunlight to the solar light
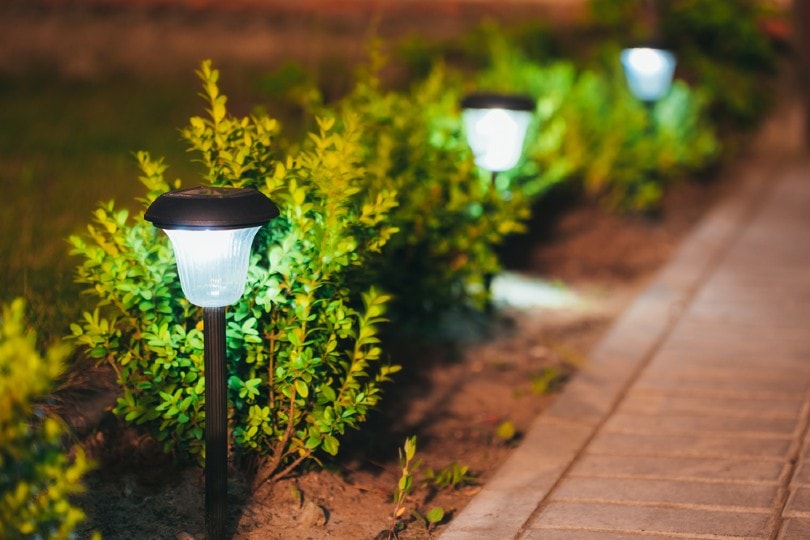
As you probably guessed, you need to provide enough sunlight to the solar light to fix this issue. If there’s an overgrowth of bushes or grass nearby, trim it to allow sunlight to reach the solar light. On the other hand, if something else is blocking the sunlight but you cannot change or move it, simply move the solar light to a different place. Ensure that it’s a sunny place with no shadows. That way, the solar light will soak up all the sun it needs and it will function as new.
Dead Battery
Another common problem in solar light is that its batteries can die. If that happens, all you need to do is replace it, and the solar light will function properly again. Here are the steps on how to change a solar light battery that has died:
3. Take the solar light inside
You should take your solar light inside when replacing the batteries. If you do it outside, dirt or water might access the light and jeopardize its future performance. So, before you open it up, make sure you’re in a clean, and protected area.
4. Unscrew the top and open the battery casing
Most solar lights have their battery and the solar panel under the top section above the bulb. Depending on how the top is secured, you might need to unscrew it or simply twist it to open. Once you’ve removed the top lid, open the battery casing and verify which batteries you need for the replacement.
5. Remove the old battery and add a new one
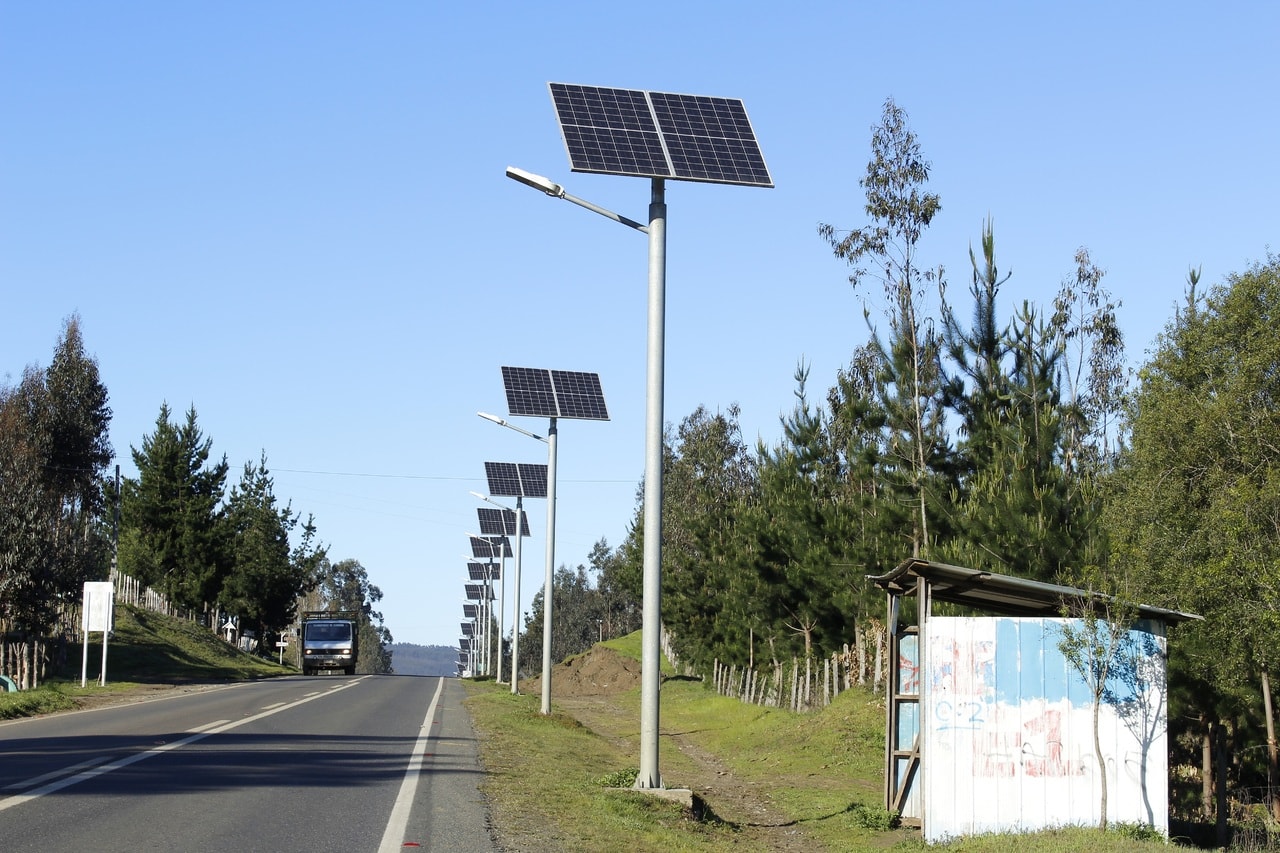
Remove the old battery and find/purchase new ones that fit your solar light. Make sure that you use the same battery type and not mix two different kinds. Once you’ve added the new one, close the battery casing and put the top back in place.
6. Test it out
Test out the solar light once you’ve finished all the previous steps. Most new batteries come charged, so the solar light should work immediately. If that doesn’t happen, leave it in the sun for a while and return to do another test.
Damaged Sensors
Damaged sensors are another common issue with solar lights. To ensure that’s your issue, place your hand or cloth over the solar light. If it turns on, everything is okay. If it doesn’t, there’s undoubtedly an issue with the sensor.
7. Make sure the issue is in the sensors
As we mentioned above, test the sensors out. They react to darkness, so you should make a dark environment to see if they turn on. If not, sensors are indeed an issue.
8. Check the wiring
Wiring problems are another thing that can stop the sensors from working. If you have a bit of electrical knowledge, check the wiring. If not, it might be good to contact the manufacturer since most offer a replacement.
9. Replacing the sensor
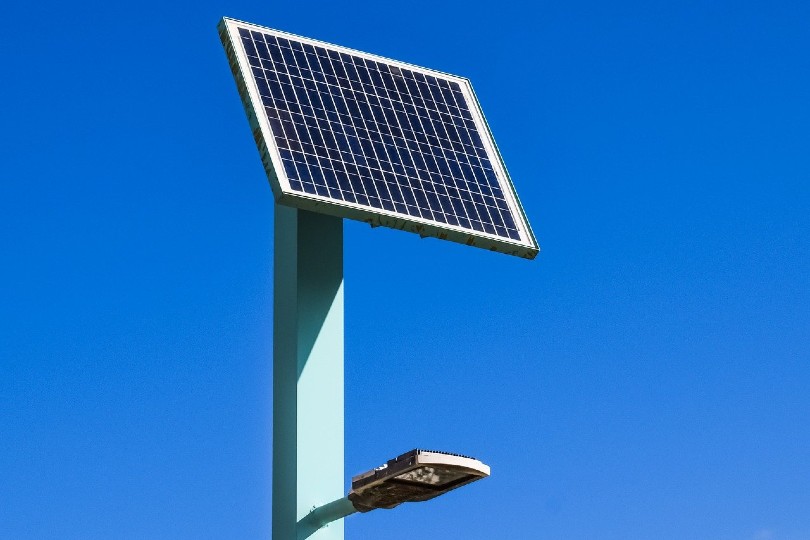
You can remove the old sensor and buy a new one for installation. Honestly, we still recommend contacting the solar light manufacturer because they have the skills to fix their product. That way, you won’t compromise the future of your solar light.
Dirt
Since solar lights are placed outside, a common reason for their malfunctioning is dirt. Sometimes dust, mud, and dirt can get on the solar light and stop the sun from reaching the panel. That’s why solar lights should be cleaned regularly.
Water Damage
Another common issue you can encounter when using solar lights is water damage. Although solar lights are made to endure water, heavy rains can potentially harm the solar light. If that happens, here’s what you should do:
10. Take the light inside and disassemble it
This is another step where you need to take the light inside to a clean, dry area. Once you do that, disassemble the light so that you can dry it.
11. Dry the solar light
After disassembling the light, you should carefully dry all the components. Be cautious, especially when drying the sensor, to not damage it.
12. Reassemble
After you’ve dried it manually, assemble the solar light back. It might still have some collected water on the surfaces you cannot see, so it’s best to leave it in a warm room to dry overnight. After that, test it out. If the solar light is working, water is the problem. If it’s still malfunctioning, contact the manufacturer to get to the bottom of the issue.
FAQs
How long should solar lights last?
Solar lights are very enduring, and generally speaking, they should last anywhere from 3–4 years. Of course, that depends on how you treat them and if you do maintenance regularly. You should notice when solar light is near its replacement time as it won’t be able to collect sunlight and illuminate the area properly. In that case, a replacement will be needed.
Can you put new batteries in solar lights?
We mentioned this in one of the steps in the article, and the answer is yes. Still, you need to make sure you are placing the same batteries for the best functionality of the solar light. Another important thing to mention is that regular alkaline batteries are not the best choice for solar lights. Our suggestion is to use NiMH (Nickel Metal Hydride) rechargeable batteries or NiCd (Nickel Cadmium) rechargeable batteries.\
How do you test a solar light?
If you are testing a solar panel during the night, there’s nothing special you need to do. But, if you’re testing it during the day, you will need to make it react. Since solar lights respond to darkness, you should recreate a dark environment around the light. To do that, you can simply place your hand over it or cover it with a dark cloth. If it turns on, everything should be okay. If it doesn’t, you might have sensor problems, so you should reach out to the manufacturer.
Conclusion
Solar lights are a great way to light up your yard or any other space while reducing your costs. Like every other technological device, they can get broken, damaged, or simply just malfunction. Hopefully, our tips have helped you diagnose and fix your solar light in no time!
Featured Image Credit: Songyos Ruensai, Shutterstock
Contents


