
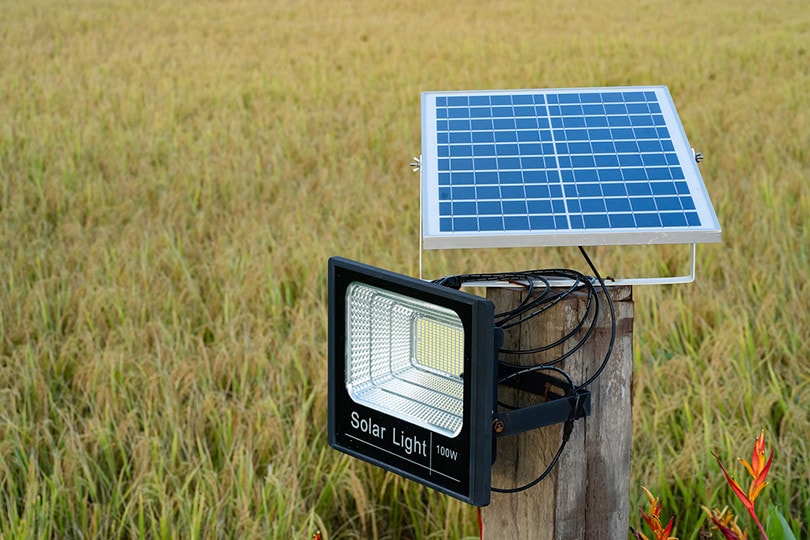
Are you the proud owner of a backyard garden? Or maybe you just like it when your lawn is nice and lit? If the answer is yes, you probably already have solar lights all over your property. They take seconds to install, don’t require any electricity to work, and come at a reasonable price. Solar lights do get dirty rather quickly, though. They’re constantly exposed to rain, snow, dust, debris, and pollen.
That makes them fade and get cloudy. The good news is—solar lights are very easy to clean. It takes minimum effort, about 30 minutes of your time, and some cheap tools and cleaners like soap and vinegar. Yes, basic maintenance can go a long way and help these lights serve you for a longer time. Alright, let’s see how we can get this done!

Overview
| Time Needed | 30-40 minutes |
| Estimated Cost | $20-30 for the materials |
| Complexity | Beginner level |
Before You Begin
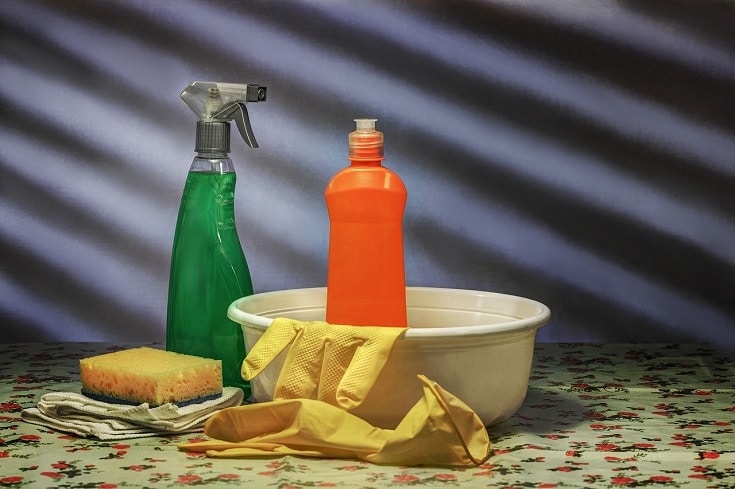
There’s not much planning to do here. As long as you’ve got an hour of free time and are willing to spend less than 50 bucks on materials/chemicals, you can get started right away. As always, we recommend putting a pair of protective gloves on, along with goggles for the eyes. For some level one cleaning, you’ll only need water, soap, and some clean cloth or towels.
If the solar lights are faded and need proper maintenance, vinegar and lacquer will be the best remedies. Finally, to battle corrosion, keep some sandpaper ready, along with a toothbrush. Here’s a full list of the tools and materials needed to get the job done:
| Tools Required | Materials Needed |
| Protective gloves + eye goggles | A bucket of water |
| Towels, cloth, and a sponge | Basic dish soap |
| Sandpaper + toothbrush | Vinegar (or isopropyl alcohol) |
| Spray-on lacquer (or clear coat) | Masking/painter’s tape |
| A Phillips screwdriver | New batteries |
How to Clean Solar Lights (10 Steps)
1. Start by Removing Loose Debris
Dirt and dust build-up is the most common issue with solar lights. When left untreated for several months in a row, the top of the base gets overwhelmed by debris, which negatively affects performance. If you’re good at maintenance and clean the lights at least once a month, a dry cloth, towel, or sponge will easily remove all the dirt. If not, try dampening it a bit.
This is important: give the cloth/towel a proper squeeze. Water particles could damage the electronic components of the solar lights if they “slip” through the panels. Also, check the official instructions for your solar lights before doing any cleaning. If they didn’t include one in the package, go to the official website for guidance.
2. Use Soapy Water for Stubborn Stains
If you’ve been rubbing the panels for a while now, and the grime isn’t going anywhere, that means you need something more efficient. Don’t worry: we’re not talking about any fancy, expensive chemicals. Regular dish soap from the closest store will do. Mix it with water, dip the sponge or cloth into the mixture, and see how that works. Or, you can wet the cloth and just add a drop of soap to it.
Whatever you do, don’t use the rough side of the sponge for cleaning. While that could be an effective solution for certain surfaces, it’s a bad idea for something delicate like solar panels. Unless the grime is a year old, it should come right off if you scrub it with a soap-dipped towel or a sponge (the soft side). While you’re at it, clean the rest of the solar light base as well.
3. Remove the Soap Scum
Again, you need to make sure the panels are nice and dry so that water doesn’t ruin the lights. Besides, soap residue is known to attract even more dirt and grime over time. So, grab a new, clean cloth/towel and dip it in water (not the soapy mix). Next, carefully rub the panels to get rid of the soap. You’ll probably have to repeat the process once or twice.
If this seems like a tedious job, you could use a faucet or garden hose (a small one) to clean the panels. Now, the electronic parts of solar lights are located at the bottom, not the top. Therefore, as long as the water doesn’t get in there, the lights will be fine. When you’re done, go over the panels with a dry cloth.
How Often Should You Clean the Panels?
We recommend doing this at least once in two-three months to keep the panels clean and bright. If you live in a humid area (and it rains a lot), you can clean the lights two-three times a year. In contrast, in a dry, dusty, and low-moisture area, it would be best to do this once in 30–40 days. Keep your eyes on the lights, and they’ll “tell” you when maintenance is due.
And one more thing: if you decide to store your lights (say, it’s winter, and they’re not getting enough sunlight), remember that electronics components don’t like humidity. So, do your best to keep them in a dry and cool place. That way, you won’t have to deal with corrosion when you decide to use them again.
4. Get the Lights Ready for Lacquer
Sometimes, the panels on solar lights get cloudy (AKA faded). When that happens, you don’t get nearly as much light as you did initially. The best remedy for this is lacquer. However, before you apply it, go ahead and cover the plastic parts (the base of the solar lights) with painter’s tape. Pressure-sensitive, it sticks easily to any surface and takes zero effort to remove.
The #1 goal of painter’s tape is to mask off certain areas to protect them from paint, stain, varnish, or, as in our case, lacquer. You can also go with masking tape, but it’s a slightly less effective option. Just cover all four sides of the panels and make sure the tape is glued properly. Sticky tape is NOT recommended here, as it leaves residue and is hard to remove.
5. Apply Lacquer to Remove Fading
Did you follow steps one, two, and three closely? Then you can skip this part. If not, dip a sponge or towel into a soapy water mix and clean all the dirt, dust, and debris. If you don’t, some of that grease might “hide” under a layer of lacquer and create problems in the future. When you’re done, clean the soap and let the panels dry. Lacquer is usually used to seal hardwood, make it nice and shiny and protect it from dirt build-up.
Woodworkers prefer it in cans, but for this gig, you should buy lacquer in a spray can. Otherwise, the layer will be too thick. Besides, it’s just a lot easier to apply it that way for a novice. Shake it first, then hold the can six inches from the panel and get to spraying. Don’t apply too much of it and give the coating +/- 30 minutes to settle. Once it’s dry, remove the tape. As an alternative, you can use a clear coat product. It will be just as effective.
6. Replace the Factory Batteries
Alright, now that we’re cleaning the panels, it’s time to see how the batteries are doing. It might just be that they’re “out of steam”. Use a Phillips screwdriver to remove the screws on the panel and access the batteries. In most solar lights, the batteries are in the upper part of the housing. Or they could be found a bit lower and to the side, depending on the design.
The good news is—batteries don’t cost a fortune. So, you might want to replace them with a new set. Or, better yet, go with alkaline units. Compared to standard rechargeable batteries, alkaline ones are much more resistant to corrosion. Don’t forget to refer to the lights’ instructions. They’ll tell you exactly what type(s) of batteries to use.
7. Remove Corrosion with Vinegar
Did you, by any chance, see corrosion while popping the batteries out? It looks like white powder or sand ingrained into the terminals. Corrosion disrupts the electrical current, which results in faded solar lights, or worse. Before you remove the old batteries, put protective gloves and goggles on. Corrosion residue can be dangerous to humans, especially to our eyes.
How do we deal with it, then? Vinegar has proven to be extremely effective. And you won’t need tons of it—just a drop or two. Vinegar is great at dissolving corrosion. Apply it gently but go with a healthy amount. Cover the terminals and the batteries. Give it five to ten minutes to soak in. To achieve the best results, mix ¼ cup of vinegar with two cups of water and ½ teaspoon of soap.

Why Not Go with Isopropyl Alcohol?
If you don’t have any vinegar around, isopropyl alcohol will do as well. This component is widely used in lotions and soaps. That means it will be more effective than dish soap or any other cleaning product from your kitchen. At the core, isopropyl alcohol is an antiseptic, but it’s also quite strong against corrosion.
8. Use A Toothbrush to Scrub Corrosion Off
Maybe you should use towels, a cloth, or a sponge for this? Well, they could work, but an old toothbrush is a more suitable “tool” against stubborn rust and corrosion. To achieve the best results, make sure the toothbrush is hard bristled. Go over all the corroded spots but apply moderate force. To dislodge corrosion, don’t just scrub against it; instead, apply the circular motion technique.
No toothbrush lying around? Then use a regular brush. It won’t give you as much flexibility and room for maneuvers, though. Again, don’t forget to put protective gloves and eye goggles on. Corrosion build-up tends to surge and splash and could get in your eyes. When that happens, flush your eye(s) with clean, lukewarm water for at least 30 minutes. If the pain or irritation persists, go see a doctor ASAP.
9. Finish the Job with Sandpaper
Fine-grit sandpaper is the perfect remedy against ingrained corrosion that a toothbrush can’t remove. For solar lights, 400-grit is usually the right choice. Just like with the brush, scrub in a circular motion. If 400-grit doesn’t seem to be working, go with 2000-grit. You can get a 10-sheet pack for just $10–15 dollars.
10. Take the Clean Lights for A Spin
Alright, that should do it! With no corrosion left on the terminals, put the new alkaline batteries in, just like we discussed earlier, and check how the lights perform. If you did everything right, and the electronic components aren’t damaged or broken, the solar lights should be so much brighter now.
Conclusion
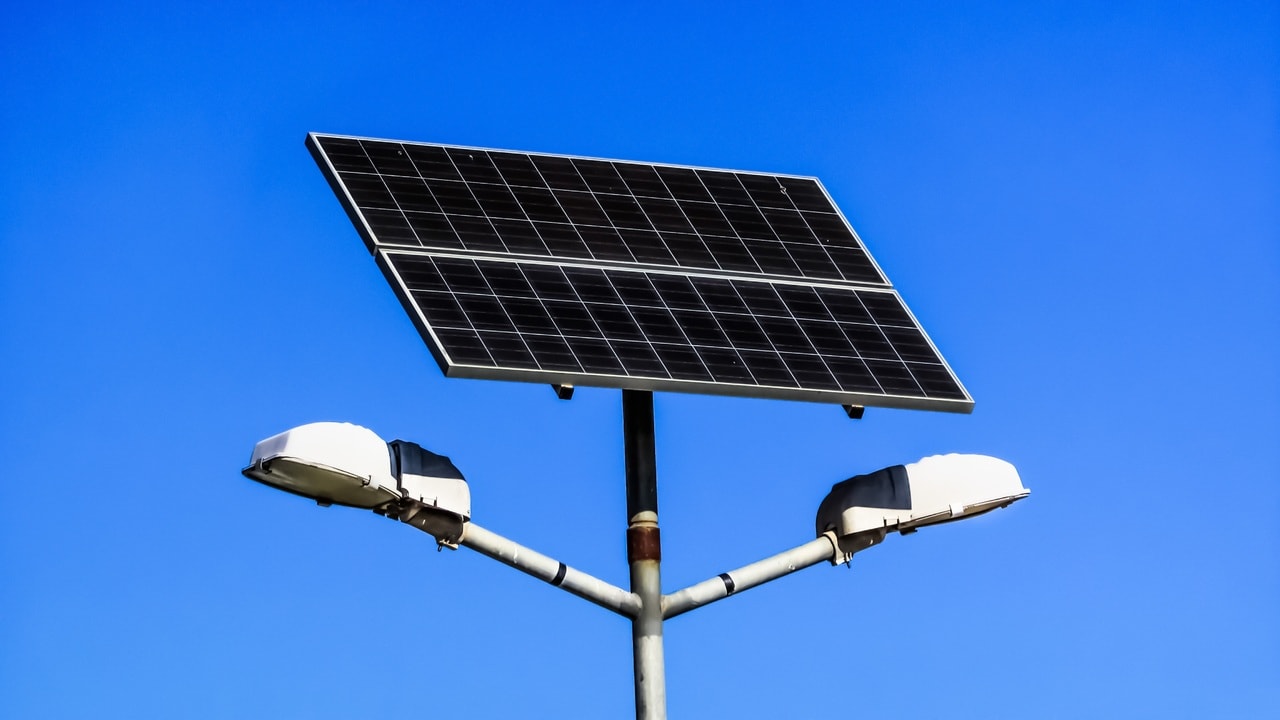
Solar technology is the next big thing for years to come. As for solar lights, they’re incredibly popular in modern-day American households. Thanks to a heated competition on the market, they’re cheap, accessible, and can light up your patio, garden, or lawn. The only downside is that solar lights are highly vulnerable to environmental factors and natural elements.
They accumulate debris, which reduces their ability to absorb sunlight. Solar lights are rather simple in design and easy to maintain. Follow our guidelines closely, take your time with it, and those dirty and faded lights will shine again like they’re fresh out of the box!
Featured Image Credit: Songyos Ruensai, Shutterstock
Contents
