
Do you have to hold your breath every time you visit your chickens in their coop? Then this guide is for you! Today, we’ll learn how to get rid of that acrid odor using folk remedies and everyday products. This won’t cost you more than $100, and the flock will thank you for the refreshing new smell.
We’ll cover the most efficient remedies, including wood shavings, lime, coop cleaners, and more. Humidity, poor air circulation, dirty beddings, and bugs—these are some of the things that cause the distinctive chicken coop smell. So, if you’re tired of having to deal with a bad odor in your yard, let’s see how we can put a stop to that!
| Time Needed | 1–2 hours at a slow pace |
| Estimated Cost | $50–100 (on average) |
| Complexity | Beginner level |

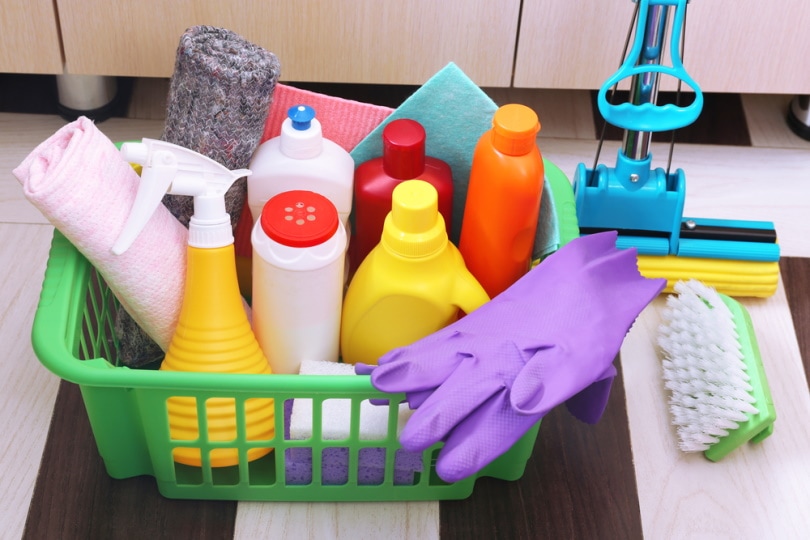
What You’ll Need for the Job
A scrub, a broom or mop, and a decent-quality cleaning product—that’s your “starter pack” for removing the chicken coop smell. We’d also recommend investing in a box fan, a hose, pine shavings, and water nipples to avoid any water spillage. Take a look at the full list of the materials and tools required for proper cleaning:
- Scrubs and rags
- Herbs or petals
- Pine shavings
- Limestone
- Fly repellent
- Coop cleaner (non-toxic)
- Wood boards
- Broom and mop
- Water nipples
- Box fan
- Pitchfork and rake
- High-powered hose
- Disposable gloves and mask
- Shovel and utility knife
How To Get Rid of Chicken Coop Smells (10 Steps)
1. Treat Moisture Like Your Biggest Enemy
It’s very easy to spill water when you’re trying to fill the bowls for the chickens. Unfortunately, when moisture is mixed with the chicken mess, it starts a “chain reaction” that leads to a nasty smell. How do you fight this? By removing any spills, even the tiniest drops. Yes, we know this can be tedious, especially if you have more than one coop to attend to, but there’s no other way around this.
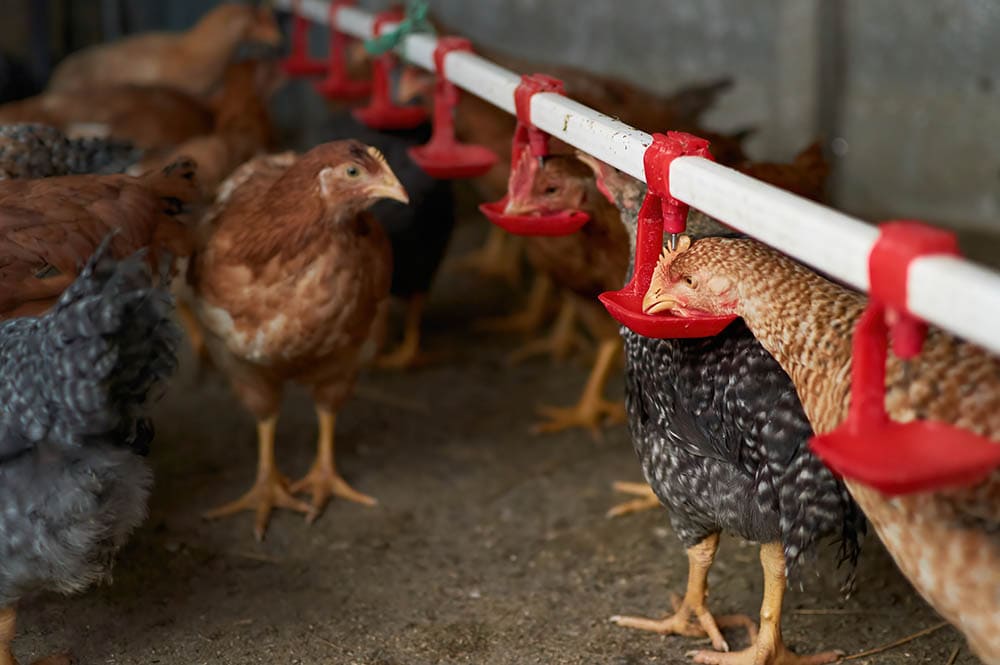
Put a mop or a broom right outside of the coop so that you have easy access to it. What you can do next is invest in water nipples. Chickens aren’t particularly careful when slurping fresh water. As a result, it ends up spilling all over the coop. Nipples are a great remedy against that, but only if you get the right size and position them correctly. It might take some trial and error until you find the perfect spot.
2. Ensure Proper Air Circulation
There’s nothing worse than a stagnant smell of chicken droppings that takes over the yard. But you can counter that by installing a box fan. Don’t worry—it won’t cost you more than $40–50, and it will do a decent job of improving air circulation inside the coop. A box fan can also keep noisy flies at bay. And you won’t have to crank the fan to 11: set it at low or average speed, and that should do the trick.
Another big advantage of box fans is that they keep the coop nice and cool. The ideal temperature for chickens is 70–75ºF, by the way. We recommend hanging the fan right above the coop’s doorway, as that has proven to yield the best results. If you remember to always keep the coop dry and well-aired, you’ll be amazed by how big of a difference that makes. But wait, there’s more ground to cover!

3. Put Garden Herbs To Good Use
Fresh herbs are often looked down upon, but they’re actually quite effective at keeping bad odors at bay. They do not remove the source of the smell, of course, only hide it. Still, petals and herbs can make a difference. Place them in the nesting boxes and the areas where your chickens like to take a nap. Domesticated birds really appreciate the minty fragrance of fresh herbs.
As a bonus, the mint serves as a repellent against pests. You don’t have to be “academic” about herbs. Just use whatever’s growing in your garden. Or ask a neighbor to give you access to some odor-eliminating and bug-rejecting plants. Ideally, it should be rosemary, lavender, lemon thyme, or rose petals.

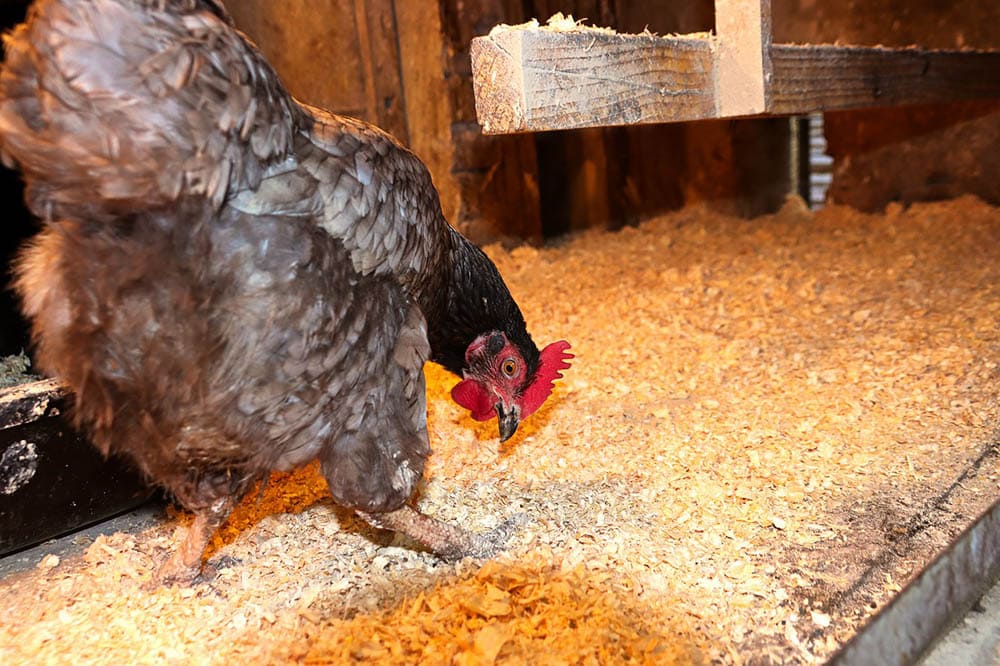
4. Use Pine Shavings for The Beddings
Straw and hay are the most popular choice in the US when it comes to coop bedding. They are low-maintenance and quite cheap, which is a good thing in general, but they’re not an ideal choice. Both straw and hay do a poor job of keeping bacteria and mold at bay. Instead, we recommend using fine pine shavings (12–16 inches deep), which is the best option on the market.
They are easy to clean and don’t trap moisture. Add a thin layer once a week or so to cover the manure and the smell. Wood chips can also work. If you have the time for it, try alternating shavings and chips to see what works best for your coop. Certain experts recommend adding a thin layer of sand, while others swear by sawdust and clay. However, they’re not as effective or efficient as pine shavings.
5. Add Some Agricultural Lime
Lime is one of the best remedies against bad odors and moisture buildup. If you add a healthy amount of it to a coop, you’ll instantly feel, or, rather, smell the difference. And remember: lime should sit beneath the bedding, not on top of it. Made from crushed limestone, it is 100% safe for chickens and does an excellent job of “beating” pests and pathogens.
It’s a universal product, by the way, meaning you can add it not only to a coop but also to a barn, stall, or whatever else you’ve got on your property. Rich in calcium, lime eliminates bacteria and reduces the risk of burns or inflammation, especially for livestock.

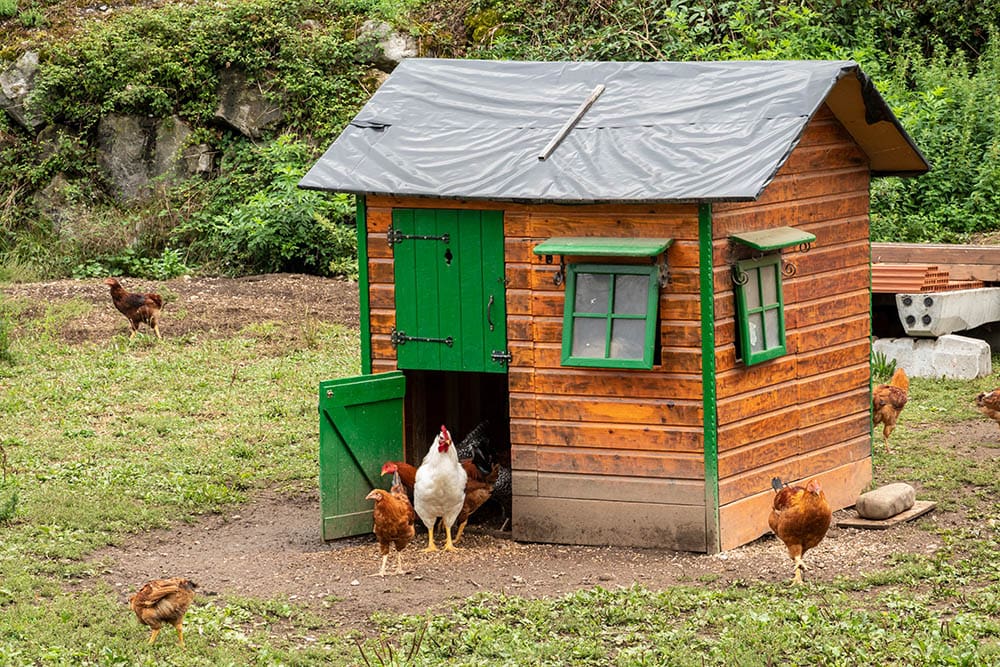
6. Check the Coop’s Roof
You might not give this much thought, but quite often, it’s the roof that’s causing the bad chicken smell. We’re talking about an old wooden coop with a sagging roof that’s letting rain in. No matter how much mopping you do, when you’ve literally got water pouring in from the sky, that foul smell will linger on. So, if you’re good with your hands, climb up there and check the ceiling.
Or have a specialist over to check and fix the roof. Make sure there’s enough overhang and that the roof is watertight. On average, they charge $150-200 for the repairs.
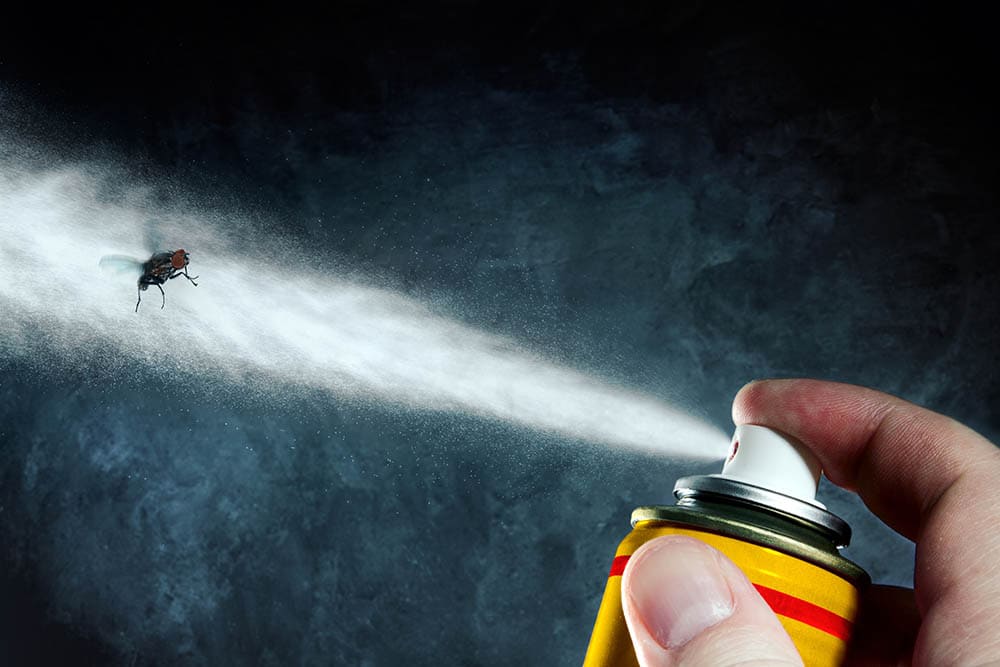
7. Keep Bugs and Pests Away
More specifically, we’re talking about flies. Wet beddings are a magnet for these insects. Sometimes, they are attracted to the coop even when it’s almost completely dry. If that’s the case, we recommend using a fly repellent. An average-size canister won’t cost you more than $20–25 but it will do a decent job of scaring the bugs and pests away.
To take it to the next level, apply a healthy dose of food-grade DE (diatomaceous earth) on the coop’s floor. This powder is incredibly efficient at stopping pest infestation, including mites, ticks, worms, and, of course, flies. Make sure the floor is dry, and none of the powder gets to the feeders or the nesting boards. Oh, and do put a mask on because DE is bad news for human lungs.
8. Don’t Forget About Major Clean-Ups
We’re not saying you should replace the entire bedding. Instead, follow the so-called “deep litter” method. Just keep your eye on the coop and add fresh shavings/bedding as you see fit. At the same time, remember to get rid of the wet/soiled bedding with a pitchfork. This way, you’ll be able to keep humidity at acceptable levels and still update the top layers of the bedding.
During the cold winter days, the decomposed litter and chicken droppings sitting underneath the fresh shavings will keep the chickens nice and warm. But what about the hot days, though? In the summer, it would be best to remove a layer or two to ensure the coop is cool. How often should this be done? It depends on the area that you live in, the weather, how many chickens you have, and more.

9. Apply the Deep-Cleaning Technique
Start by cleaning the dropping boards. Arm yourself with protective, disposable gloves, grab a knife, and get to scrapping. Next, ask your chickens to leave the coop for a couple of hours. If they keep “breaking in”, lock them up in a barn. With that out of the way, remove all the bedding from the floor. Use a shovel and a rake for that, and maybe also a broom. The nesting boxes, water nipples, and feeders also have to go.
If some of the boxes and roosts are rotten, replace them with new wood boards. Alright, now use a high-powered hose to squeaky-clean the coop. Give the water some time to dry, and then spray a coop cleaning product (or a dish detergent and vinegar mix) all over the floor, the walls, and the ceiling using the same hose. Finishing up, remove any stubborn stains with a scrub (stiff-bristled). Bring the bedding back in, and that’s it!
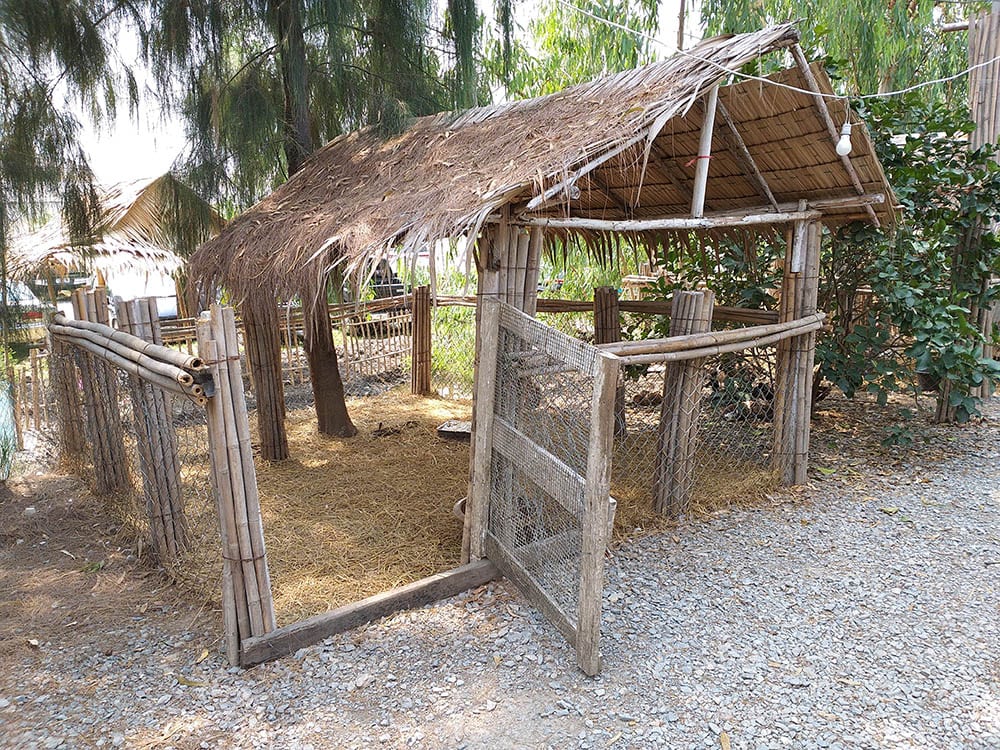
10. What About Outdoor Coops?
It will be much harder to control the smell in outdoor areas, that’s true. But there is a working solution: gravel. These rocks are a perfect choice for natural drainage. And if you add a generous amount of sand right on top of the gravel base, that should help get rid of the pungent odor.

Do Chickens Smell?
No, they don’t have a specific odor that lingers on no matter what you do. If there is a nasty smell coming from your yard, that means only one thing: you’re taking poor care of the coop. Again, just like with your average pets or animals, there is no “chicken smell” per se. It all comes down to their droppings. You’ve probably heard about ammonia. Well, it’s a pungent gas, a compound of hydrogen and nitrogen.
It’s found in large quantities in chicken waste, and it smells awful in vapor form. Remember: the higher the humidity levels in the coop, the stronger the smell is going to be. Besides, over time, ammonia can have a negative effect on the health of your poultry. But chickens mostly do their business in the coop, and it’s relatively easy to clean after fowl and keep both your property and the coop nice and odor-free.
Is Chicken Manure a Strong Fertilizer?
There’s a common misconception that chicken manure is useless. However, in contrast to, let’s say, cat or dog poo, chicken droppings can be used as a fertilizer for your garden. It is quite effective both for flowers and vegetables. Chicken manure is pure organic matter, and when combined with soil or compost, it increases the water-holding capacity, which is great news for any plant.
It is also rich in nutrients like potassium, phosphorus, calcium, and nitrogen that help the crops grow bigger and healthier. Oh, and chicken muck is 100% safe for veggies, fruits, or any other produce. On top of that, it’s proven to be more efficient than steer, cow, or horse manure. So, if you’ve been looking for a nutrient boost for your garden, look again, because it’s waiting for you right there in the chicken coop!
Conclusion
Raising a chicken flock can be lots of fun, but only if you take proper care of it. Otherwise, you’ll be haunted by the horrible smell. Lucky for us, all it takes to get rid of the nauseous odor for good is daily care. And you won’t have to spend hours on the chicken house: it takes 20–30 minutes a day to handle the chores.
Make sure the coop is dry, check the beds for moisture, and use a reliable cleaning product—that’s pretty much it! As a bonus, your featherless friends will reward you with nutrient-rich manure to use on flowers, fruits, and vegetables. Being a chicken parent isn’t easy, but the smell is very much manageable!
Featured Image Credit: StockSnap, Pixabay
Contents
