

Whether you are a professional or hobbyist, you may find yourself needing to glue together pieces of wood. Luckily, wood is one of the easiest materials to glue together. Between its lightweight and porous material, just about anyone can glue wood, so long as they have the right adhesive.
In this article, we’re going to give you a step-by-step guide to gluing wood together. We cover everything you may need to know about gluing wood, including choosing an adhesive, combining the pieces, and letting the glue set.
Without any further introduction, let’s dig right into how to glue wood together.

Getting Started
Before getting started, you will need to gather some needed materials. You may need to review this article to find out which adhesive is best for you since the adhesive type will determine your materials.
What You’ll Need
- Clean cloth
- Rubbing alcohol (optional)
- Putty knife or scrubbing brush
- Glue of your choice
- Applicator (depends on glue type)
- Stiff bristled brush
- Rubber roller
- Syringe
- Putty knife
Prep
Before gluing wood together, you need to make sure that the wood is clean. There should be no dust, wax, or old glue on the wood. Use a cloth to wipe away any dust or dirt from the surface. If a rag is not working enough, you can also use rubbing alcohol. Keep in mind that rubbing alcohol is flammable, but it will evaporate within 5 minutes.
You also need to remove any old glue from the wood’s surface. Use a putty knife or scrubbing brush to remove any glue residue. Though it may sound counterintuitive at first, old glue residue weakens the bond for the new glue. Remove it immediately to ensure maximum strength.

How to Glue Wood Together
Here’s how to glue wood together in 4 easy steps:
1. Select Your Glue

Even though wood is easy to glue together, you need special glue in order for it to hold. There are tons of wood glues on the market. Make sure that you get the right one for your needs to ensure that your project holds together for many years.
Great for small fixes Dries clear Withstands a lot of pressure Dries clear Withstands a lot of pressure Waterproof Flexible Antiques Withstands a lot of pressure Waterproof Fills gaps Dries clear Difficult to apply
Glue Type
Pros
Cons
Best For
Super Glue
Easy to use
Not very strong
Small breaks on furniture or decorations
PVA Glue
Very strong
Not waterproof
Indoor, heavy-duty needs
Carpenter’s Glue or Yellow PVA Glue
Very strong
More expensive
Indoor and outdoor, heavy-duty needs
Hide Glue
Environmentally friendly
Not as strong as other options
Indoor use
Epoxy
Very strong
More expensive
Heavy-duty needs with gaps and chips
Super Glue
If you just need to repair a small piece of furniture quickly, you can opt for super glue. Super glue will quickly and easily fix the broken piece. However, the glue will not be as strong as other adhesives specifically made for wood. This means that you cannot put a lot of resistance or force on the piece once it is glued back on. If you do, it will break again.
PVA Glue
For jobs that need maximum strength and won’t be exposed to any elements, PVA glue may be your best bet. This glue is incredibly strong, but it is not waterproof. This makes it a great option for making furniture or repairing a table. You should be able to find this glue at any hardware or home improvement store.
Carpenter’s Glue or Yellow PVA Glue
Unlike PVA glue, carpenter’s glue or yellow PVA glue is water resistant and very strong. This is the choice for you if you need a long-lasting adhesive that is waterproof. Outdoor furniture or a deck will likely need this sort of adhesive. Look for products with labels that say things like “carpenter’s glue,” “yellow,” or “waterproof” glue.
Hide Glue
If you prefer a natural adhesive, opt for hide glue. Hide glue is more environmentally friendly because it is made from animal collagen. You can find hide glue in both liquid and solid forms. Between these two forms, the liquid is easier to use and gives you more work time. Antique furniture is a great choice to use with hide glue.
You should be able to find this option at a hardware store. If your local store does not have hide glue, look online instead.
Epoxy
Some jobs require you to fill gaps in cracks. If that’s the type of job you have, then choose epoxy. Epoxy will glue pieces back together while filling the gaps. Epoxy is also waterproof, making it great for indoor and outdoor use. Keep in mind that epoxy is more expensive and more difficult to use than other options.
2. Read Your Glue’s Instructions
Once you buy your glue, be sure to read the instructions. Not all glues are the same. So, our advice may not be the best for your specific type of glue. Read the instructions to make sure you are using your product correctly and safely.
3. Combine the Pieces

Now that you’ve read the instructions (did you read them?), you can get to the gluing stage. Depending on the surface of your wood, there are different gluing application techniques. Feel free to skip to whichever situation best describes your pieces of wood:
Connecting Wood with Flat Faces
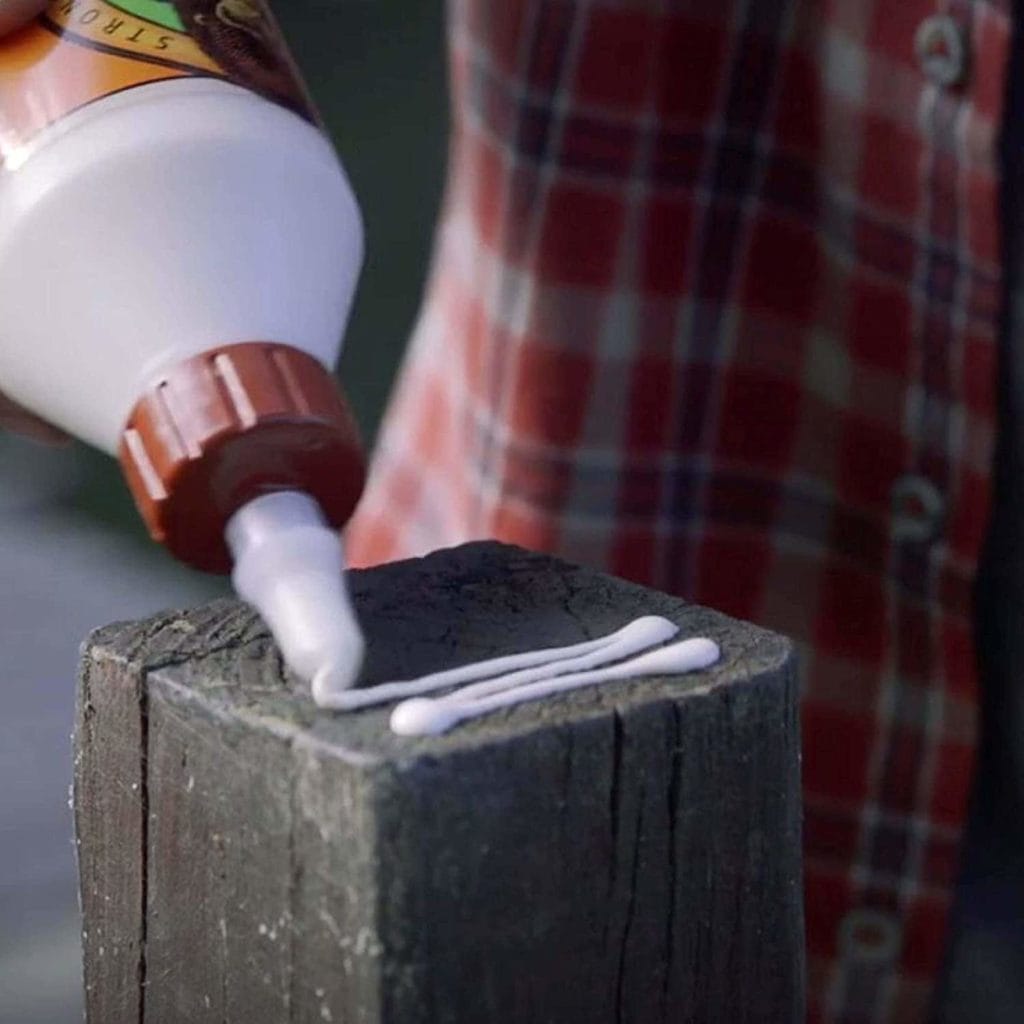
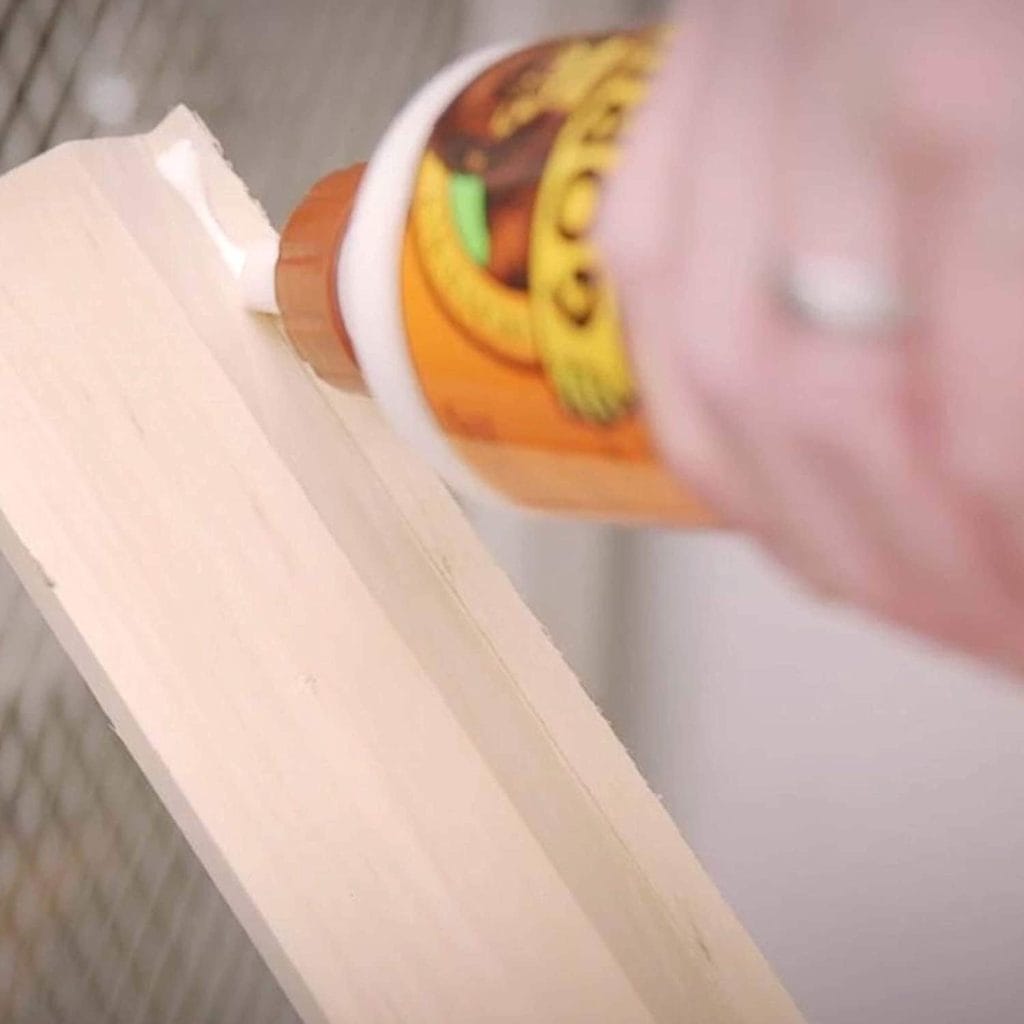
If you are connecting wood with flat faces, such as 2x4s, spread a thin layer of glue using a stiff bristled brush to one piece. This brush will save time and apply the glue more evenly. Connect the pieces of wood by pressing them together.
Connecting Large Panels
A stiff bristled brush will take a long time if you are connecting large panels. For large panels, use a rubber roller to apply a thin and even layer of glue. The strokes should be broad and consistent. Only apply the glue to one side and then press the two panels together.
Connecting Wooden Joints
Whenever you’re building or repairing furniture, there will be a joint that connects the pieces of wood. Apply the glue inside the joint. Then, press the joints together so that the glue will spread throughout the entire joint. This ensures that the parts stay connected after use.
Fixing Chair Rungs
Nothing is more annoying than a loose or broken chair rung. These parts are very small, which can make it difficult to get the glue in the correct spot. Because of this fact, use a syringe to spread glue into the hole. Press the rung back in and allow the glue to spread around.
4. Let the Glue Set
No matter what pieces you combined, the glue must set. Just like with any other glue, wood glue needs time to dry and properly cure. Do not mess with any excess glue immediately after application. Instead, let the glue dry for 30 minutes. After that 30 minutes is up, use a putty knife or chisel to scrape away extra glue. This technique ensures that the bond is strong, but it also removes excess glue.
After the 30 minutes is up, clamp the pieces together until the glue dries. For loose pieces of wood, you can use a C-clamp to clamp them together easily and securely. Unfortunately, some pieces will not be as easily clamped. You can be creative when trying to clamp the wood. Use a book, rubber band, or anything else that will keep the pieces together as they dry.
For large pieces of wood, you may need to use multiple clamps. This ensures that the glue dries evenly throughout the entire piece. Also, keep in mind that all glues will have different drying times. Check the packaging on your product to see approximately how long you need to wait.

FAQ
How long does wood glue last?
The lifespan of your glue largely depends on the glue you select and the environment it is in. Most of the time, however, wood glue lasts for many years. You can see if a glue is still good by looking at its consistency. Most free-flowing glue will be good.
How long does wood glue take to dry?
This depends on the product you buy. Consult your product packaging to see exactly how long it will take. Some glues take as little as 30 minutes while others take at least 24 hours.
What should I use for wood crafts?
PVA or white glue is best for wooden craft projects. This glue is flexible and dries clear. As we have already discussed, PVA glue is not waterproof. So, opt for carpenter’s glue if your craft will be featured outside.
Conclusion
Gluing wood is really easy. As long as you select the right adhesive, it really is hard to go wrong when gluing wood. Just remember to read the packaging’s instructions and take your time. If you do these two things, your project will come out great!
Featured Image Credit: CC0 Public Domain, pxhere
Contents
