

Chandeliers can be the perfect accent for any part of your home. Whether you want to spruce up your dining room, or perhaps bring life back to your foyer, these hanging centerpieces are the answer. You’ll also find that hanging a chandelier yourself is a great DIY project that you can tackle. Below, we’ll share 15 expert tips on how to hang a chandelier. These tips can walk you through the process and also help you stay safe. Read on below if you’re ready to bring the illumination of a chandelier into your life!

How to Hang a Chandelier
1. Choose the Perfect Spot (And the Right Chandelier)
Chandeliers can hang in any room of your home. The trick is to choose one that hangs correctly in the area of space you have to work with. Whichever room you choose, simply measure the length and width of the room in feet. Once you have those numbers, you can simply add them together to give you an idea of the best diameter for the chandelier you buy. If you want to make a bold statement in the room, however, you can always add a few inches to the diameter to truly make your chandelier pop!
2. Gather Your Tools
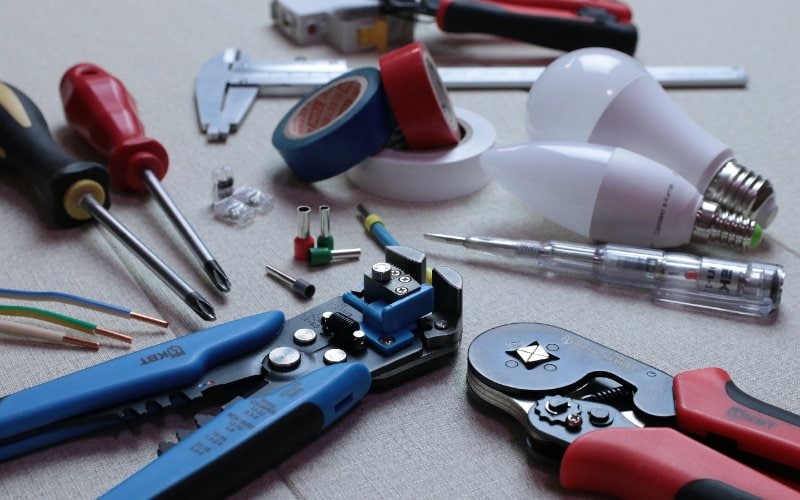
Before you start any project around the house, it’s important to gather all the necessary tools. This helps avoid stopping midway through your project to prowl around in search of your favorite screwdriver or drill. For installing a chandelier, expect to have the following tools and equipment on standby for use while hanging:
- Screwdriver
- Wrench
- Wire cutters
- Voltmeter
- Stepladder
3. Kill the Power
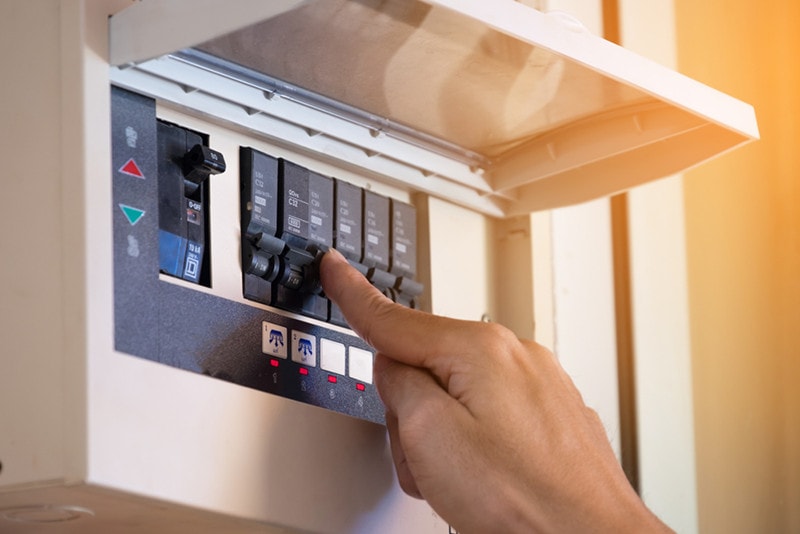
Electricity is no joke. Before you start any installation of this magnitude, make sure the power to the circuit is off. If your circuit breaker isn’t labeled, this may take a little time. On a side note, this would also be the perfect time to label your circuits so you don’t have this issue again. For added protection, you can use your voltmeter to ensure no electricity is running to the junction box where you’re working.
4. Remove Old Lighting Hardware
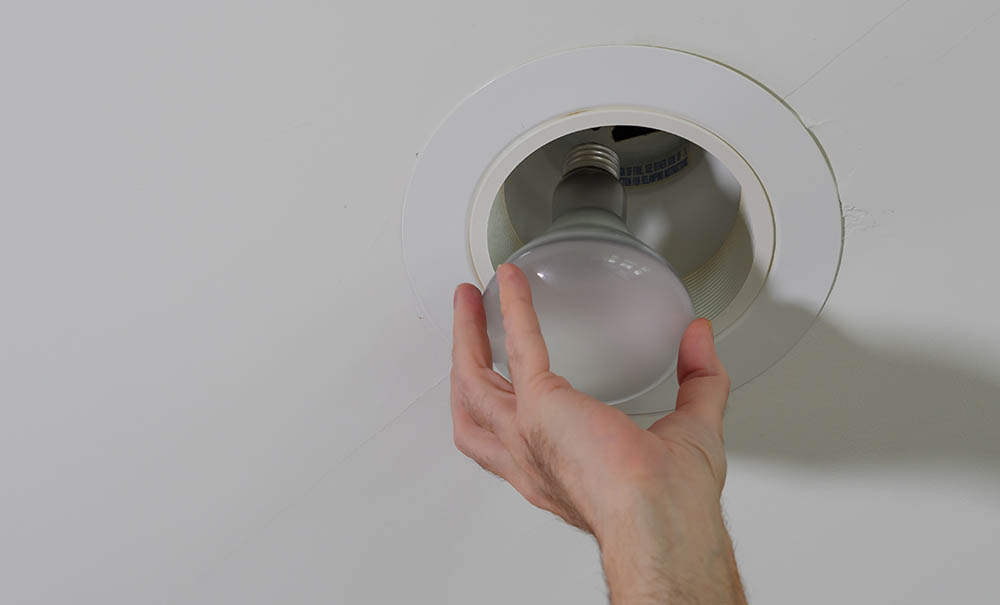
Grab your stepladder and start with lightbulbs or globes to avoid breaking anything during this process. When those are safely out of your way, grab your screwdriver or wrench, whichever is needed for the particular hardware you have installed, and detach the rest of the fixture from the ceiling.
5. Note the Wiring Connection Then Remove
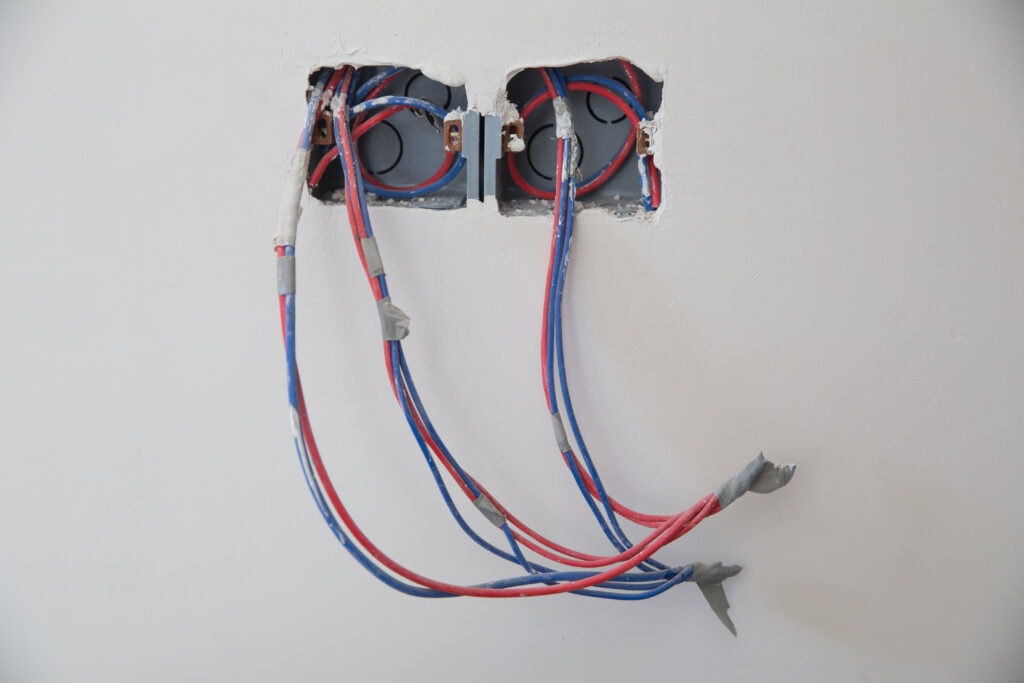
Before you disconnect the wiring to your old fixture, take note of the wiring connection. These setups can be different for every home. Color coding, lettering, and ridges are the most commonly used methods of identifying wiring. It wouldn’t hurt to make yourself a diagram or other type of reminder before completely removing your old fixture so you know exactly how your wiring should be reattached in later steps. Once that’s taken care of, disconnect your wires and fully remove the old fixture.
6. Assemble Your Chandelier

Using the cardboard box your chandelier came in or something else protective, now is the time to assemble your new chandelier. Keep in mind that during this process, the canopy shouldn’t be attached just yet. It’s also best if you wait to pop in light bulbs. This will make the task of hanging the chandelier easier with no chance of broken bulbs.
7. Determine the Length

Whether you’re hanging a chandelier over your dining table or in another room of the house the proper length is important. A chandelier should provide illumination over your table but not be so close it could join you for meals. Chandeliers throughout the rest of the house should be high enough that no one is running into them as they walk. Once you determine the best length for your room, you can remove links from the chandelier’s chain to make things perfect.
8. Mounting Strip
Most likely, the fixture you removed had a mounting strip installed. If not, don’t worry. Hopefully, your new chandelier has one to use. Mounting strips make things easier and more secure. If neither your new chandelier nor your old hardware had one, you can find these at any hardware store.
9. Wiring Your Chandelier
Here’s the fun part! The wires for your chandelier must thread throughout all its parts. Start by threading through every other link of the chain. Then thread to the metal canopy that is used to cover the electrical box in the ceiling. Next will be the holder at the top of your chain, and then finally a small metal nipple at the top that is designed to hold all your wires together. Make sure the wires extend far enough so that you can easily work with them.
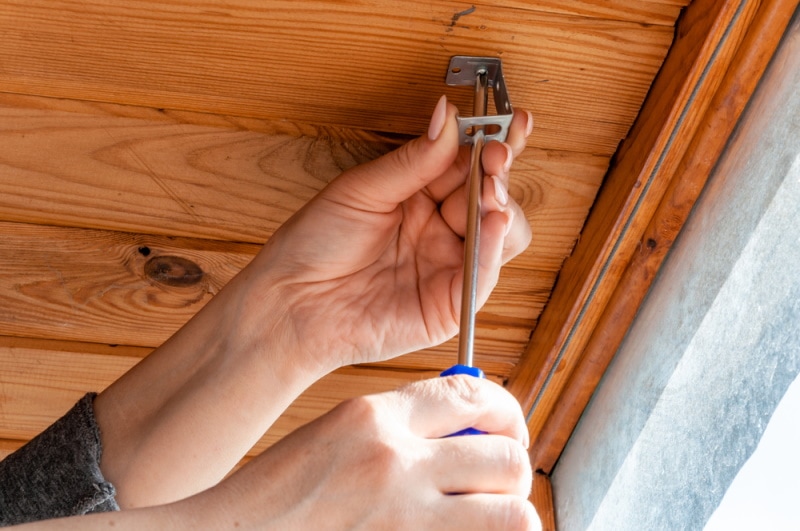
10. Stabilize Your Chandelier

At this point, if you have a helper, have them hold the chandelier in place so you can get started attaching the wiring. If no one is available to help, one idea is to hang a hook from your mounting strip to hold your chandelier in place while you wire it.
11. Ground Your Chandelier

Remember your wiring diagram from step 5? This is where it will come in handy. You should see a bare copper wire attached to both your home’s electrical system and your new chandelier. These wires need to wrap around the grounding screw on your junction box. Normally, this screw is green so you know which one to use.
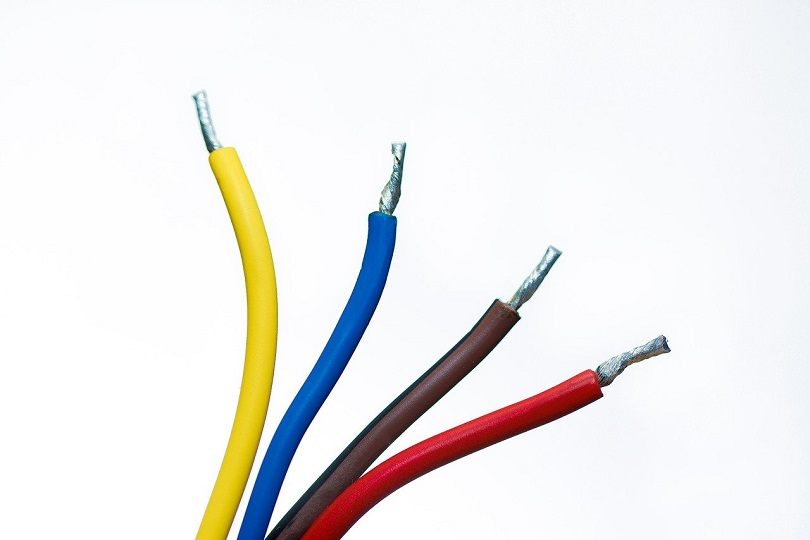
12. Strip and Attach the Neutral Wires
The neutral wire of your installation box and your new chandelier should be marked. In most cases, they are white wires. (If not, you’ll find the ridge or lettering we spoke about earlier.) Use your wire cutters to remove 0.5 inches of your new chandelier’s neutral wire covering. Attach this exposed wire to the neutral wire from your ceiling’s junction box, then twist it together and secure it with a wire connector.
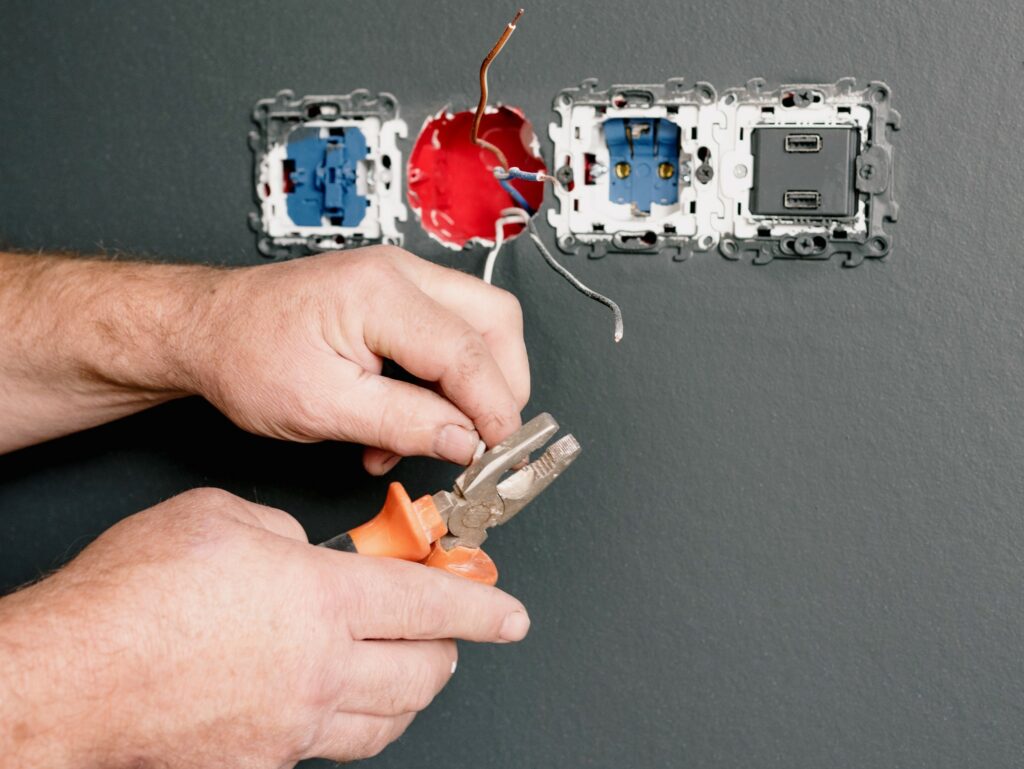
13. Attach the Hot Wires
Hot wires are what carry the electrical current to your chandelier. The hot wire in your ceiling’s junction box should be black. If not, refer to your diagram. Find the hot wire from your new chandelier. Often, the hot wire isn’t marked in new chandeliers or light fixtures. Again, twist the bare ends and secure them with a wire connector.
14. Secure the Chandelier

Now that the wiring is taken care of, it’s time to secure the chandelier to the ceiling. If you tackled this project alone, you’ll need to remove the hook you used to secure your chandelier while wiring. Then follow the chandelier’s mounting instructions to secure it into place according to the design and requirements for your specific chandelier.
15. Try It Out!

Finally, it’s time to try out your chandelier. Install the lightbulbs and turn the power back on. If everything was done properly, your new chandelier should illuminate your space and look beautiful while doing it. Congrats!
In Conclusion
Installing a chandelier can be a lot of work, but in the end, it’s so worth it. If you work safely, this is easily a project you can handle by yourself or with a partner to help out. Soon, you’ll be enjoying the beauty and sophistication associated with a chandelier in the comfort of your own home!
Featured Image Credit: Max Vakhtbovych, Pexels
Contents
