How to Install a Transition Strip on Concrete in 6 Simple Steps
-

- Last updated:

It doesn’t look right when a floor goes from carpet to concrete, laminate to concrete, or just about anything to concrete if you don’t use a transition strip. These simple little devices create a seamless transition from concrete to any other flooring surface, and they’re simple to install! We love transition strips, and that’s why we created this guide to walk you through everything that you need to know to install them.
What You’ll Need
Nothing is more frustrating than getting halfway through a job only to realize that you need to buy more supplies. That’s why we want to highlight all the tools and materials you’ll need to finish the job right here.
You don’t need much, which is good news for those new to the DIY world or who simply don’t have many tools. If you don’t want to invest in the hammer drill, you can always rent one from a store like Home Depot or Lowe’s.
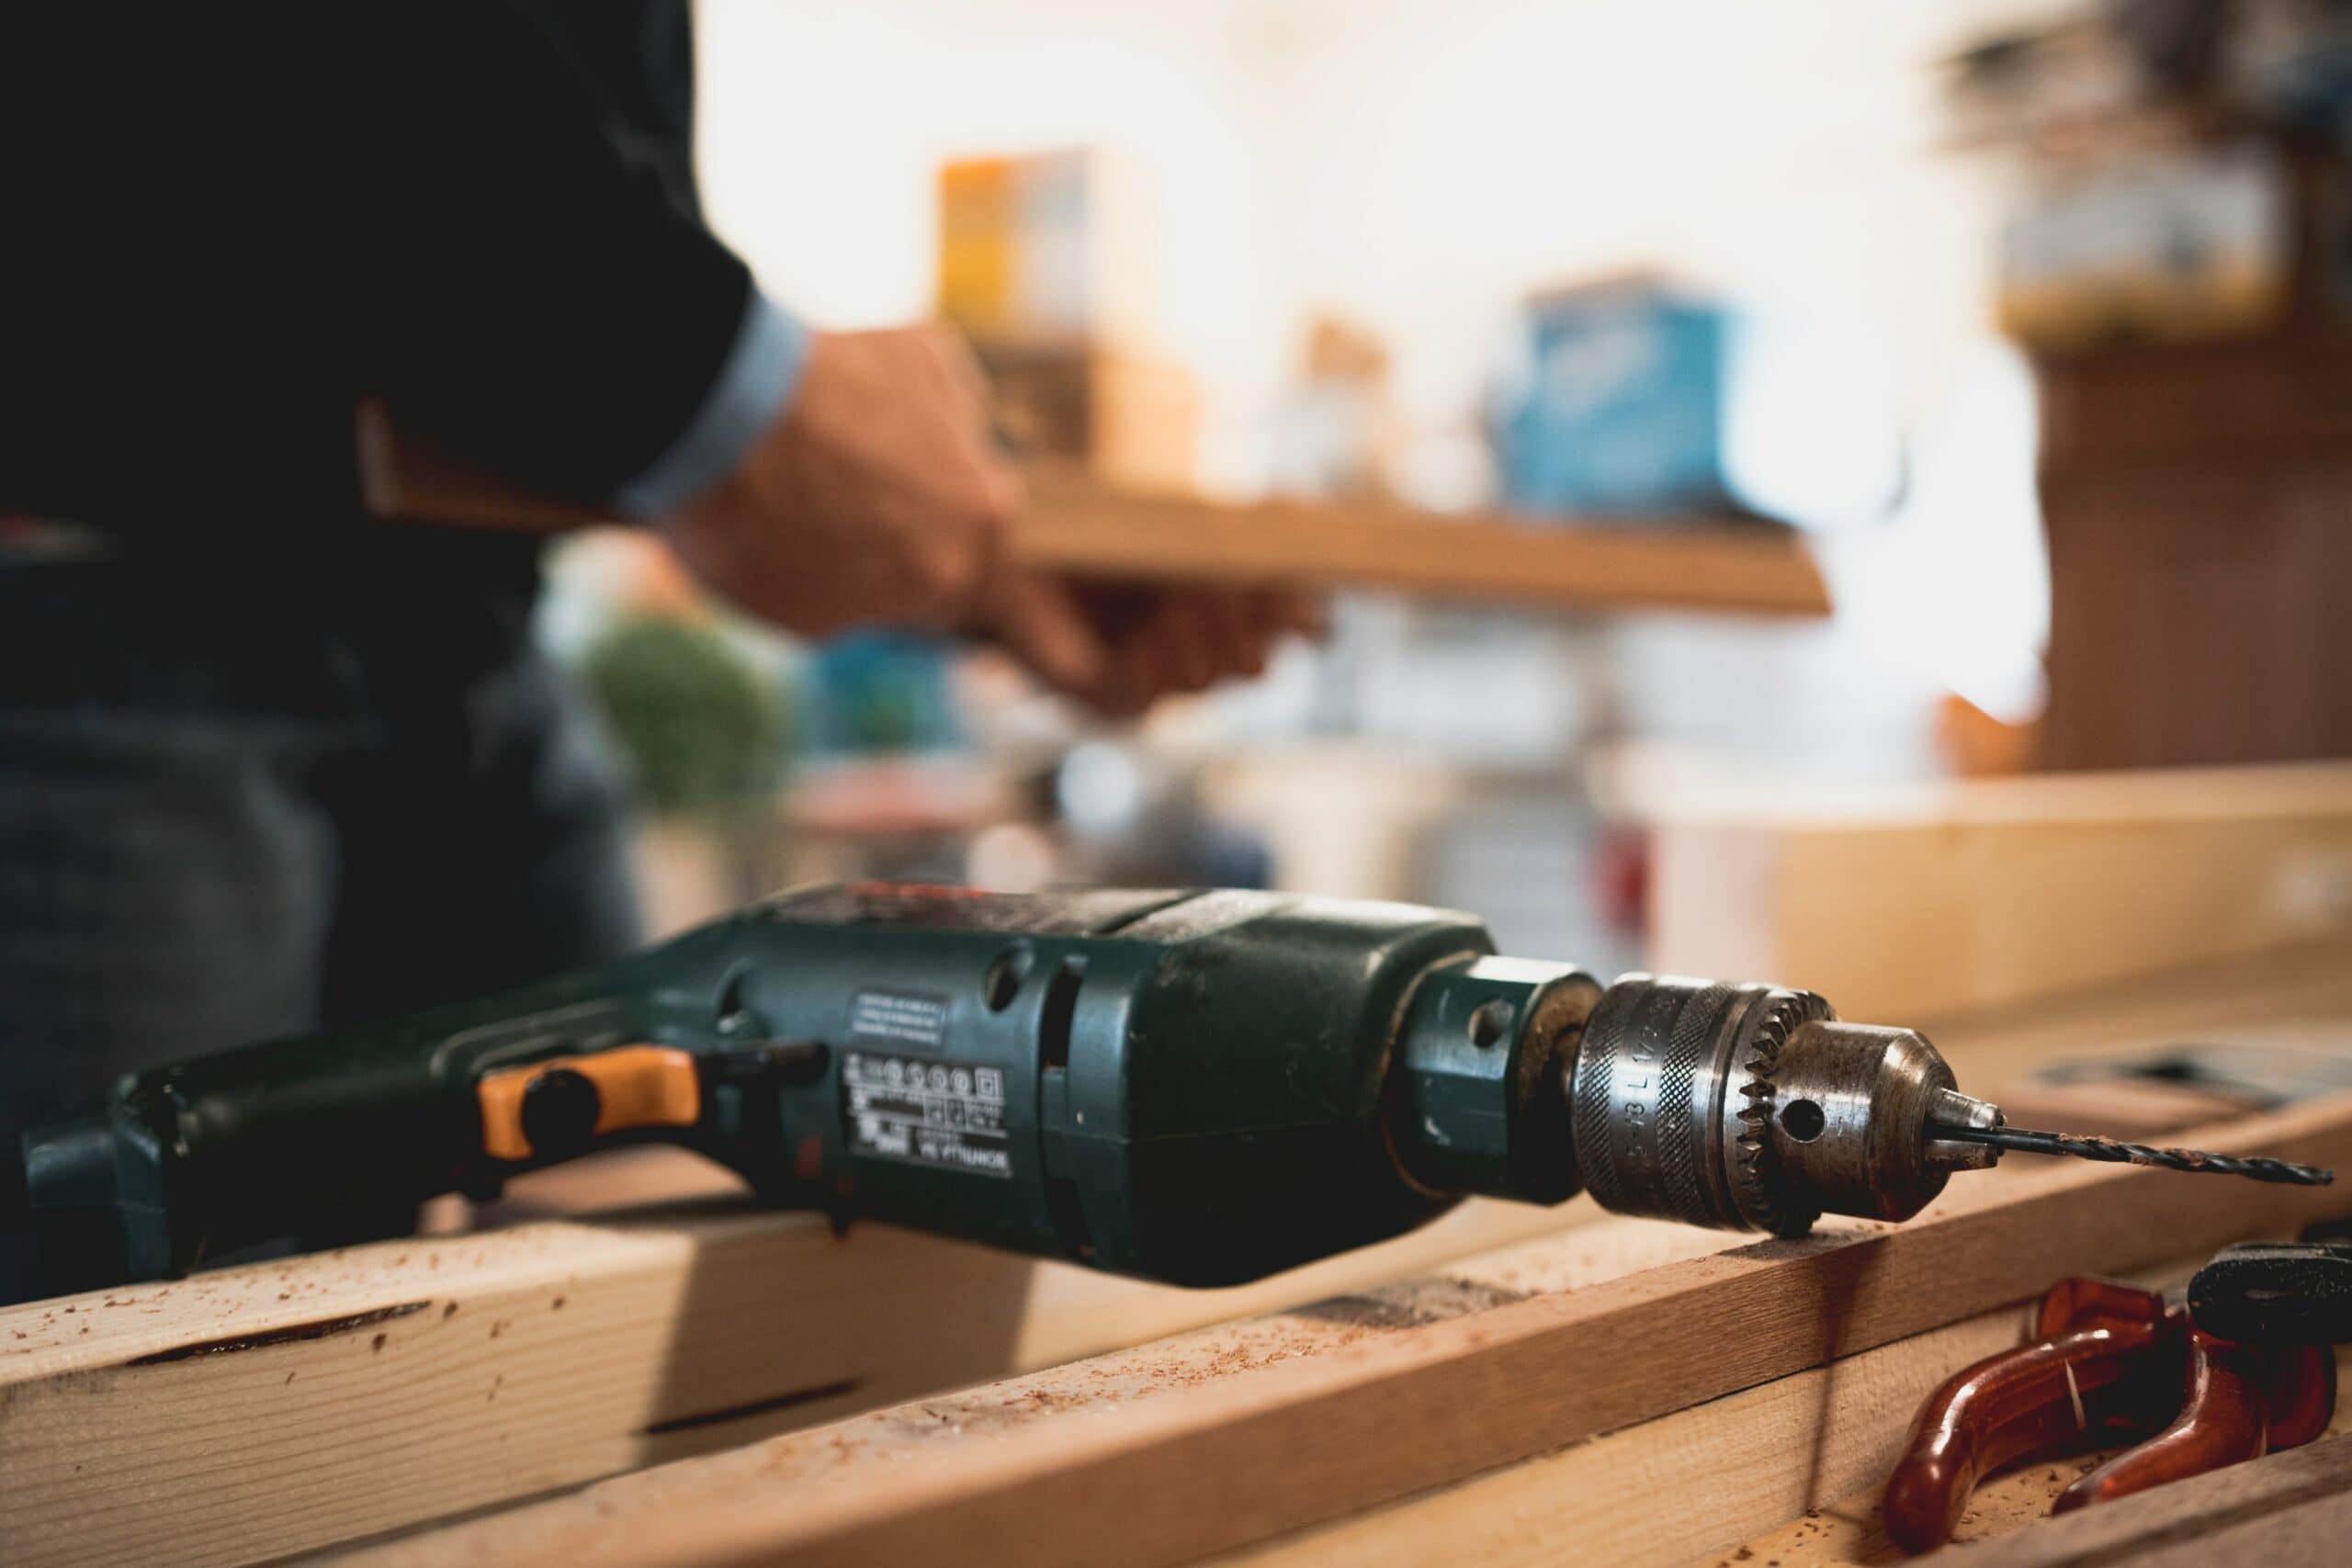
- Hammer drill
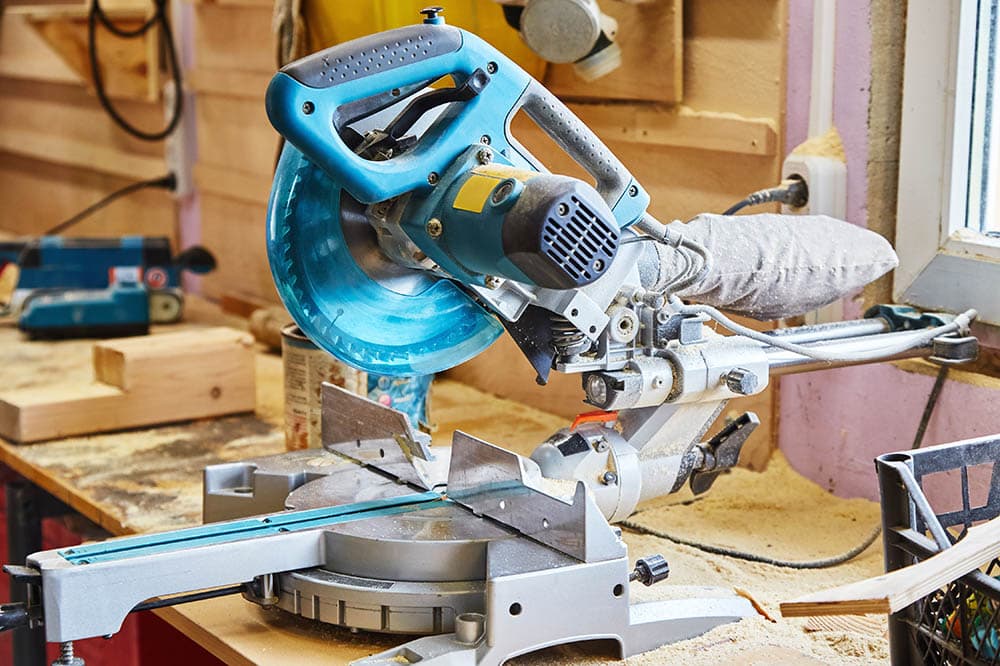
- Miter saw
- Tape measure
- Permanent marker
- 5/32” carbide drill bit
- 3/16” concrete screws
- Screwdriver
- Vacuum cleaner
How to Install a Transition Strip on Concrete in 6 Simple Steps
Now that you have everything you need, it’s time to get started. The good news is that you can install your new transition strip in less than 30 minutes!
1. Measure Everything
The last thing you want to do is get the transition strip down only to realize that it’s either too small or too big. You should start every project by measuring the area where you want to install it. Figure out how long you want the strip to be, then get a strip that is at least that long.
Measure out the strip to the right length, and mark it before moving on to the next step.
2. Cut the Transition Strip to Size

Move the transition strip to your miter saw and cut it down to the mark that you made. Ensure that the blade you’re using on your miter saw can cut metal, but remember that transition strips are very thin, so you don’t need a bulky miter saw blade.
3. Mark Out the Holes
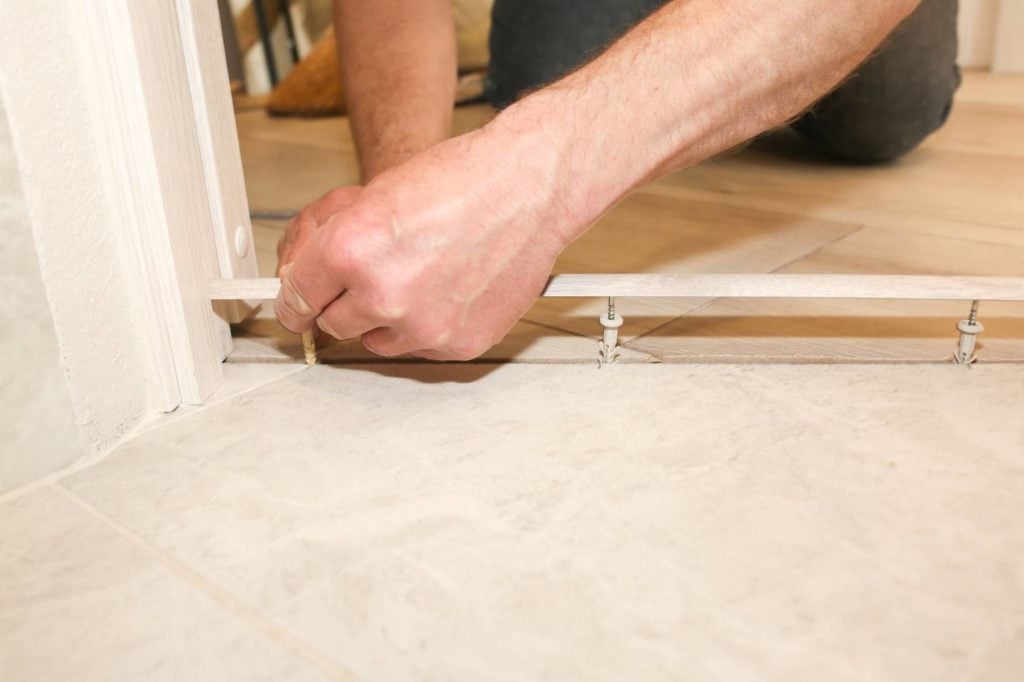
Lay down your transition strip where you want to put it, then use your permanent marker to mark out the holes where you need to install the concrete screws. Once you finish marking out the holes, move the transition strip out of the way and move to the next step.
4. Drill the Holes

To install the transition strip, you need to drill where you marked. Use your 5/32” drill bit, and drill about 1.5” down with your hammer drill. Take your time with this step, and try to drill straight down.
5. Vacuum the Mess
Once you finish drilling the holes, you need to clean up the mess that it makes. If you skip this step, you’ll have to deal with concrete dust escaping underneath the transition strip. You also might struggle to install the concrete screws if there’s too much dust inside the hole.
6. Install the Concrete Screws

The last step is to screw in your 3/16” concrete screws. You should be able to do this with a screwdriver, but it might be easier if you have a drill. Fully install each concrete screw to give it a flush appearance.
Frequently Asked Questions
There’s plenty of information about installing transition strips on concrete, and some of it is contradictory. That’s why we decided to answer a few frequently asked questions here.
Can I Glue Transition Strips to Concrete?
While you can glue transition strips to concrete, it doesn’t provide the same durability and quality of results as drilling it down. No matter what type of glue you use, over time, it’ll start to wear down, and the transition strip will start to rise.
That’s why we always recommend drilling a transition strip into place when you can. You’ll get longer-lasting results, and it’s not that hard to do.
When Should You Avoid Drilling for a Transition Strip?
While we prefer drilling when installing a transition strip, there are a few situations where you’ll want to glue it down instead. The first is if you have a floor that’s still under warranty. This could be because it’s a new home or you recently contracted out the floor installation.
If you drill into a floor that has a warranty, there’s a good chance that you will void the warranty. Gluing down a transition strip typically doesn’t carry the same risk. The second situation where you might want to glue the strip down instead of drilling it in is if the concrete flooring isn’t thick. While a properly installed concrete floor should be 4 to 6 inches thick, not every concrete floor will be.
If that’s the case with your floor, consider gluing down the transition strip because the concrete screws won’t have enough to hold onto otherwise.
What Is the Best Adhesive for Concrete?
If you have to use an adhesive to attach your transition strip instead of screws, you must use the right product to give you the best possible results. Use a concrete-strength adhesive like Loctite Extreme Glue Gel or Gorilla Heavy Duty Construction Adhesive to complete the job.
These adhesives should hold for years if you apply them properly and don’t get much traffic over the transition strip.
Final Thoughts
Transition strips might not seem like a big deal, but they do a phenomenal job of giving your room a great appearance and can even help prevent stubbed toes! Considering how easy they can be to install and how affordable they are, it’s a great beginner DIY project for your home or business!
Featured Image Credit: Only NewPhoto, Shutterstock
Contents

