What Is a Transition Strip and When Do I Use One? What You Need To Know!
-
Pete Ortiz
- Last updated:
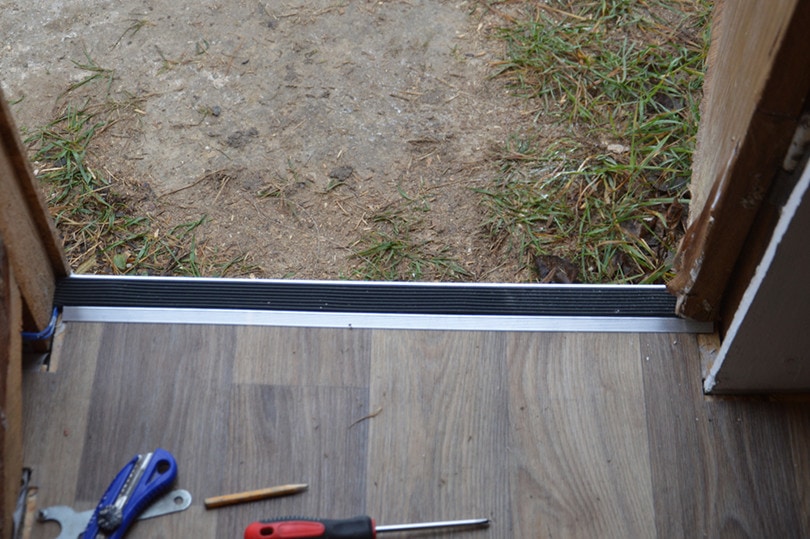
We don’t know if you know this, but every homeowner’s dream is to have the same type of flooring in all rooms. Unfortunately, that’s not how life works. You have to play with cards that you’ve been dealt, and that’s why more often than not, we find ourselves installing different types of floors in almost every room.
Take the living room and bathroom, as an example. It would be great if we had the option of installing the Brazilian cherry in both rooms, but that’s not possible. Of course, the material will be perfect for your living room, but when it comes to the bathroom, that moisture will destroy it. You’ll have to change it to something like porcelain, and that’s where a transition strip comes into play.
What’s a Transition Strip?
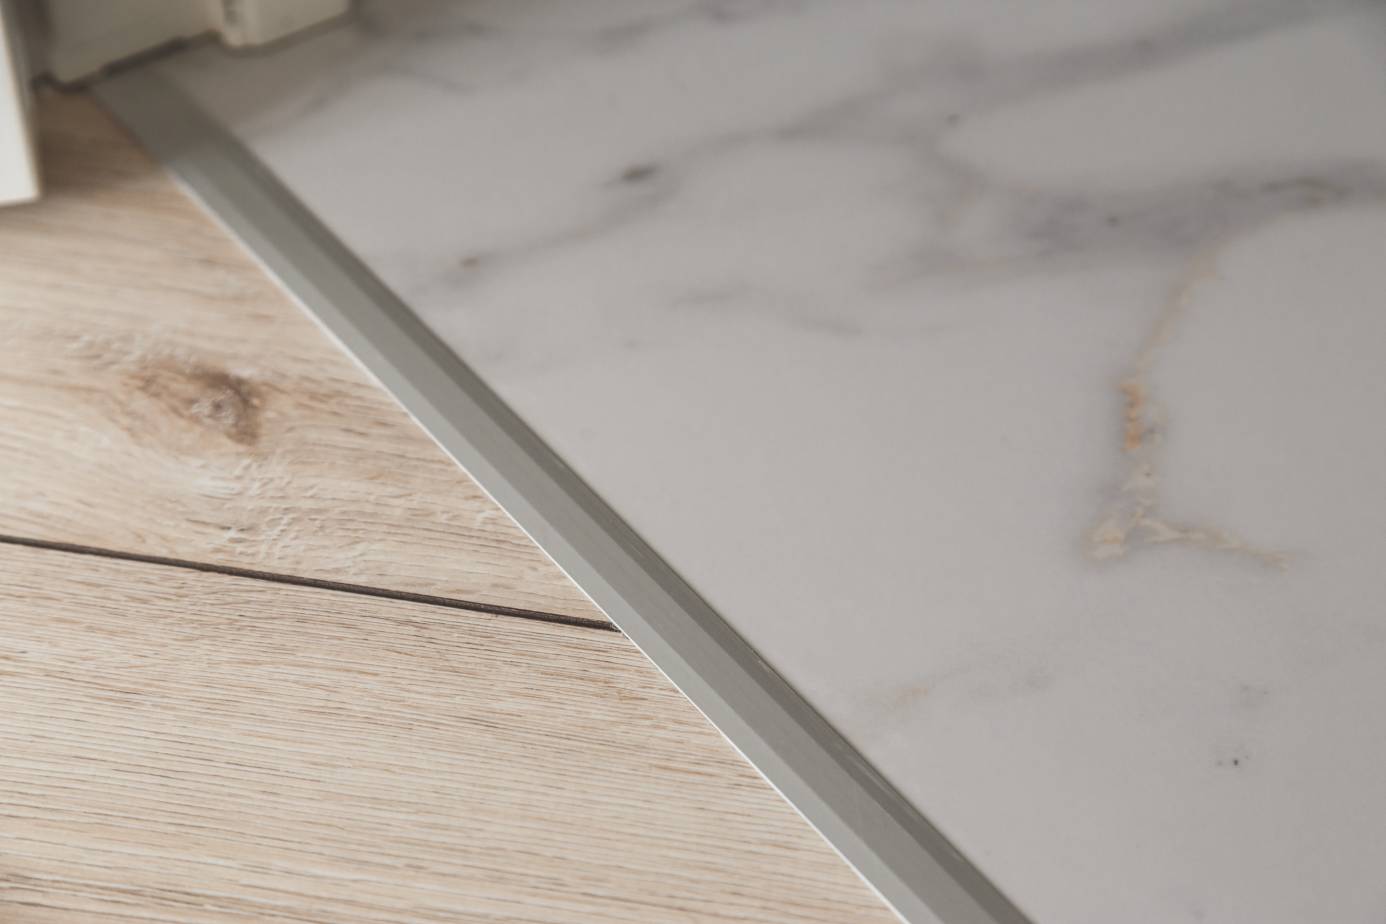
Simply put, a transition strip is more or less like a mediator, ready to intervene and offer reconciliation between different flooring options in a home. If we go back to the example of the living room and bathroom, it will ensure you don’t have to deal with an unsafe or unsightly transition between the Brazilian cherry and the porcelain.
So what you’ll essentially be getting at the end of an installation is a flush transition that’s barely noticeable and doesn’t interrupt the seamless flow of a space.
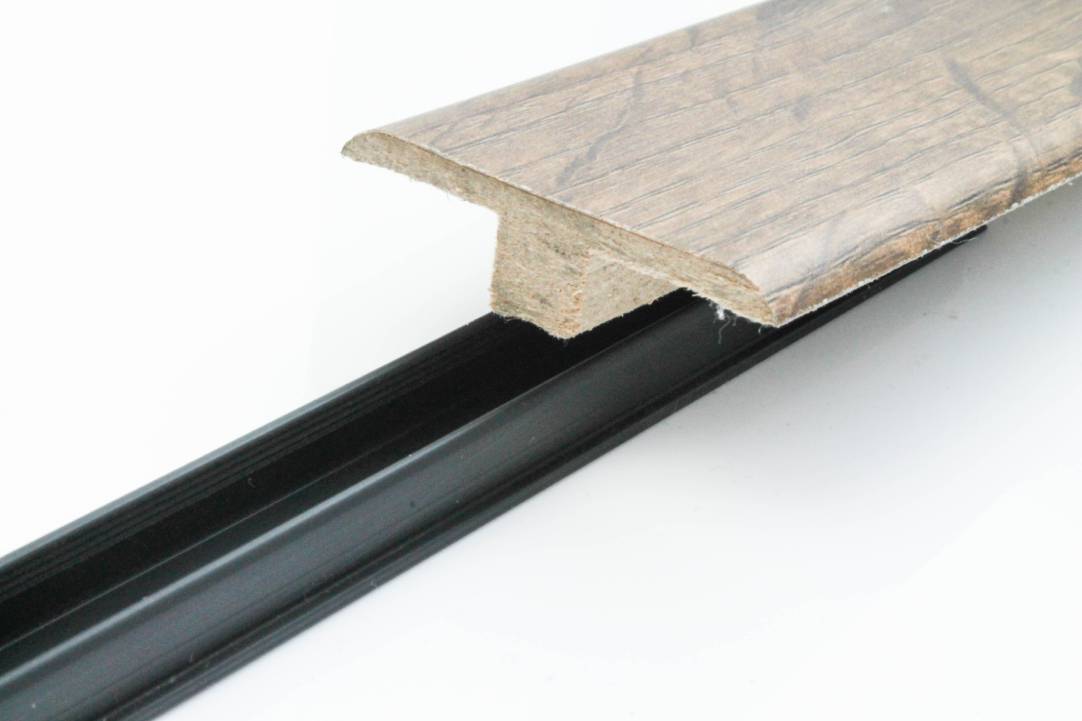
Are Transition Strips Needed Between Similar Floors?
We prefer working with transition strips even if we’re installing the same type of flooring. However, we do have people who disagree. They feel like there’s no need of applying these strips in rooms that have similar floors and are of the same thickness. But here’s our line of reasoning:
Regardless of whether the floors are similar or not, you’ll still have to install seams that are meant to deal with the expansion and contraction, and that expansion gap will be less noticeable if transition strips are used to cover it.
What’s The Cost of Transition Strips?
We cannot give you an exact figure, but if you need a price range, they could be anywhere from $1 to $25 per foot.
There’s a lot that goes into determining the price of a transition strip, the prime factor being the type of material used during production. Some materials are costlier than others, making the corresponding strip pricey.
From what we gather, the one-piece plastic strips are the cheapest strips on the market, as they are specifically designed to be used in spaces that experience low foot traffic. In other words, residential setups.
That cues us in on the second factor at play, which is the strip’s usage. Premium quality transition strips are designed to cater to the needs of the commercial industry, especially the ones that have been produced using aluminum. They last for what seems like a lifetime and are stronger than the typical pieces. The only problem is, they’ll cost you a pretty penny.
Types Of Transition Strips
1. 4-in-1 transition strips
From the name alone, you can tell that this strip offers versatility. You see, unlike most transition strips this particular one can be used on different floorings, seeing as it comes with several interchangeable parts.
- A hard surface reducer
- Carpet transition
- T-molding
- End-molding
- And a metal channel
The transition from a thinner hard flooring to a thicker one will be handled using the hard surface reducer. If you’re transitioning from a carpet to a different material you’ll require the carpet transition, while the end-molding is meant to produce a final finished edge on the flooring.
2. Tile to laminate strips
By now we’re guessing you already know that tiles and laminate are synonymous with residential buildings. And during installation, they are often laid on top of something called an underlayment, with the laminate positioned lower than the ceramic tiles.
As expected, there will be a gap between these two types of floorings. But that gap will be filled using the base track of the strip. The other part, which is normally referred to as the finished part, will be snapped into place, and thus create a seamless flow between two floors.
3. Carpet edge gripper
This is purely an aluminum strip that’s designed with very sharp metal teeth. The teeth are meant to secure the edge of your carpet, and the adjoining surface has to lie in a lower position. Installing the edge gripper is not as difficult as some people make it sound. All you’re required to do is to tack it to the subfloor, and then push the carpet into the toothed side.
4. Carpet-vinyl strips
This is the type of strip to go for if you’re looking to connect your ceramic tile floor to a low-pile carpet. The upward-protruding spikes and the invisible aluminum strip are the two features that typically define it.
You’ll first need to tuck the strip under the edge of the carpet. The spikes will secure and hold it in place, while you butt up the tiles against its track. But the tiles won’t be successfully attached to the track, until you snap a vinyl transition strip into it.
5. Vinyl-to-tile transition strips
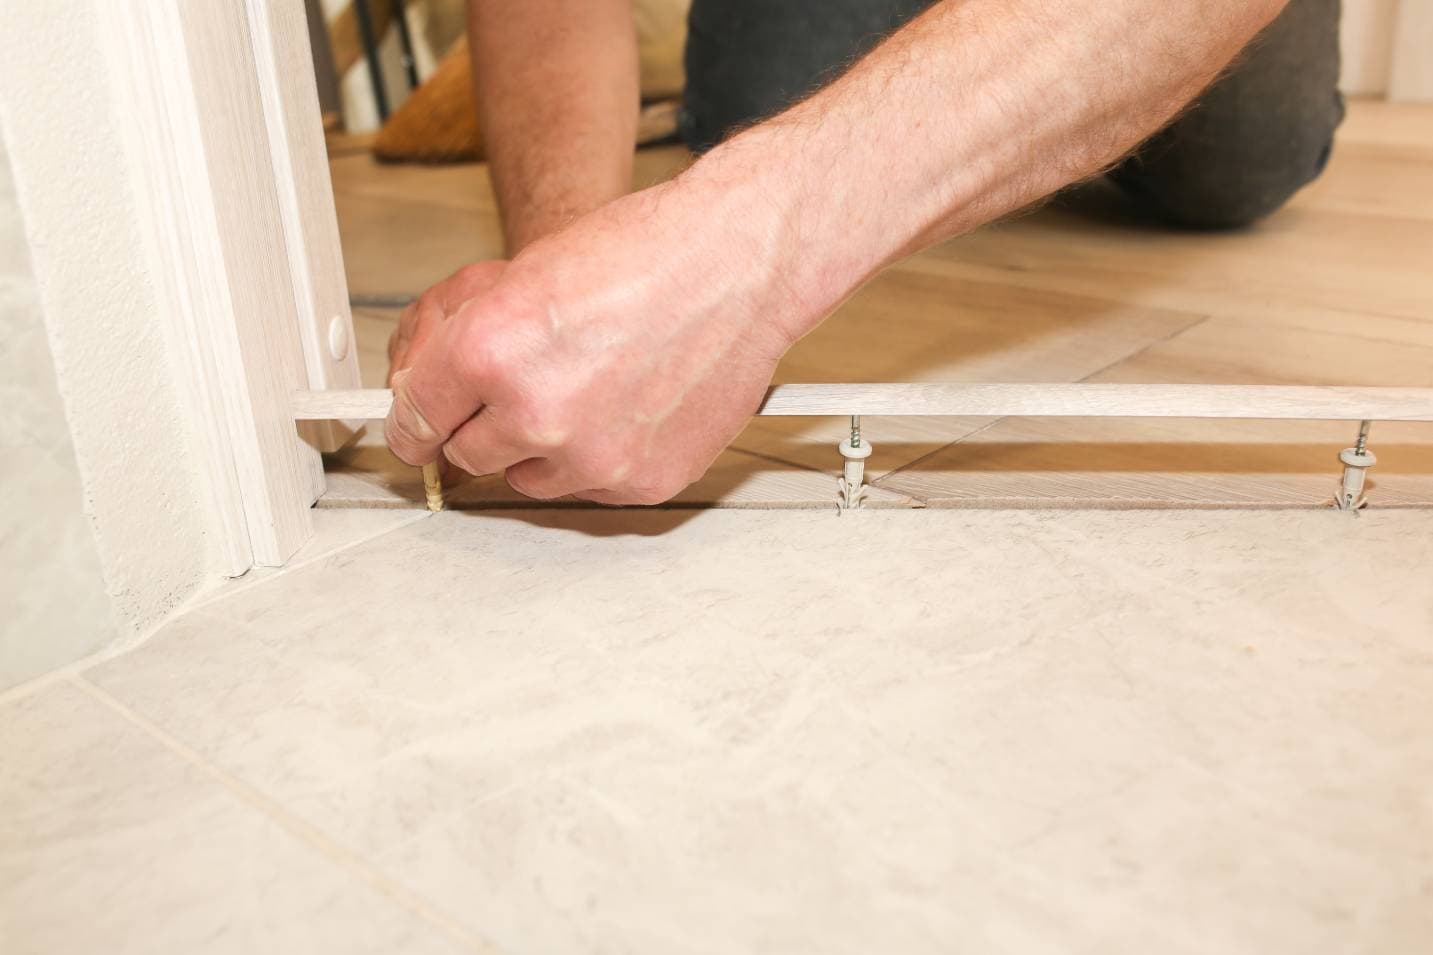
For starters, the vinyl-to-tile strip is a hardwood strip, and it’s only effective when used as a transition on a lower vinyl floor, looking to join a stone tile floor or ceramic. In a way, it functions the same way the tile-to-laminate strip does—a higher flowing covering a lower one.
To install the strip, you’ll need expansion anchors and a couple of screws. Firmly secure the metal channel to your subfloor, and then snap the top strip into the channel to conceal the floor seams.
6. Wood-to-wood strips
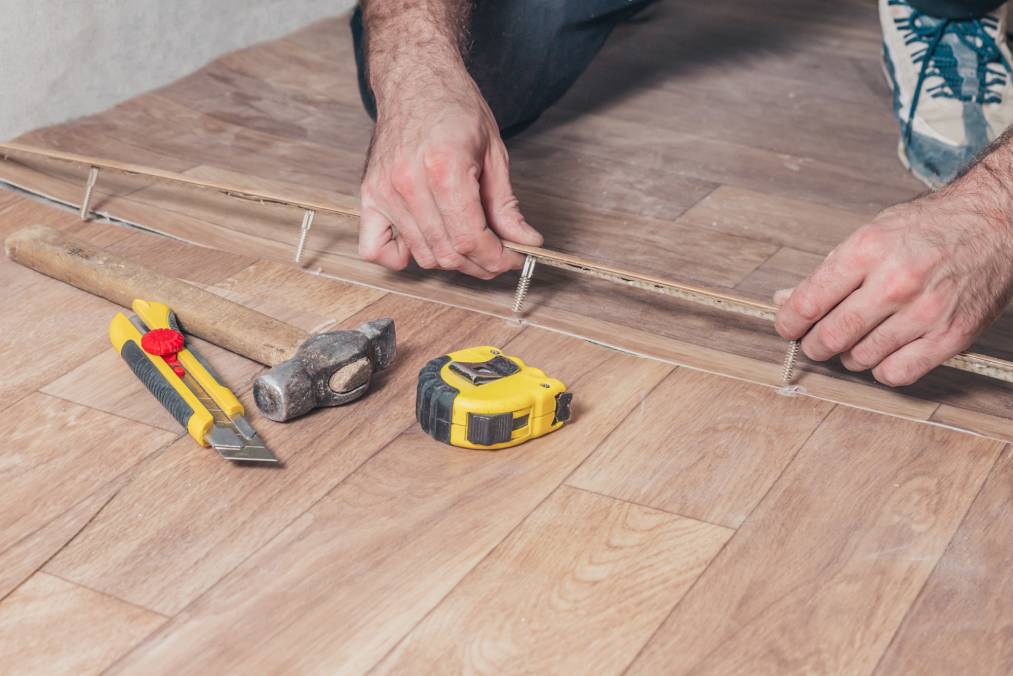
Wood strips are used to join two wooden floors of the same height. Most of them are about 5 inches wide and have been designed to support the expansion and contraction of the two floorings.
 Wrap Up
While shopping for transition strips, there are two important factors: the different types of floorings, and the material used to construct the strip. In addition to pricing, these are the two important factors in determining whether the transition strips will serve you for years to come.
Featured Image Credit: Apx.org.ua, Shutterstock
Contents


