
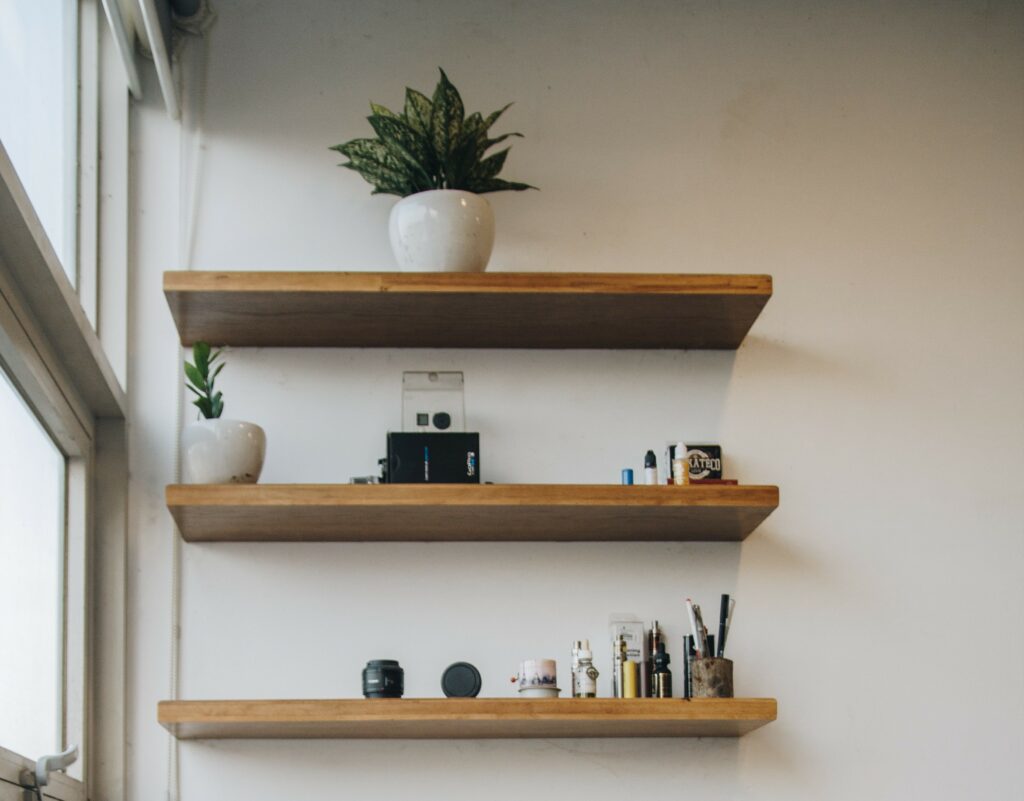
Floating shelves don’t only add an artistic touch to your interior, but they also make it look organized and modern. They are a practical choice for home decor, whether you want to manage your kitchen, bedroom, or bathroom. The good thing is that these shelves are available at a wide range of prices—the higher quality you go for, the more you’ll have to pay.
However, you can save some cash by installing them on your own instead of hiring professionals. This money can be used to buy a high-quality floating shelf. Luckily, the process is also easy and simple.
You need a few studs, a screwdriver, a drill, and more tools to get started. Still trying to figure out how to begin? Follow the nine expert tips in this article to learn how to install floating shelves without much hassle.

How to Install Floating Shelves
1. Have All the Tools Handy
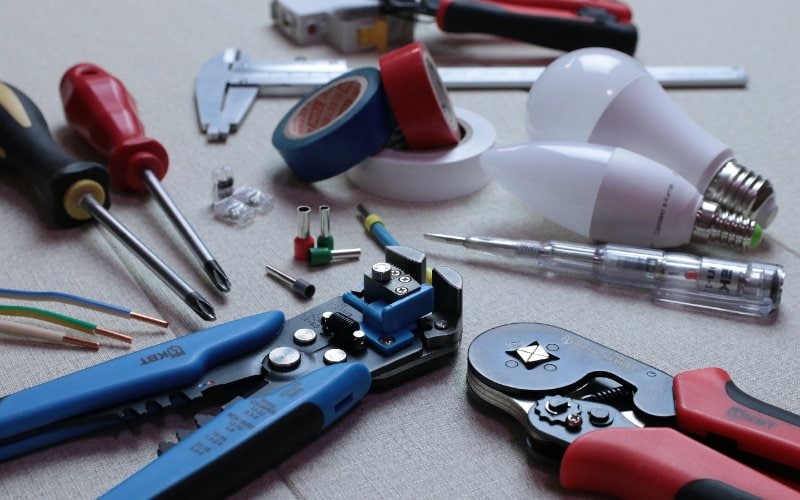
Floating shelves are a practical approach to storing your daily use items and displaying your decor pieces to visitors. They also free up lots of space in your home. However, they need a few items for the installation, most of which must be readily available in your nearest hardware store.
It’s better to gather all the items before you move on to the installation process. This way, you will have everything handy when installing the floating shelves. Know that things can get pretty tedious when you don’t have all the tools in one place, and the process requires you to stay calm and focused.
- Floating shelves
- Anchor plugs (drywall or plasterboard)
- A screwdriver
- Drill
- A hammer
- A stud finder
- A marker
- Measuring tape
- A leveler
Only move on to installation when you have all these tools available. If you don’t have any, get them to do the job flawlessly and stress-freely.
2. Ensure Height Clearance
Before you start installing shelves, be sure to leave significant space for height clearance. This includes ensuring space for foot traffic and overhead, keeping in mind the tallest person in your home. However, it shouldn’t be too high for an individual of average height.
If you’re unsure, it’s recommended to install the selves about 4 to 5 feet above the ground. When installing it above the furniture, leave a space of 10 to 12 inches for the ideal height clearance.
3. Start By Locating Stud Areas
Once you have gathered the tools and ensured height clearance, you can begin the installation process. Always start by finding the studs on your home’s walling surface, mostly drywall. If you live in a wood building, locating framing studs is extremely important to avoid any damage to your home’s foundation.
You can use a stud finder to locate the studs in the area where you want to mount the floating shelves. You can use a modern stud finder with LED lights for accurate results. These devices are readily available on Amazon.
Keep marking the stud areas with a marker as you locate them. This will be the starting point for your floating shelves installation.
4. Always Measure the Bracket
After locating the stud areas, always measure the bracket next. Then, mark the areas where you plan to install the floating shelves on the wall. Once you measure and mark the floating shelves’ brackets, mark the spot where the anchors will go. Use a different colored marker for the anchors to avoid confusion later in the process.
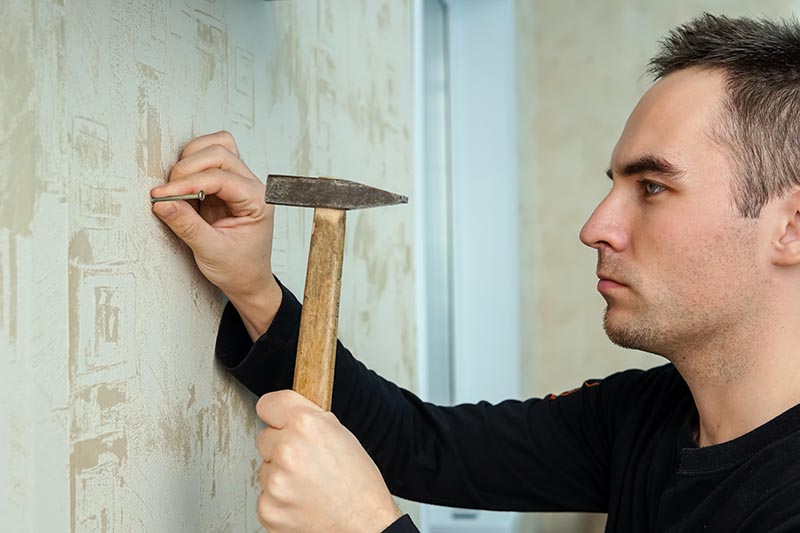
5. Pre-Drill Holes for the Anchors and Hammer Them Gently
Pre-drilling holes for the anchors can make the process easier for you. Carefully take a drill and make holes in the marked areas. After that, put the anchors through them and tap them lightly with a hammer. Never hit too hard on the anchors, or you may end up breaking them.
Repeat this process on the other side too. While doing so, ensure you’re not drilling holes bigger than your anchors. In such a case, it will make your anchors wobble around—incapable of holding the weight on the floating shelves.
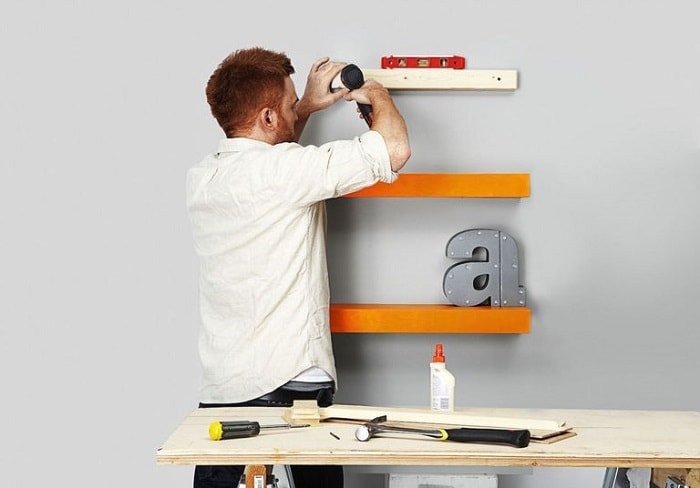
6. Don’t Tighten the Support Bracket’s Screws Initially
When laying the support bracket, keep in mind to screw it lightly in the beginning. This will help you adjust the screws later whenever they seem unaligned.
Now, step back and see if the bracket is straight. Take the level and put it on top of the bracket. You have done the job right if the leveler is precisely in the middle.
Finally, make the temporary placement of the screws permanent. Tighten the bracket’s screws so the floating shelf doesn’t fall off easily.
7. Consider the Weight Load
We can’t stress this enough: never overload your floating shelves. It’s better to store lightweight decor items on these shelves. But if you’re installing them in your kitchen or bathroom, you will have heavier items.
In such a case, you can add extra support to the shelves or stay under an approximate weight limit. Many manufacturers give an estimated weight capacity for the shelves. If yours don’t have it mentioned, you can stay under 110 pounds for safe use.
8. Add Extra Support to the Shelf
If you plan to store or put lots of things on your floating shelf, it’s better to add extra support to it. This will ensure that they are entirely secure and durable enough to carry considerable weight.
To add extra support, drill additional holes near the studs and put screws in them. This will make your shelves sturdier and more supported. You can also use drywall screws for this, which are enough to anchor the bracket down.
9. Always Ensure That the Screws Are Tightened
As you move towards the completion process, ensure that your bracket matches the holes of your floating shelf. If they do, slide the bracket right in. Now, look underneath your shelf. There, you will see a place to place the screw on. This screw is placed there so the shelf doesn’t segregate from the bracket.
Finally, put the required screws on and tighten them last time. The shelf should be straight, sturdy, and ready to hold as much weight as you put on it. But remember, don’t overload your floating shelves!

Conclusion
Installing floating shelves is a simple process, but you should know some tips and tricks for the proper installation. If you’re a beginner taking the process as a DIY fun project, know that it isn’t. You’d need someone’s help and basic skills in handling the equipment involved in the process.
Make sure that you’re taking accurate measurements and making the marks correctly. You may end up with an unaligned shelf if you go wrong anywhere. Also, add extra support to the shelf and don’t overload it with heavy items.
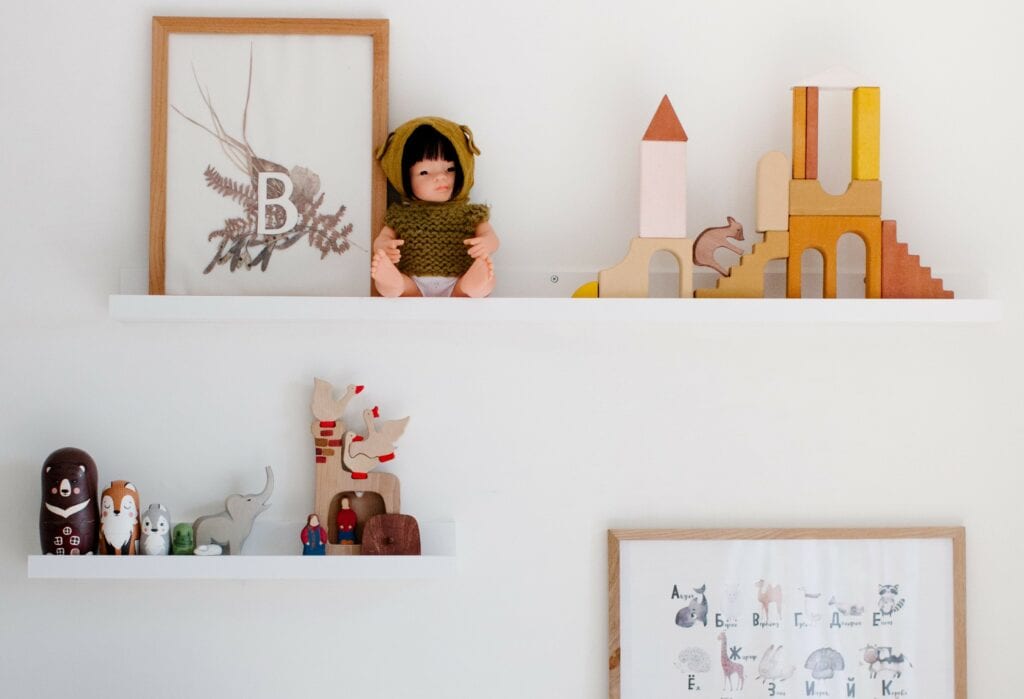
When appropriately installed, floating shelves look modern and aesthetic. So, whether you put books, planters, or any decor piece, these shelves will uplift your home’s overall interior anyway!
Featured Image Credit: Tranmautritam, Pexels
Contents
