

A smart home’s security system is almost incomplete without a Ring Floodlight. This equipment combines a Wi-Fi camera and motion-sensing floodlight, making it an excellent outdoor light fixture. The best part is that the Ring Floodlight Cam is not only one of the best in terms of performance, but it is also easy to install.
If you are a beginner and want to install the floodlight camera yourself, you can do so without drilling new holes in your home’s walls. However, if your focus is solely on your home’s aesthetics, the Ring Floodlight Cam can be your true calling. This equipment doesn’t come with any cords that will be exposed on the interior or exterior of your home.
Still confused about how to install Ring Floodlight Cam without existing wiring? This article will tell you how to do that flawlessly with some helpful tips and tricks.

Does Ring Floodlight Cam Plug into a Standard Power Outlet?
Like every other Wi-Fi device, Wi-Fi cameras must be plugged into a power source to work. Unfortunately, the Ring Floodlight Cam doesn’t include a power adapter in the package, but it has wire connectors and nuts that help in hardwiring. So, should you plug the floodlight camera into a power outlet or not?
The Ring Floodlight Cam system was primarily designed to replace outdoor cameras or lighting. This is why older versions had about 1,500 lumens of output at 3,000K color temperature. Comparatively, the newer models offer enhanced brightness, ranging to a maximum of 2,000 lumens.
Like other high-quality floodlights, you must give the Ring Floodlight a separate power source to avoid socket overload. That’s why hardwiring is a great way to install the Floodlight Cam to ensure its safe functioning.
Of course, you can plug the system into a standard power outlet. However, opt for the one with a junction box to keep the wire connections protected against weather and accidents.
Installing Ring Floodlight Cam Without Existing Wiring
If your mounting location already has existing wiring, the installation process will be as simple as just mounting the light and connecting the wires. However, if there is no existing wiring, you can still install Ring Floodlight Cam within half an hour.
You will need a set of tools and materials to install the Ring Floodlight Cam easily. The following tools usually come with the package:
- Mounting bracket
- Bracket screws
- Phillips screwdriver
- Wire nuts
- Wire connectors
- Hanging hook
- Mounting pole cap nuts
The Ring Floodlight Cam may not come with a few tools you’ll need during the process. These include the following:
- Circuit tester
- Single pull switch
- Electrical wire
- Wire clips
- Wire staples
- Rectangular junction box
- 4-inch round junction box
Once you gather all the above tools, you can move on to the practical work. Whether you’re a professional or a beginner, the following tips will help you make the most out of your efforts:
The 7 Tips & Tricks for Installing Ring Floodlight Cam Without Existing Wiring
1. Choose the Nearest Power Source
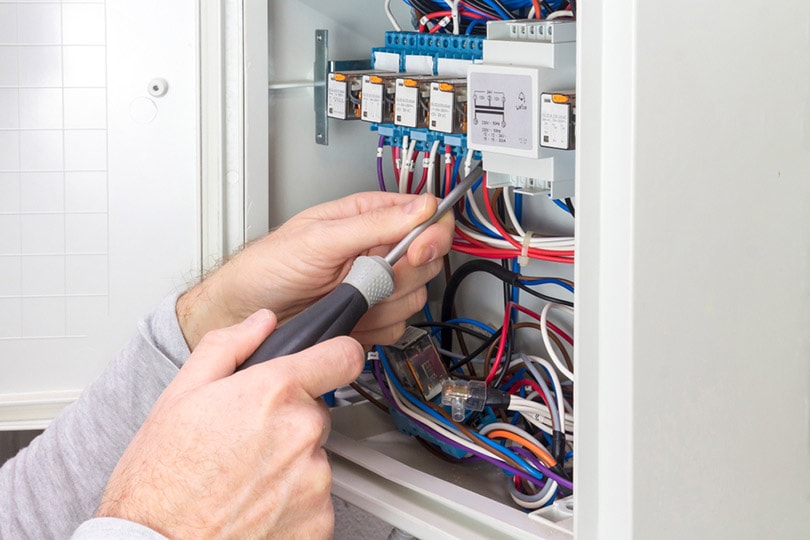
Once you select the location to install your Ring Floodlight Cam, find a good and accessible power source for it. Take the junction box and remove its cover to connect the camera to the new wiring. If your junction box is metallic, you must ensure the power doesn’t flow in the wires and the box.
Use a tester to check if there is current flowing. Turn the switch off from the main circuit breaker if it shows an active line. If you can’t determine which switch is for the power outlet you are using, you can simply turn off the entire main supply.
2. Connect Wires to the Right Sides of the Junction Box
When creating a new wiring connection, ensure you connect the wires to the right sides of the junction box. This will provide power to the switch to turn your floodlight camera on. If you are working with a standard junction box, the input cables will most probably be on the box’s bottom.
Generally, junction boxes consist of three types of wires, each with a different color. These include copper (earth/ground), white (neutral), and black (hot/live). However, your junction box may have a different color code. So, it’s recommended to check the guidelines of your junction box company to be sure that you’re connecting wires to the appropriate terminals.
After ensuring that, you can hook the cables to their appropriate sides. If you have a live wire, find the existing black wire and connect the live wire to its top port. Do this with other wires as well. In the end, double-check that all the outlet wires are placed correctly in the box. That’s because a loose wire can lead to an electric short.
3. Install the Junction Box and the Switch Properly
When powering the Ring Floodlight Cam switch, add a new rectangular junction box to hold the switch in the correct position. It may also prevent the wire connections from being exposed. Then gather all the newly connected wires and add them to the new junction box.
Remember that the switch is the outlet of the floodlight camera you are installing. So, connect the new junction box’s hot and neutral wires to the bottom part of the switch. This will allow the top ports to hold wires providing power to the Ring Cam.
You may also come across a few single switches with only one bottom and top port to connect hot wires. If you have a similar junction box, use the wire nut to connect and secure the connection and twist the ground cables with each other to complete the process.
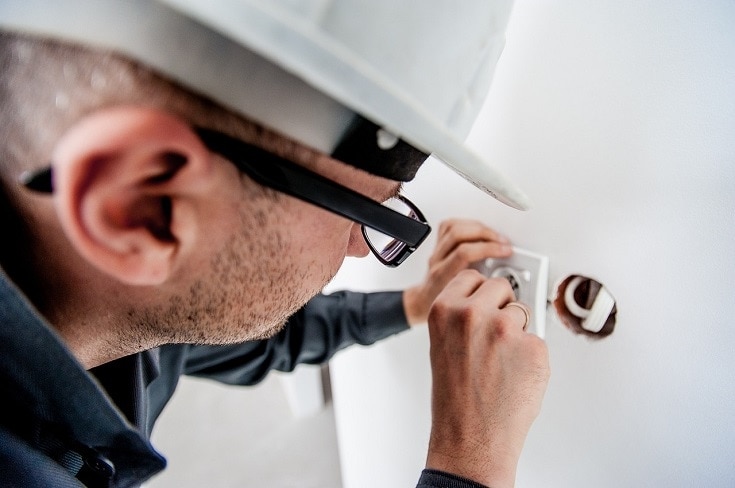
4. Take the Power Wires to the Camera to Keep Them Hidden
Once you establish a secure power connection for your camera, consider whether you want to install the camera near the power wires or bring them to the camera. Your best choice would be to take the power wires to the camera. This way, you won’t have to make extra efforts to hide the camera wires afterward.
Simply drill through the wall and hide the wires. Alternatively, you can pass the wires to the Floodlight Camera through the soffit.
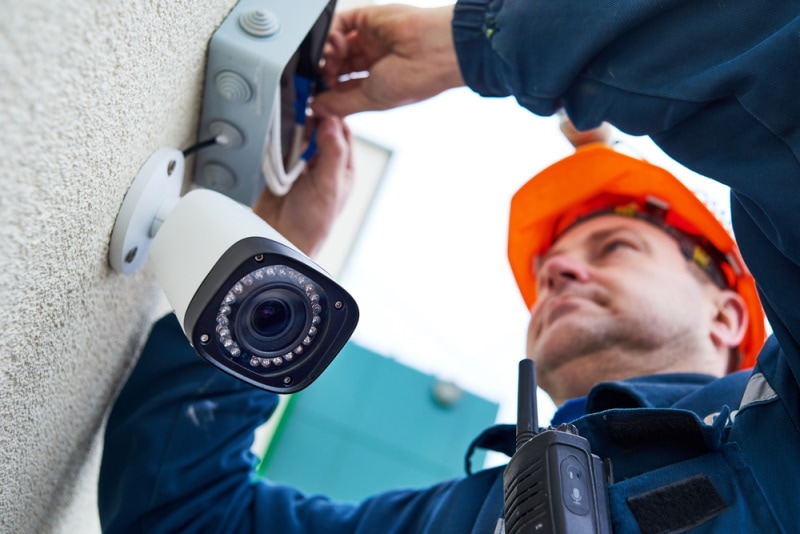
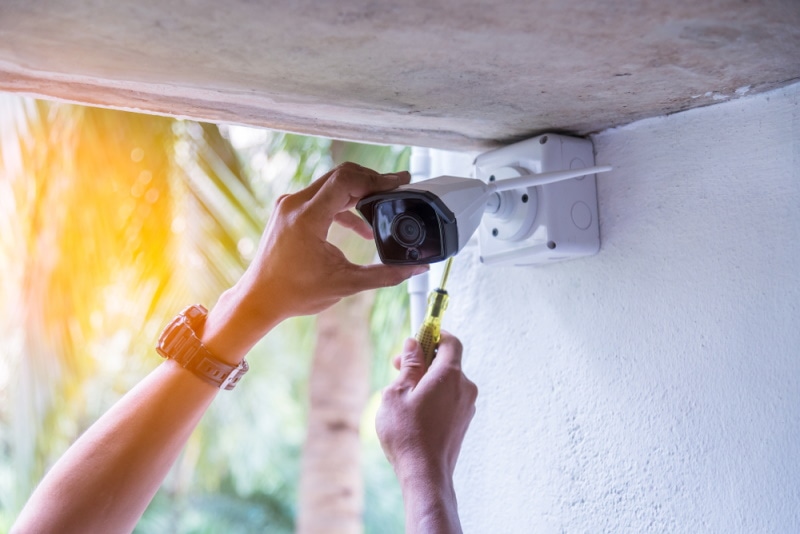
5. Mount the Camera According to Your Preference
When mounting the camera bracket to the wall or ceiling, you can opt for any position you like. Your Ring Floodlight Cam will look good whether installed horizontally or upside down. However, you should remember that the device should be at least 9 feet off the ground to work effectively.
To install the mounting bracket, first, add a 4-inch round junction to keep the excess wire hidden after installation. You can also attach the back of the box to a hidden underground feeder cable adaptor. This will give a tight and firm enclosure.
Once the junction box is mounted, you can easily install the bracket with the screws that came with the Ring Floodlight Camera. Ensure the power supply wires pass from the switch through the bracket’s middle area.

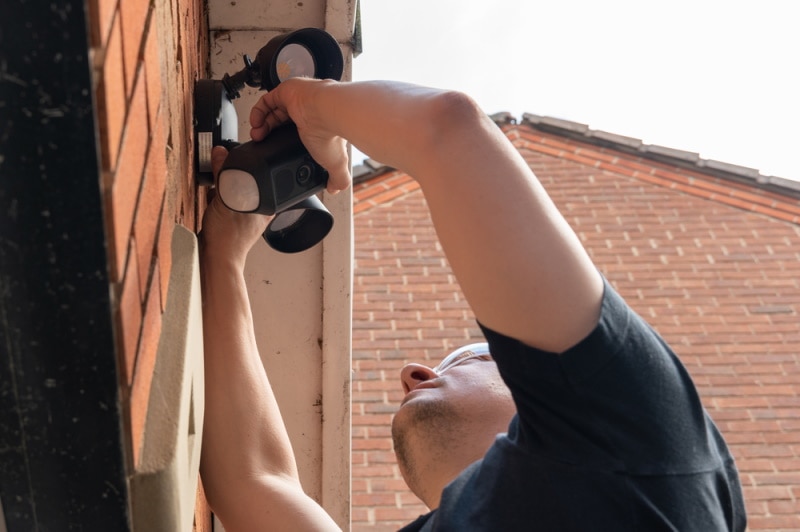
6. Adjust the Floodlight Camera’s Lock Collar to 180°
Your Ring Floodlight Camera’s head should be upside down on the fixture for the perfect installation. So, before fitting the camera lock collar on the wall, you must loosen it a bit and adjust it through 180°.
When rotating your camera, you may face hindrances from your floodlights. If that’s the case, you can loosen the floodlight’s knobs so they are rotated out of the camera’s way. After adjusting this, you can hang your Ring Floodlight Camera from the bracket through the provided hooks.
When connecting the wires, remember the above tips. First, connect the switch’s black (hot) wire to the camera’s hot wire. Similarly, the neutral wires of the switch connect with the neutral wires of the camera, and the same applies to ground wires. Once all the wires are connected, secure each wire connection through nuts.
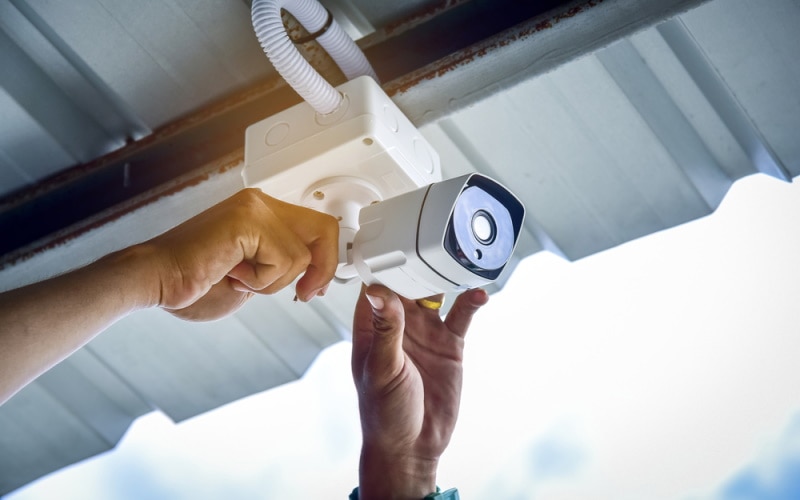
7. Configure the Floodlight Cam From the Ring App
After completing the wiring setup, remove the ring camera from its hook. Then, pass all the wires through the bracket medal to the junction box. Next, align the mounting poles with the holes you drilled previously and place the main fixture on the mounting bracket.
Now, use the screwdriver that came with the package to screw the cap nuts firmly. Finally, switch the power to the camera system and configure the device from the Ring app. The good news is that using the app is easy.
Follow the automated instructions, connect the device to Wi-Fi, and start using your Ring Floodlight Camera.
In Conclusion
Ring Floodlight Camera is a good addition to your smart home’s security system. So, you must know how to install the device if your home doesn’t have existing wiring for a floodlight cam. With the right tools, you can complete the process within 30 minutes!
Even if you are not good with wires, you can still install the camera easily. But before starting, make sure to check the Ring’s official instructions regarding the installation of the floodlight camera. Hopefully, the above seven tips and tricks will help you complete the process hassle-free.
Featured Image Credit: Joy Horton, Shutterstock
Contents
