

Is your garage too cold in the winter and hot and stuffy in the summer? This is a common problem that makes using the garage uncomfortable during bouts of the most extreme weather throughout the year. Fret not, there is a solution. Garage doors can be insulated to keep the temperatures milder when the thermometer is eye-popping.
Insulating a garage door is actually a simple process that can be completed in just a few hours by most homeowners. Here is how you can insulate your garage door in seven easy steps.

Should I Insulate My Garage Door?
In most cases, there are very few downsides to insulating a garage door. Adding insulation to a garage helps the value and keeps the temperature at a reasonable level during the worst parts of the year. If you use your garage for storage, insulating will help keep your items better regulated than a non-insulated garage.
That being said, the choice is up to you. If you never notice your garage being at an uncomfortable temperature or if your garage does not have any AC or airflow, it might not be necessary. But if you do decide to insulate your garage door, it is a very simple process.
Preparation
Before you get started, there are a few things you will need to have on hand for the best results. The two most important materials needed for an insulated garage door are insulation and retainer clips.
Materials you will need:
- Insulation
- Retainer clips
- Razorblade
- Tape measure
- Pencil or marker
Most of these materials can be obtained in garage door insulation kits. You can order an insulation kit to fit the particular size of your garage door. Measure your garage door and source one of these kits for the best results. A garage door insulation kit will come with the insulation and retainer clips included making it easy to know that you have everything you need to get the job done. Otherwise, you can find retainer clips and insulation separately.
In most cases, the job should take two hours and cost $100 or less. This is a job that can be accomplished by a novice or a beginner.

How To Insulate a Garage Door (7 Steps)
1. Choose An Insulation
Choosing the best insulation for your particular garage door will likely boil down to geographic location and whether or not your garage has air conditioning. Places in the far north or deep south with air-conditioned garages will want a higher R-value to keep that controlled air firmly in place. However, if your garage is not air-conditioned, you are going to want a lower R-value to ensure that the space does not turn into a hotbox or ice chest during the winter. Places with generally mild climates will want to use a lower R-value in general because the need for intense insulation will be less than places with more extreme temperatures.
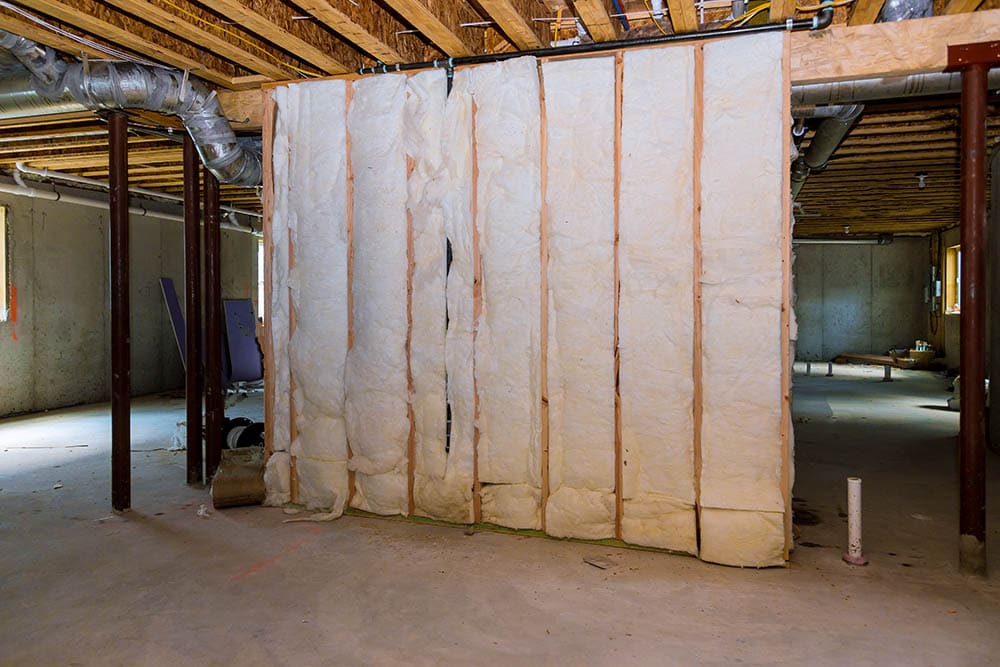
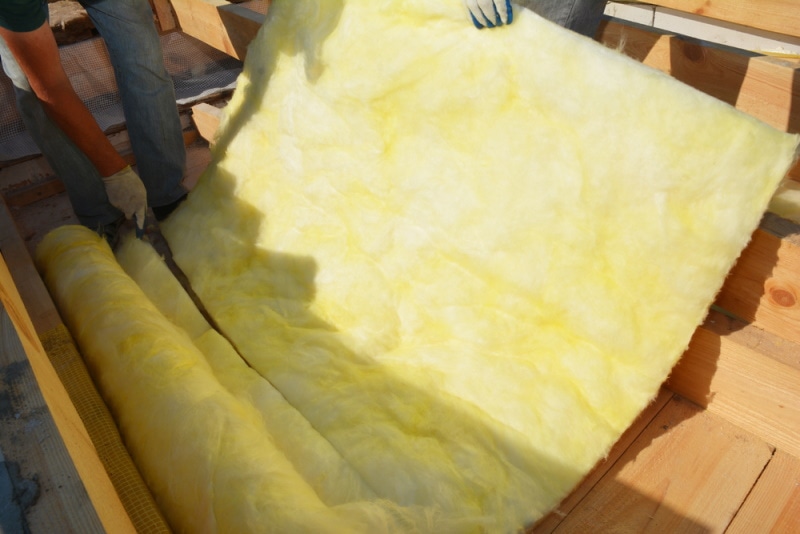
There are also two common types of insulation that can be purchased at any home improvement store, rolled batts and sheets. The R-value you choose will likely determine what kind of insulation you will purchase. Availability can also play a role. Both batts and sheets can be used to insulate a garage door.
Or you can choose a kit that is designed to fit your climate or specific garage. The kit will include the recommended insulation.
Depending on your climate, garage usage, and air conditioning, do some research to choose the best insulation for your personal space.
2. Measure And Mark The Garage Door
The second step will have you measure your garage door panels. Measure the space vertically and horizontally between the frame. In the following steps, you will need these measurements to cut your insulation to size. Depending on your individual garage door, it can include anywhere from four to nine separate panels clearly defined by the interior garage door frame.
Also, mark out where you are going to install your retainer clips. Each panel will take two clips. These marks should be at least 12 inches from the nearest rail and be vertically centered for the best results. Use a pencil, pen, or marker. Make sure the mark is clearly visible, as you will need to reference it in the next step.

3. Attach Retainer Clips
Next, attach your retainer clips to the garage door. The clips will come with adhesive to use to ensure a firm connection. It is a good idea to clean the area where you are going to install the clips beforehand to ensure that no dirt or dust compromises the adhesive. Attach the clips on top of the marks you measured out previously.4
4. Cut Insulation To Size
Now it is time to cut your insulation to size. Whatever type of insulation you choose, whether batts or sheets, it will need to be cut to fit your individual panel openings. Measure and mark the lines on the insulation and use a razor knife to make clean cuts. Always cut away from yourself to avoid any accidents while using the razor. Leave a half-inch to an inch of space on either side to give the insulation room to be fit under the garage door rails.
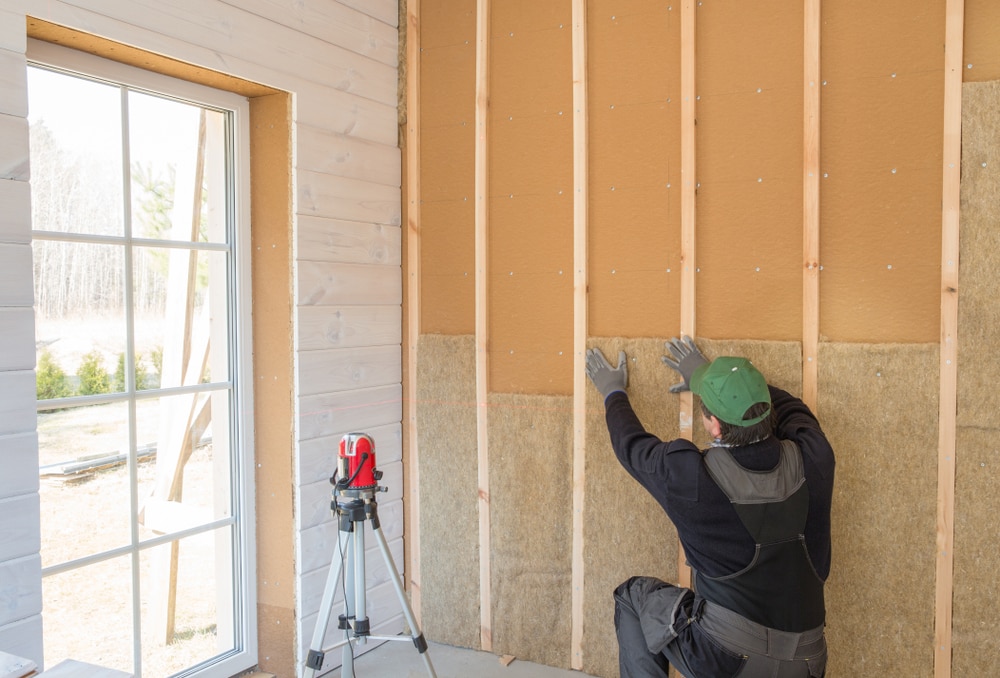
5. Fit Insulation To Garage Door And Fasten
This step is the part where the garage door gets insulated. Take the freshly cut insulation sections and place them on the garage door. Fit the edges under the garage door frame. Now gently press the insulation until the heads of the retainer clips poke through the insulation. Smooth the insulation, so it forms a snug continuous surface between all of the garage door rails. Fasten the retainer clips with the included nuts and tighten. Tighten until the head is snug and the insulation feels secure. Do not tighten too much, or it could rip into the insulation.
Repeat until every interior panel of your garage door is covered by insulation and secured.
6. Check Garage Door Seal
Next, you want to check the garage door seal. If there are any gaps where you can see the light coming through around the edges or bottom of the garage door, that will also let moisture through. Over time, moisture exposure can degrade insulation and wear down the insulating value of all of the hard work you just did.
Some contractors recommend adding weather stripping along the edges of the garage door to create a better seal, but this is not strictly necessary. Also, be sure to check the bottom seal of the door to make sure that it is sitting snugly on the floor. A worn-down bottom seal might need to be adjusted or replaced to ensure maximum moisture protection.
7. Check Operation of Garage Door
The last thing you want to do is to check and make sure that the new insulation has not affected the operation of the garage door in any way. If you followed the previous six steps, this should not be a problem, but there are cases in which something might gum up the works. Most insulation is light enough not to impact the garage door opener, but in some rare cases, the door will become too heavy to operate correctly. You also want to watch out for snags and ensure that the cable and the tracks are free of any obstructions that might have cropped up during the insulation process.
Stand back and put your garage door through two or three whole opening and closing cycles to make sure that everything looks good.
Conclusion
Once the garage door is operating correctly with the insulation installed, your garage is now good to go. The insulation will help keep the garage cool in the summer and warm in the winter—no more worrying about liquids freezing overnight or having sensitive equipment melt or warp during the day. An insulated garage door can also add some marginal value to your home, which is a good trade-off for a couple of hours of work and a hundred bucks. The job is easy enough that almost any homeowner should be able to complete it without any headaches.
Featured Image Credit: DUO Studio, Shutterstock
Contents
