

If you have a beautiful garden you can enhance its appearance by creating a brick edging. Besides making your garden even more eye-catching, brick edging will also add more support and prevent your plants from invading the space of other plants in the garden.
Although a brick garden edging might seem challenging to make, the whole process is pretty straightforward and undemanding. To help you with this project, we have provided a step-by-step guide on how to lay bricks for garden edging.
Keep reading and turn your garden into a stunning piece of art by following these nine simple steps!

Before You Begin
Before you begin laying bricks to make the garden edging, you should be familiar with all the tools you’ll need to finish the project successfully. Check out the tool and supplies list below:
- Rope
- Measuring tape
- Marker/masonry pencil
- Circular saw
- Tarp
- Spade/shovel
- Rubber mallet
- Wheelbarrow/old container
- Tamper

The 9 Easy Steps on How to Lay Bricks for Garden Edging
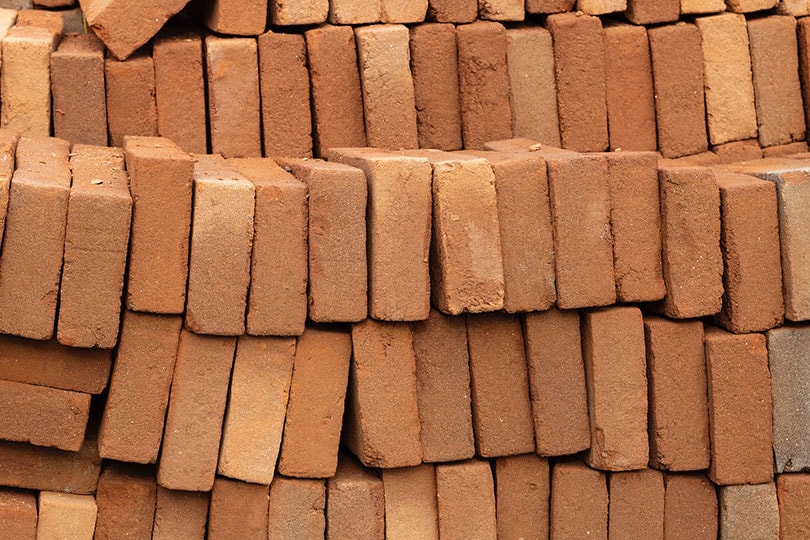
1. Order bricks for the project
The first thing you should do is order bricks for your project. To determine the exact number of bricks you’ll need, take a rope and place it along the edge of your garden, following the garden contours. Mark the rope, pull it taut, and measure it with tape. Once you get a precise inch measurement, divide it by the brick’s width to determine how many bricks you’ll need for the whole project.
2. Make a placement plan
After getting the brick shipment, it’s time to make a placement plan. Lay the bricks out, lining them with the garden’s edge, tightening them along the grass line. While placing, put the bricks close to one another, but leave a gap where you’ll pour the cement mixture later.
You can slightly fan out the soft curves you encounter while leaving a triangular gap on the harsher angles. Ensure that the widest gap is not wider than the bricks you have.
3. Mark the bricks and transfer the marks
Take a marker or a masonry pencil that will be visible on the bricks and mark all the spots where there’s a gap you need to fill out. Place a brick over the gap and mark the edges where it overlaps with the brick next to it. Follow the same pattern to mark the opposite brick end.
Once you finish marking, flip the brick and transfer the marks on the brick’s face. Draw lines that will connect the markings and form the cutlines for the next step.
4. Cut the bricks
Once you finish marking the bricks, lay them on the cutting surface with the marks facing up. Prepare your brick by adjusting the blade on the circular saw for cutting. The depth of the blade should be just enough to cut the brick on a single pass.
A great tip for this step would be using water to minimize dust. While you are cutting the brick, there will be a lot of fine dust flying around, so sprinkling water on the brick as you cut it will do the trick of making this project as clean as possible.
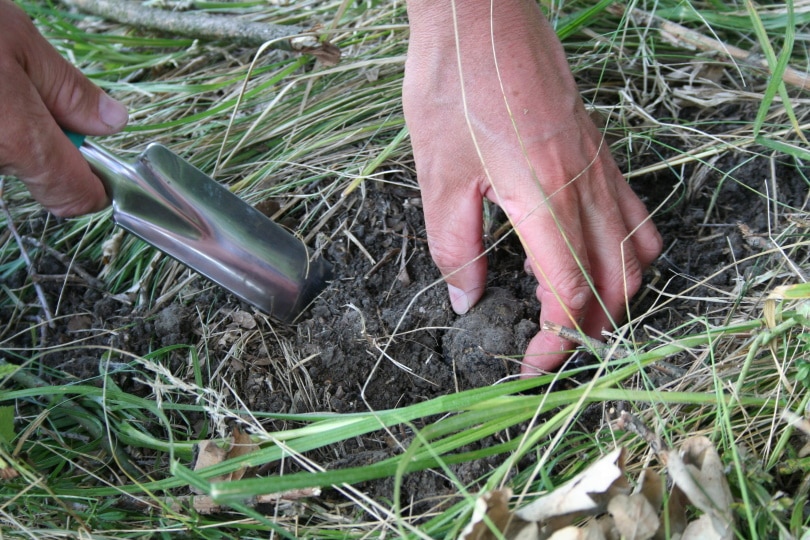
5. Dig a trench and measure the depth
The next step is to dig a trench and measure its depth to ensure the bricks fit inside. Before you begin the digging part of the process, place a tarp on the grass to gather the soil while you dig.
Use a shovel or a spade and dig a trench along the length of your garden. While digging, ensure that the sides of the canal are straight. It’s better to make the trench wider than your bricks to have enough space for adding the cement mixture to secure them in place.
While digging, you should try to get past the topsoil, which you can quickly notice by the soil’s changing color. The trench should be around 6 inches deep so that you can add the paver base and the cement mixture while having enough space to set the bricks inside.
6. Set the paver base
After you finish digging the trench, you will need to set a paver base for your bricks. Start by spreading the paver base evenly, and tamper it step by step. You can continue adding layers of the material and tampering it down until you create a sturdy base 2–3 inches deep.
There is a possibility that you may have dug a little deeper than 6 inches to get past the topsoil. If this is the case, add the paver base and tamper it until the depth is equal to the brick’s thickness.
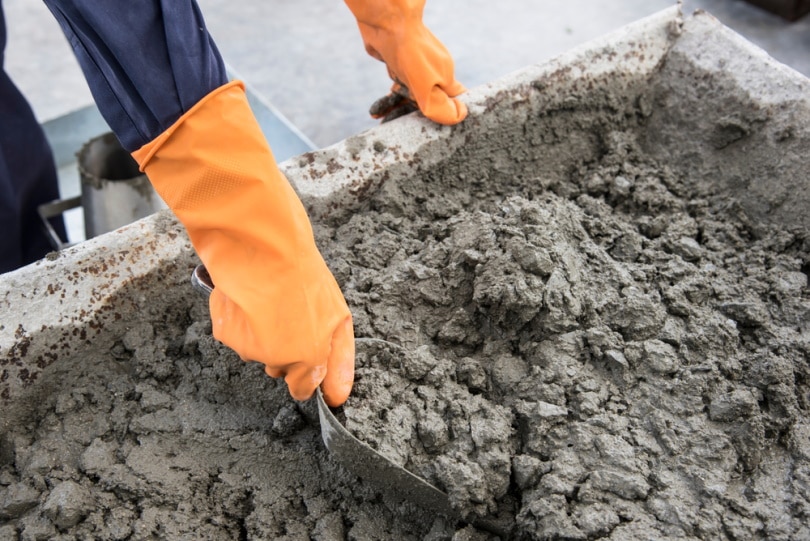
7. Make a cement and sand mixture
Make a cement and sand mixture by mixing them in 1:4 proportions, and add water until you get a thick mixture. It’s best to do this in an old container or wheelbarrow so you don’t ruin the paving. It should be consistent and wet without having particles inside.
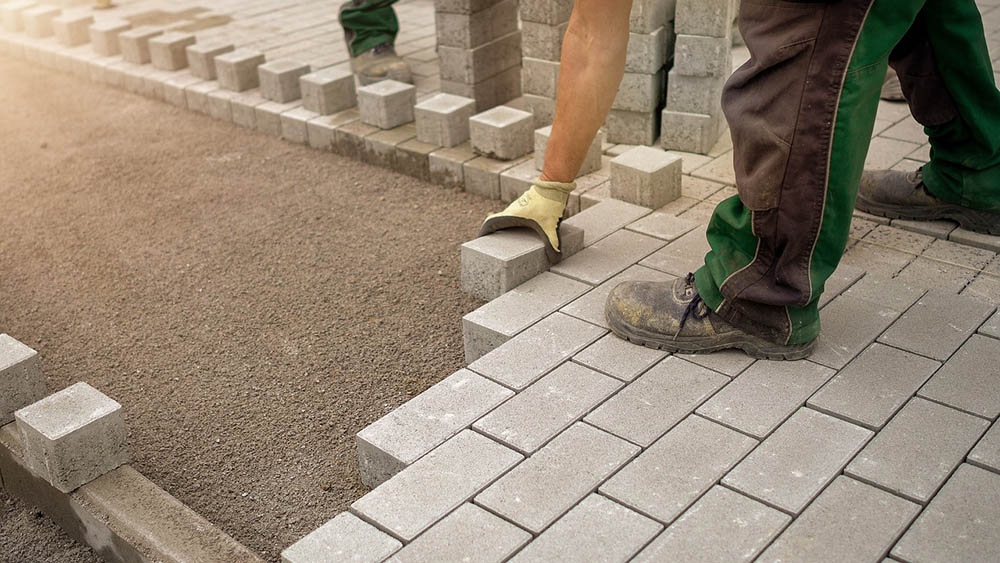
8. Lay the bricks and fill in the gaps
Once the mixture is ready, take a trowel and use it to put the mixture onto the paver base. Carefully press the bricks on their designated spot, one at a time. Once a brick is in its place, tap it down with a rubber mallet to ensure stability. Keep repeating this, laying brick by brick while maintaining a gap. Don’t forget to set the cut bricks at the curves to achieve a cohesive, appealing look.
Once all bricks are in their place, it’s time to fill in the gaps. For this step, it’s best to use polymeric sand that you will pour over the gaps and sweep them with a soft brush. After filling each gap, hit the brick with a rubber mallet so that the polymeric sand sits properly inside.
Keep filling the gaps until you notice that there’s no more room to pour the sand.
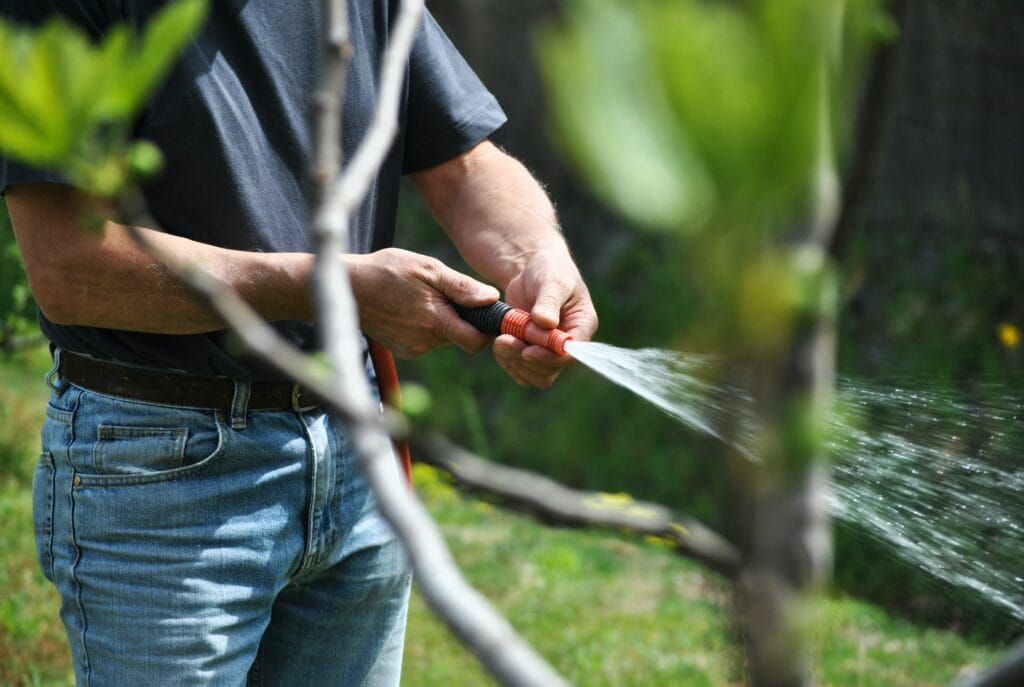
9. Clean the edging
Last but not least, you need to clean the edging so that your garden will look sleek and neat. Use a garden hose and clean off the edging with a gentle pressure spray. The sand will absorb the water and set the bricks in place.
Final Thoughts
By following this straightforward guide, you’ll have stunning brick garden edging in no time. Ensure you measure the area correctly to ensure you’ll have enough bricks to finish the project. Don’t rush, and be cautious while marking the bricks so that your edges will look neat and clean.
Featured Image Credit: mpiotti, Shutterstock
Contents
