

Have you ever wondered how some gardens always look so uniform and clean? How come your neighbor is never out weeding while you are elbow deep in dirt and roots? The answer is likely landscape fabric. This handy product creates a barrier in your garden that allows your plants to grow freely while stifling weeds.
The good news is anyone can put in landscape fabric if they know how. Here is how to lay landscape fabric in 8 simple steps.

Preparation
Laying landscape fabric is not a difficult job, but it does require a handful of tools to do it properly. Before getting started, take account of the following things that you will need to get the job done in a timely manner.
- Landscape fabric
- Stakes or ground staples
- Tape measure
- A hoe, shovel, or till
- Hammer
- Razor knife or garden shears
- New plants
- Mulch
This job is simple to complete and does not require any experience or prior knowledge. The whole job should be able to be completed in an afternoon but set aside a whole day for particularly overgrown areas.
How to Lay Landscape Fabric (8 Steps)
1. Measure Area
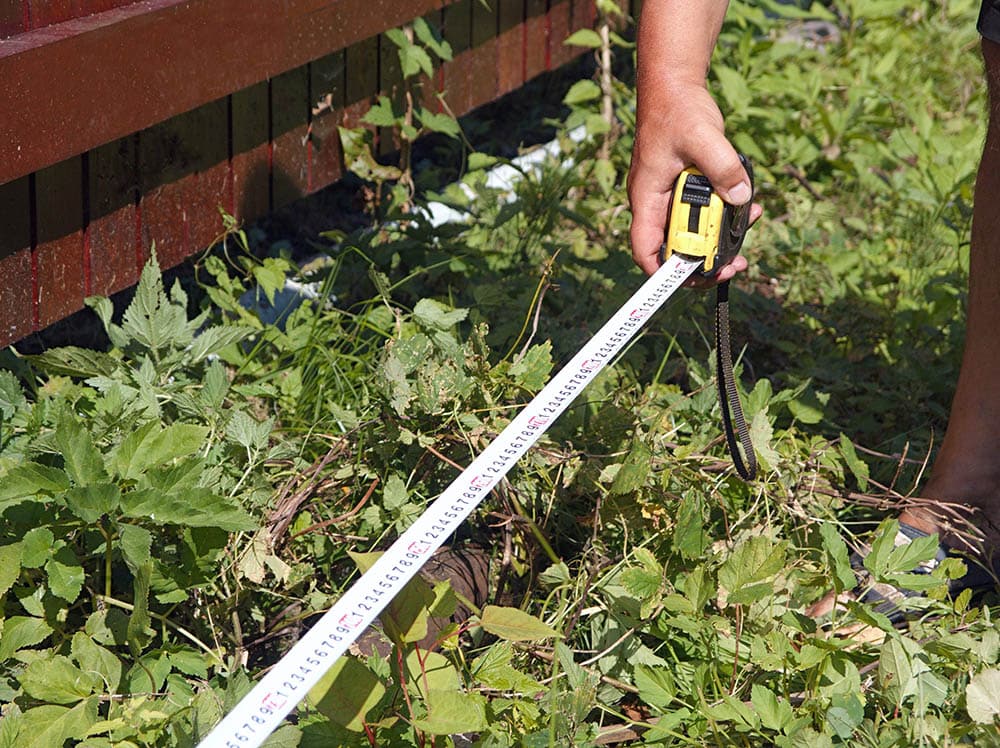
The first thing you are going to want to do is measure the area where you are going to be placing your landscape fabric. Knowing the square footage of the area you are looking to cover will allow you to buy the exact amount you need to finish the job.
Landscape fabric is sold in rolls of various different sizes. Some rolls are narrow but very long, while other rolls are taller but have shorter lengths. The type of roll you need will change the price and amount you will need to purchase.
For example, if you are making a long narrow garden bed, you might want a roll that is six inches wide and a hundred feet long. If you are making a square bed, you might want a roll that is three feet wide and 25 feet long. Choosing the correct roll for your area will save you a lot of cutting and fussing when it is time to lay the fabric.
2. Completely Clear Area
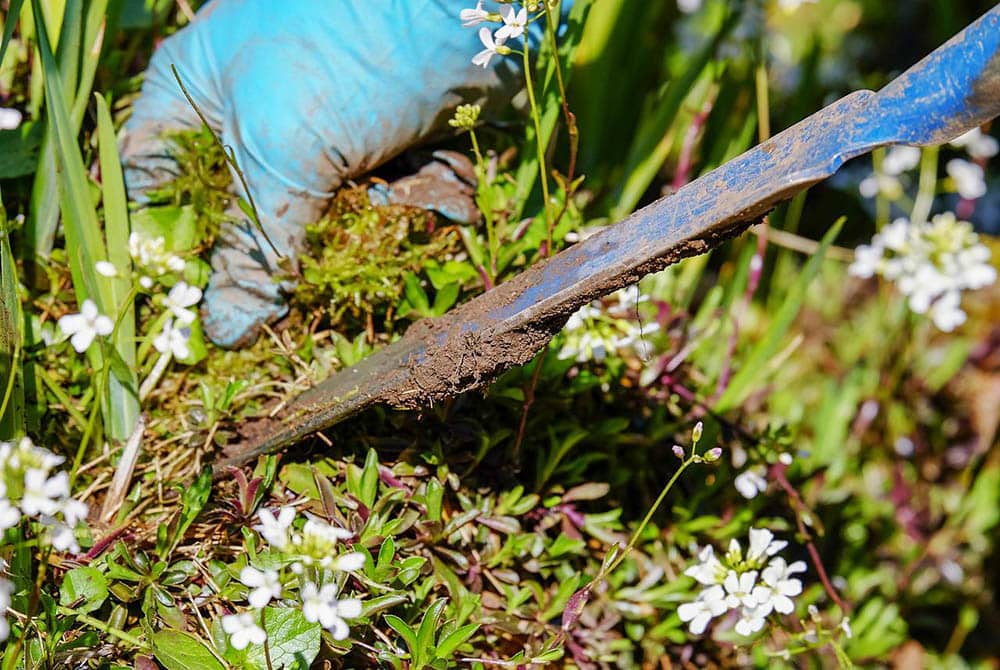
Next, you want to completely clear the area of any existing plants, weeds, and debris. You want to put landscape fabric over bare soil for the best results. Depending on the state of the area you are trying to clear, this could be a simple or arduous process. You can use a hoe or a till to break up the soil and scrape out pesky weeds that don’t seem to want to come up.
At the end of this step, you should have an area that is completely devoid of any plants, grass or weeds.

3. Level the Soil
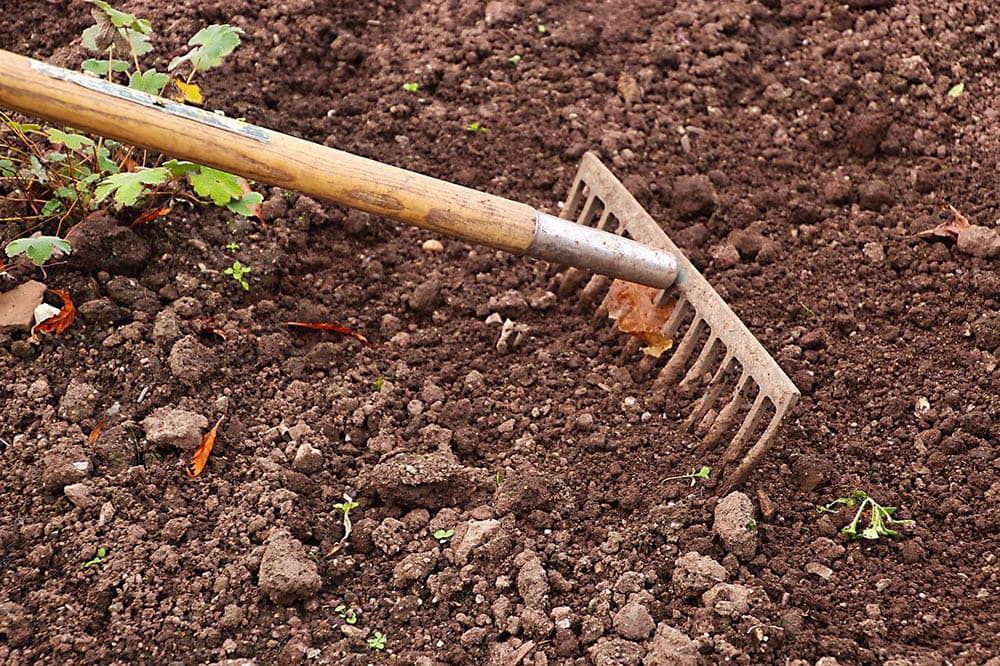
Now it is time to level the soil. Digging up a bunch of plants can leave an area choppy and uneven. You want to smooth out the surface of the soil so that you have a flat, level area to lay your fabric. Again, you can use a hoe to scrape out an even surface. This process should be relatively easy as long as all of the previous vegetation has been adequately cleared.
4. Lay Out Landscape Fabric
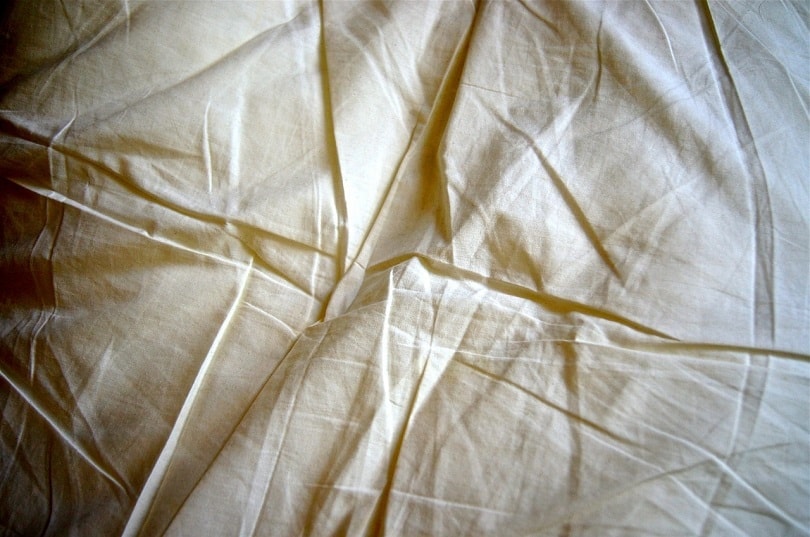
It is time to lay out the fabric. If you prepare properly, this step should be easy. Roll out the landscape fabric to cover the desired area. If you must lay more than one run of fabric, overlap the two pieces by at least three inches. Roll out the fabric and cut the ends when you have achieved the length that you desire. Roll the fabric in the same direction throughout.
Once you are finished, the entire cleared area should now be covered in landscape fabric. Leave yourself a little wiggle room around the edges, so the fabric has some give in it. You do not want the fabric to be too tight when you go to secure it, or it could cause tears.
5. Secure Landscape Fabric
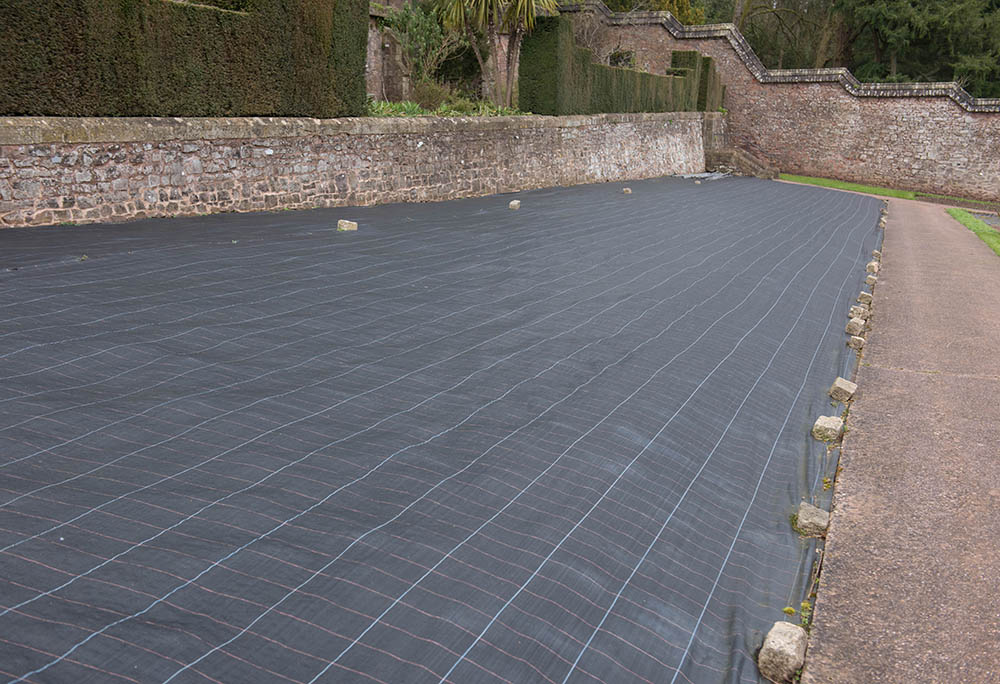
Now it is time to secure the landscape fabric to the ground using stakes or landscape staples. Lay out the staples every few feet along the perimeter and hammer them into the ground. Then lay out staples through the middle of the fabric and hammer them into the ground. The perimeter is the most important part to get right. The middle pattern can be placed around your plans for the garden. For example, if you want to plant bushes in the middle of the area, you can avoid putting staples or stakes there that might get in the way of your future plans.
You should be aiming for a secure surface that is not too tight but also doesn’t have any bulging or ripples in it. By the end, if you have extra fabric around the edges, you can trim it back for a more cohesive look.
6. Plant New Plants
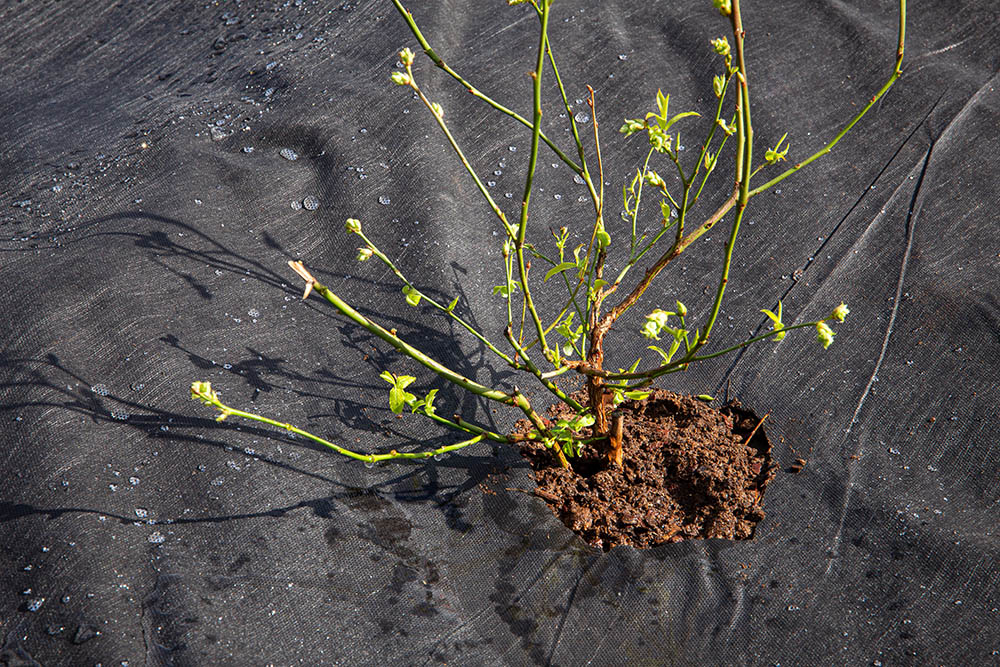
To plant through the landscape fabric, you need a blade or some scissors. Cut X-shaped holes where you want to put your plants. Only cut an X big enough to fit your plants. Try not to cut anything too big because it will defeat the purpose of the fabric.
Put the seedlings or full-sized plants into the holes in the fabric and make sure they are secure. Repeat until the area is planted as you envisioned.
7. Mulch Around Plants

It is a good idea to mulch around your plants for the best results. Landscape fabric goes a long way in combating weeds, but mulch adds another layer of protection to your garden. Mulch on top of the fabric also helps to keep it weighted down, so it has less chance of bunching or moving in the future.
The idea is even if weeds somehow manage to get through the fabric, they will run into the mulch instead of growing up alongside your plants.
8. Observe and Maintain Area
Lastly, you want to observe and maintain the area. If you see any weeds managing to make it through either the fabric or the mulch, you are going to want to investigate to see what the problem is. Plants are tenacious, and you still need to keep an eye out for invasive stalks coming up. Though if you did the job correctly, the number of weeds sprouting should be far less than before.
Afterward, it is time to enjoy your garden.

Benefits of Landscape Fabric
Landscape fabric helps tremendously with weed control. The barrier between the soil and the air prevents weeds from taking root and sprouting. Seeds that might fall on the area won’t have any soil to root in, and weeds that were buried under the fabric won’t be able to break through to the sunlight above.
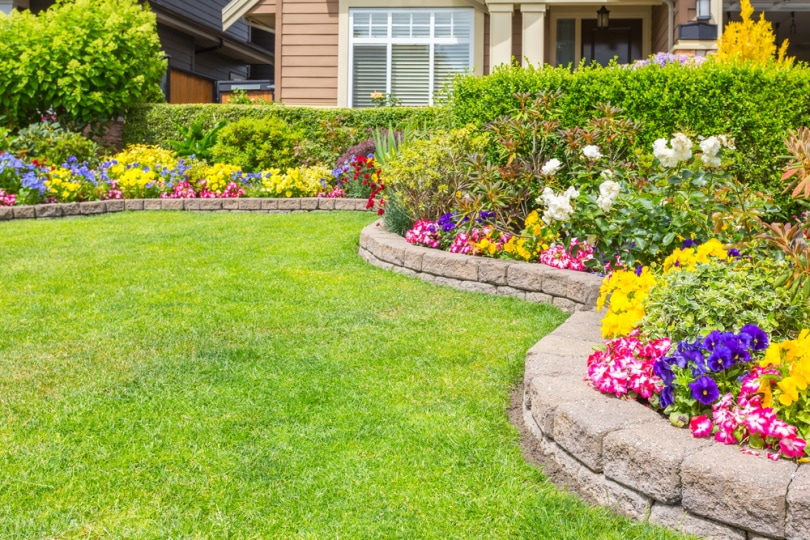
Landscape fabric also helps to create a flat, uniform look. It keeps the garden tidy, and with the absence of weeds, it helps keep the garden looking more professional with less work.
Downside of Landscape Fabric
The drawback to landscape fabric is that once you put it in and plant around it and through it, it becomes extremely difficult to redo the area if something goes wrong with the fabric. Over time, landscape fabric can rip or pull away. If you find yourself with an area where the fabric has been shredded or come up, the only viable option is to redo this entire process all over again. Doing it right the first time is imperative, so you do not have to dig up the area again.

Conclusion
With an afternoon of hard work, you can transform any weedy, scrubby area into a smooth, professional garden. Putting down landscape fabric is not difficult, and it can be done in these eight simple steps by almost anyone. The results will speak for themselves. Not having to weed your garden as much is also an added benefit that will pay dividends for months to come.
Featured Image Credit: DeymosHR, Shutterstock
Contents
