

| Time Needed: | 20–30 minutes |
| Estimated Cost: | $20–50 for the tools/materials |
| Difficulty: | Beginner level |
Band saws are incredibly versatile and can be used not only for woodworking but also for lumbering and cutting metal. On top of that, a band saw allows for making curved shapes, and you won’t have to be an experienced carpenter or sawyer to pull this off. However, a band saw is as good as its blades. If you use the wrong size, that will lead to a disaster.
There are different blade sizes out there, and they’re all intended for different purposes. So, how do you know how big or small the blades are? Don’t worry; there are tried-and-true techniques for accurately measuring blade length and width. These methods are very straightforward and don’t take much time. Check them out!
What You’ll Need for the Job
All we will be doing today is measuring and marking the blades; that means no expensive, complex equipment will be needed. Just see that you have a measuring tape or a ruler, a piece of chalk, some tape strips, and a pencil/marker. Also, before you start, do not forget to put protective gloves and eye goggles on for safety.
This is important: never put on work gloves or clothes with strings or loose sleeves. Ideally, you should wear tight-fitting, figure-hugging work clothes as opposed to baggy, formless hoodies or sweaters. Last, make sure you don’t have any watches, rings, chains, or any other accessories on, as that can lead to a disaster.
- Marking chalk
- A set of tape strips
- Saw blades
- Measuring tape/ruler
- Pencil or marker
- Safety gloves and eye goggles
 The 8 Tips & Tricks on How to Measure Band Saw Blades
1. Setting Everything Up
Good news: you won’t have to spend hours preparing the band saw before you can measure the blades. We would recommend letting it rest for 20–30 minutes if you were just using the saw, of course, but that’s pretty much it. As long as you’ve got the right set of gloves on (and protection for the eyes), you’re good. Obviously, you shouldn’t do this outside, especially if it’s raining, snowing, or if the area is dusty and dirty.
2. Measuring the Pulleys
With saw blades, you have two pulleys—one at the top (the idler) and one at the bottom (the driver). So, the first thing to do would be to grab a tape or a ruler and measure the radius of the top pulley. Go from the left side of the pulley to the center. That should give you the radius. Again: go from left to the center, not to the right edge of the “wheel”, as that won’t help us in figuring out the right size of the blade.
Next, take the radius and multiply it by 3.14, also known as the Pi (a mathematical constant). Let’s say the diameter is 7.5”. When you multiply it by Pi, you’ll get roughly 23.5”. You can repeat the process with the bottom pulley. However, since they’re identical, the result will be the same: 23.5”.
3. Figuring Out the Blade Length
With that out of the way, measure the distance between the top pulley axle to the center of the bottom pulley. If you get 29” and you multiply that by two (because, again, we need to measure both sides), that will leave you with 58”. The last thing to do here is just to add it all together. In this case, 23.5” x 2 + 25” x 2 equals 105”, and that’s the perfect blade size for your band saw.
This way, you can be 100% sure that you’ll get the perfect size. True, there’s the option of returning or replacing the blade, but it’s always better to get everything right before you go shopping. Please remember that band saws come in all shapes and sizes. So, use this formula when measuring blade length: radius #1 x Pi + radius #2 x Pi + C x2, with C being the distance between the pulleys.

4. What If the Blade Is Missing Teeth?
Blades that don’t have all their teeth or are a bit dull can be measured as well. Start by putting a short piece of tape strip on the floor. This will label the starting point for the measurement. With the saw blade standing in a hoop, use a marker/pencil to make a mark both on the tape and the blade. Now it’s time for the blade to roll in a straight line.
Keep your eye on the blade and look for the mark we just added. When you see it “landing” on the floor, place a new tape strip right there and make a new mark. Alright, now we have two marks instead of one. Measure the distance between them, and that will tell you exactly how long the blade is!
5. What If the Blade Is Broken?
No matter how good you are at maintenance, over time, band saw blades do wear out and blunt. It’s not uncommon for these blades to break, either. The average lifespan is 6–36 months. So, if you have a broken blade that you don’t know the length of (to get a matching replacement), here is how you can measure it properly:
Grab one of the sheared ends and carefully touch the other end with it. The goal here is to make sure that they fit perfectly. If that’s not the case, it will be almost impossible to get the right length. But if you’re lucky, and the ends fit like puzzle pieces, just place the blade on the floor. It should form a long, straight line. Measure the length using a ruler or tape, and that’s it!

6. Measuring the Width
With the length properly measured, it’s time to figure out the width of the blade. This process is just as straightforward and will only take a moment. Position the ruler/measuring tape right next to the blade so that you can see the distance between the saw’s right side/edge and the teeth on the left. For this to work, use a tape or ruler that can measure at least 1/8th or, better yet, 1/16th of an inch.
The market has quite a lot of different sizes to offer when it comes to the band saw width. We’re talking about 3/8th, 5/8th, 3/4th, and something more common like 1/4th. As you’ve probably guessed, thinner blades are great for making smaller, precise cuts and curves, while larger blades are often used for straight cut lines and re-sawing.
7. Finding the Perfect TPI
With band saws, there’s one more parameter to keep in mind, and that’s the TPI (teeth per inch). So, what’s the right TPI? This solely depends on the material that you want to cut. If you fail at picking the right number of teeth per inch, the blade won’t last for very long. Furthermore, it will do a poor job of making cuts. For wood and soft materials, 3–6 teeth are the way to go.
Something thicker and harder, like metal, will require 6–24 teeth to successfully cut through. Again, the number of teeth needs to be precise. If the blade doesn’t have enough teeth, it’ll break. An overabundance will also lead to premature failure. And remember: the more teeth the blade has, the smoother the cuts will be. However, the feed rate will be slower, meaning the band saw will take more time to make those accurate cuts.

8. Tooth Configurations Come Next
So, by now, we know that blades differ in length, width, and number of teeth. The last thing to check is the tooth configuration. There are four types to choose from, including standard, variable, skip, and hook. These names are rather self-explanatory. The standard blade has identical width and distance between the teeth. The variable blade is all about the spacing (3 TPI vs. 4 TPI, for example).
Skip has 50% fewer teeth, while the teeth on a hook blade look like—yep, you guessed it—hooks. For thin materials and curves, standard blades are the best. Variable-tooth blades, in turn, are great for re-sawing. Skip blades are praised for quality cuts (and they handle a larger radius compared to standard blades), while crosscutting is where hook-tooth blades swoop in to save the day.

What Is the Best Use for a Band Saw?
Re-sawing—that’s what band saws are commonly used for. The thin, sharp blades do a stellar job of making thin stock from thick stock with minimal wastage. Band saws are also great at milling lumber (cutting timber into quality material like boards and planks). Thanks to their flexible nature, these tools handle a wide range of tasks, including curved cuts and bundle-cutting, to name a few.
With a band saw, you can cut not only wood but also metal, meat, and plastic. More good news: band saws are low-maintenance machines. On the downside, these saws aren’t particularly fast. So, if high productivity is a priority, this might not be the best option for you. To compensate for that, band saws aren’t at all power-hungry (power consumption is low) and don’t cost a lot to operate.
Can Band Saw Blades Cut Metal?
The answer is yes, you can use a band saw for cutting metal. It all comes down to picking the right blade for the task. The sharper and the smaller the teeth on the blade, the better it will be at making precise cuts on metallic surfaces. With that said, band saws are mostly suited for making cuts on soft materials like aluminum and brass.
So, before you start cutting something thick and heavy, it might be wise to refer to the owner’s manual or get in contact with customer support.

The Difference Between Band, Circular, and Jigsaws
If you’re looking for a hand tool, go with a jigsaw. It’s relatively small, lightweight, and easy to work with. Circular saws, in turn, are a bit bulkier but can still be operated manually. Or you can hook them up to a machine. As for band saws, they’re significantly bigger and heavier (portable models do exist, though). As mentioned earlier, band saws excel at re-sawing. Jigsaws are perfect for some basic woodworking in your backyard.
And if you get the right blades, they’ll be able to cut through other materials as well. Jigsaws are perfect for making small, curved cuts. Circular saws are more powerful (thanks to the thicker blades) and get the job done faster. More importantly, these saws are more precise, which is the main requirement for, let’s say, cutting heavy woods. Summing up, each saw type has its pros, cons, and best uses.

Conclusion
Before you get to any cutting, make sure you’ve got the right blade size. Otherwise, you might end up ruining whatever you’re working on, which will take time, energy, and money to fix. Thankfully, it doesn’t take a degree to measure band saw blades. All you’ll have to do is follow our detailed, friendly guide and use a bare minimum of tools to see exactly how big the blade is.
Even if it’s broken or lacks a tooth or two, it’s still very well possible to measure its size. Also, don’t forget about the importance of choosing the correct tooth configuration and TPI for each task. Put on protective gear, don’t, under any circumstances, rush yourself, and saw away!
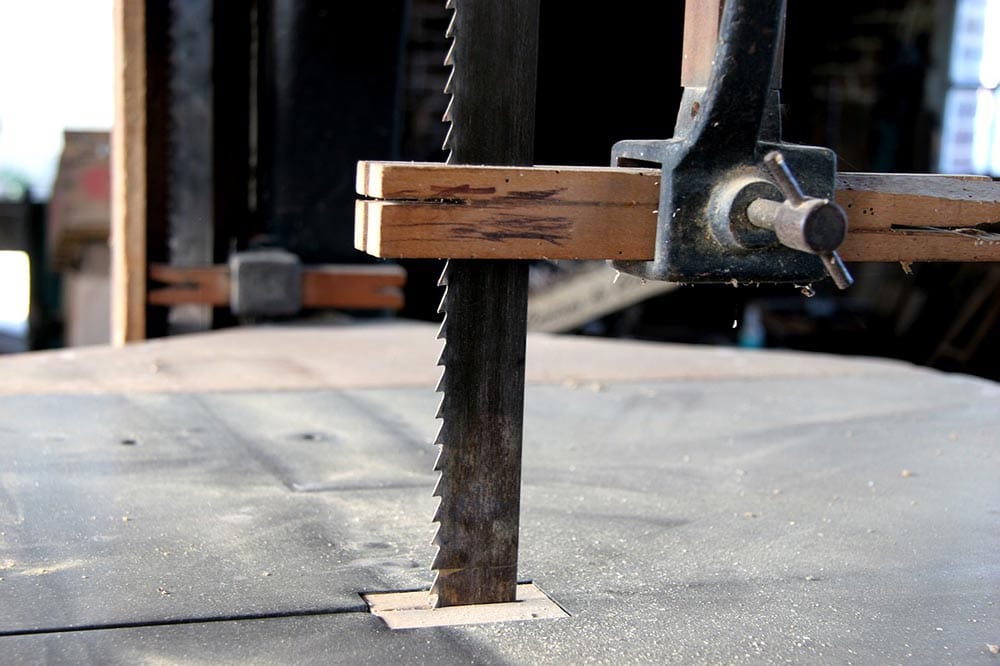
Featured Image Credit: Benedek Alpar, Shutterstock
Contents
