

A sewing machine is essential for sewists, tailors, and DIYers. Like any other machine, it needs proper maintenance to function well. One crucial maintenance routine is oiling, the simplest maintenance task on many appliances.
Oiling keeps the moving parts lubricated and prevents friction and wear, prolonging your sewing machine’s life. Regular oiling prevents the accumulation of dirt and thread particles, ensuring smooth and consistent stitching.
Whether you’re a beginner in sewing or a seasoned pro, proper maintenance is key to your sewing machine’s durability and performance. In this handy guide, we’ll give you tips on how to oil your sewing machine to keep it in excellent condition and avoid costly repairs.

The 12 Tips on How to Oil a Sewing Machine
1. Disassemble a Few Parts at a Time
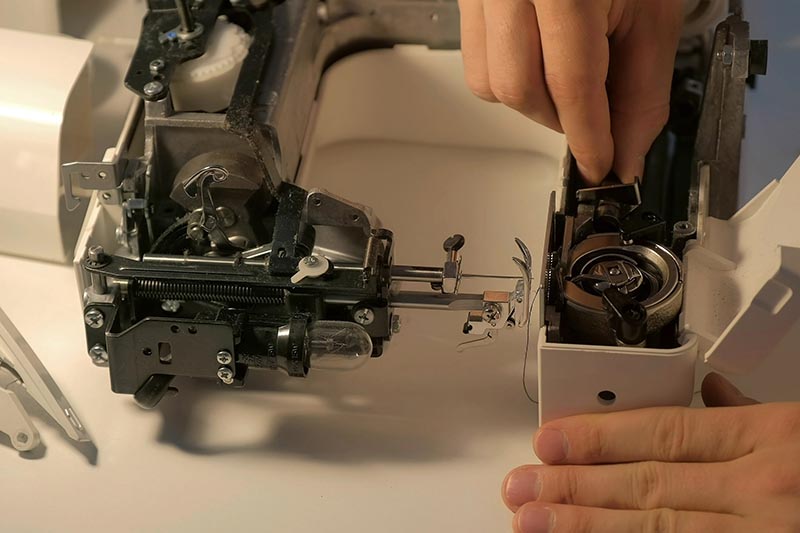
Before oiling your sewing machine, you need to disassemble its parts. However, it’s advisable to take apart these parts bit by bit so that you won’t struggle when reassembling it later.
Take pictures every step of the way, so you’ll know exactly where each component belongs when reassembling it.
Most importantly, follow the instructions manual.
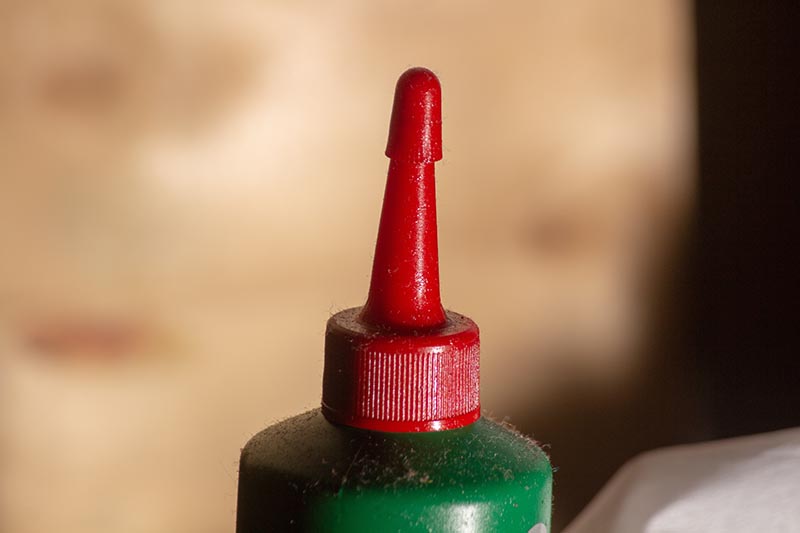
2. Use the Right Type of Oil/Lubricant
Don’t use any other type of oil apart from sewing machine oil. There are two types of sewing machine oils: mineral oils extracted from synthetic oils and petrochemicals oil that is white and watery without any smell. Tri-flow oil is also an excellent alternative to sewing machine oil.
Avoid motor oil, all-purpose oil, petroleum jelly, or other automotive lubricants. Also, don’t use WD401, as it doesn’t keep the machine lubricated for long.
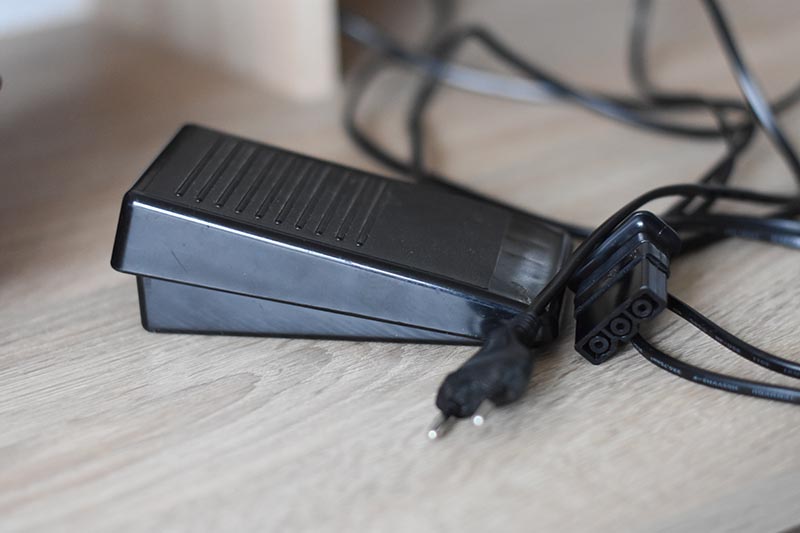
3. Unplug the Machine from the Power Source
If yours is an electric sewing machine, unplug it from the power source before oiling it. This prevents accidents such as electric shock or injury to your fingers.
To avoid burns, wait for the machine to cool down before applying oil. These simple precautions can help keep you safe while maintaining your sewing machine.
4. Use the Manual
Sewing machines are different. So, before you attempt any oiling or maintenance procedure, consult the manual for directions on how to oil your specific sewing machine well.
Some instruction manuals have pictures and explanations on applying oil, how long you should do it, and where to oil.
5. Have an Oiling Frequency
The general rule of thumb is to oil your sewing machine every three or four bobbin changes. You can also apply a drop of oil after using it for eight hours.
If you use your sewing machine often, apply oil frequently. Also, oil if your machine has a squeaky sound or if it’s running rough. Clean and oil the hook area as soon as you’ve sewed each day.
However, if you work with lighter fabrics and only use your sewing machine occasionally, you don’t need to oil it every other time. The oiling frequency depends on fabric type, sewing machine design, and usage.
Besides, check your machine’s manual for specific instructions2. Some sewing machines may need oiling often. Clean the excess oil and operate the sewing machine for a few minutes.

6. Oil It If It Hasn’t Been in Use for a While
An old sewing machine, or one that hasn’t been in use for a long time needs thorough cleaning and oil to run again. The old oil is dry, and it has a lot of debris.
First, inspect the sewing machine thoroughly for signs of wear and tear or damage. Some issues you may find include loose screws, broken parts, or dust and debris buildup. Fix them before oiling.
7. Clean Off Excess Oil
If there’s an oil spill or excess oil on your sewing machine, wipe it off gently using a paper towel or a small cloth. Ensure to get into all the corners and crannies to remove excess oil accumulation.
If left on the machine, the excess oil accumulates in the sewing machine, attracting lint and dust.
After wiping it, test your sewing machine on scrap fabric before starting to sew. This way, you’ll ensure no excess oil drips and stains or damages the clothes you’re sewing.
8. Run the Sewing Machine for a Few Stitches to Distribute the Oil Evenly
Once you are done oiling every part of your sewing machine, operate it for some time for the oil to spread evenly to every part of your sewing machine. This way, all moving parts receive the necessary lubrication.
This simple step keeps your sewing machine in excellent working condition. It also prevents costly repairs down the line.
9. Oil Your Sewing Machine Before Storage
If you want to store your sewing machine for some time, oil it first to prevent rusting.
Whether you’re storing or using your sewing machine, when you oil it well the metal parts are preserved; they won’t become brittle or rust over time. Ensure you apply high-quality sewing machine oil if you want to store your machine for some time.
10. Oil Your Machine Whenever It Squeaks
The best solution if your sewing machine squeaks is oil. A well-lubricated sewing machine operates quietly. The sound means that the machine is struggling to work due to friction. So, act fast before it leads to a much bigger problem.
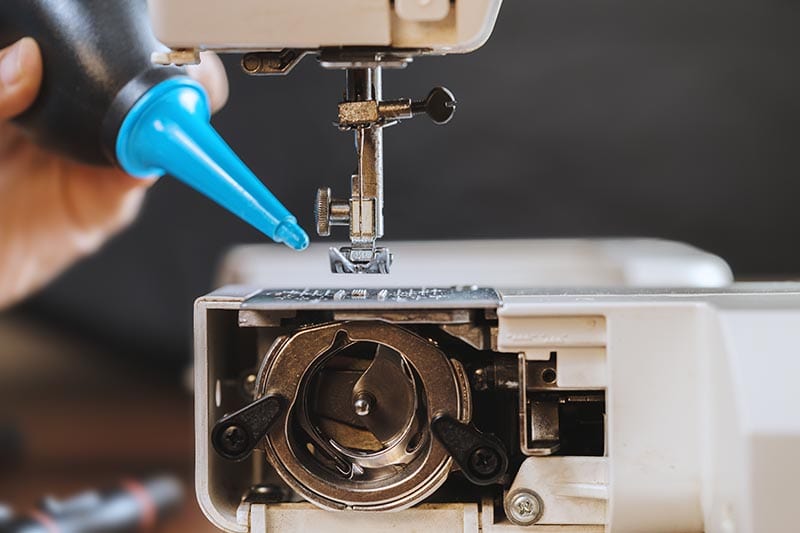
11. Use the Right Tools to Oil Your Machine
Oiling a sewing machine is easy for any DIYer given the right tools. These tools include sewing machine oil, an oiler or oil brush, a clean, lint-free cloth, a screwdriver, and the instructions manual.
Use the sewing machine oil designed specifically for sewing machines. The thickness of other oil types can damage your sewing machine. Most sewing machines come with an oil brush, which you’ll use to get to those hard-to-reach areas. The clean, lint-free cloth is for cleaning debris or excess oil.
You will need the screwdriver to remove the covers in your sewing machine to access some hidden areas that need oiling. The instructions manual will give the step-by-step process of oiling your sewing machine.
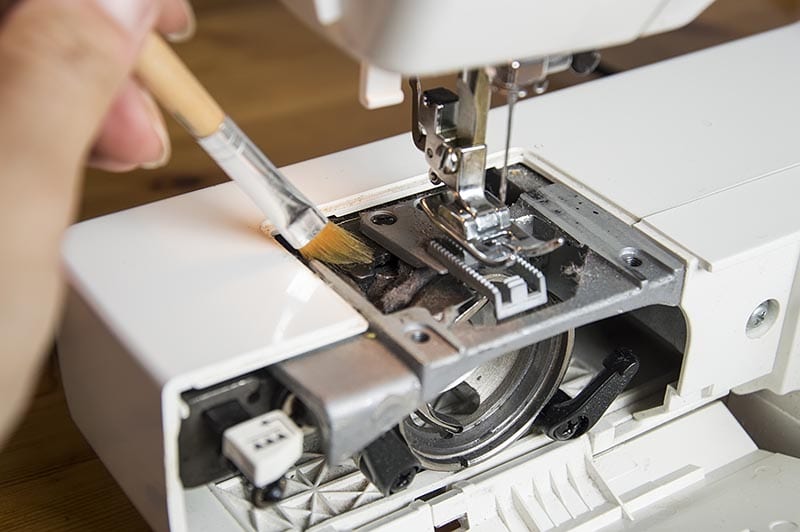
12. Don’t Clean Your Sewing Machine Using an Air Blower
Using an air blower to clean your sewing machine can damage some components. The air blower may seem like a fast and easy solution, but it is too powerful for the machine; it can do more harm than good.
It will drive dust and debris deeper into the sewing machine, causing debris accumulation that can damage delicate machine components.
Rather than using an air blower, use a soft brush or lint-free cloth to wipe the sewing machine. Use a small soft-bristled brush to get rid of dirt or debris in hard-to-reach areas of your sewing machine.
Conclusion
Oiling your sewing machine is a crucial aspect of maintenance that should never be overlooked. You can oil your sewing machine fast and efficiently with these 12 easy tips outlined here to ensure it runs smoothly and lasts for years.
Don’t forget to use the correct oil for your sewing machine. Also, adhere to the manufacturer’s instructions. Ensure you oil your sewing machine often to prevent damage or wear and tear.
By taking care of your sewing machine, you can enjoy seamless sewing experiences, creating beautiful projects easily.
- Related Read: HOW TO SAFELY DISPOSE OF LAMP OIL
Featured Image Credit: true nature, Shutterstock
Contents
