
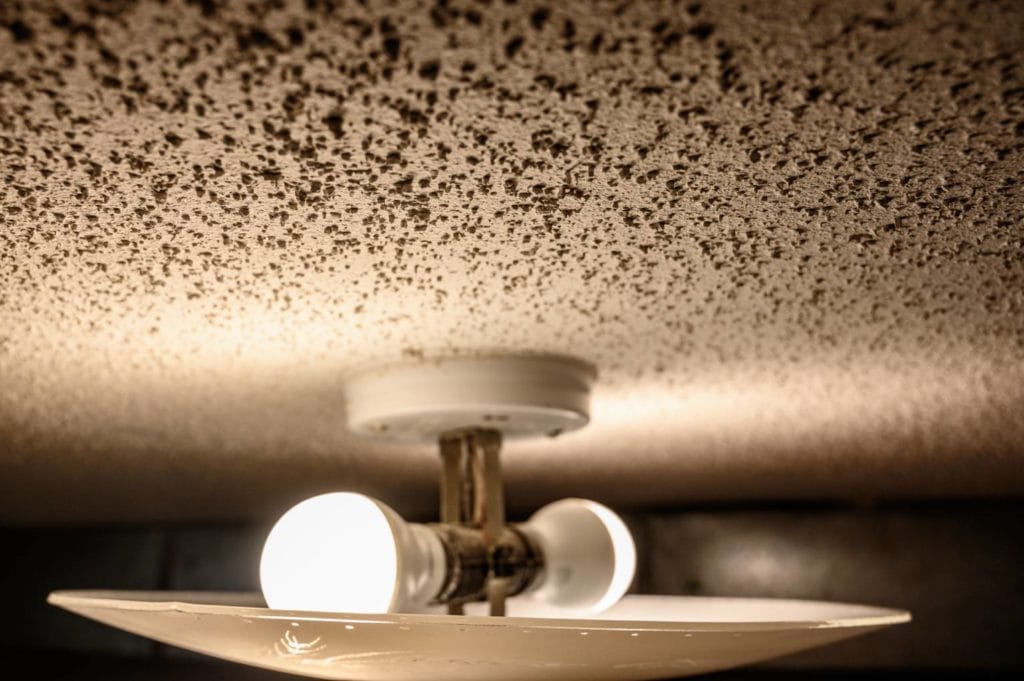
Popcorn ceiling was once the trendiest thing in home design. However, it is now out of style for the most part. Therefore, today, the trendiest thing to do is remove it. While you could do a lot of scraping to remove a popcorn ceiling yourself (or pay someone big bucks to do it for you), an alternative option is to paint over it.
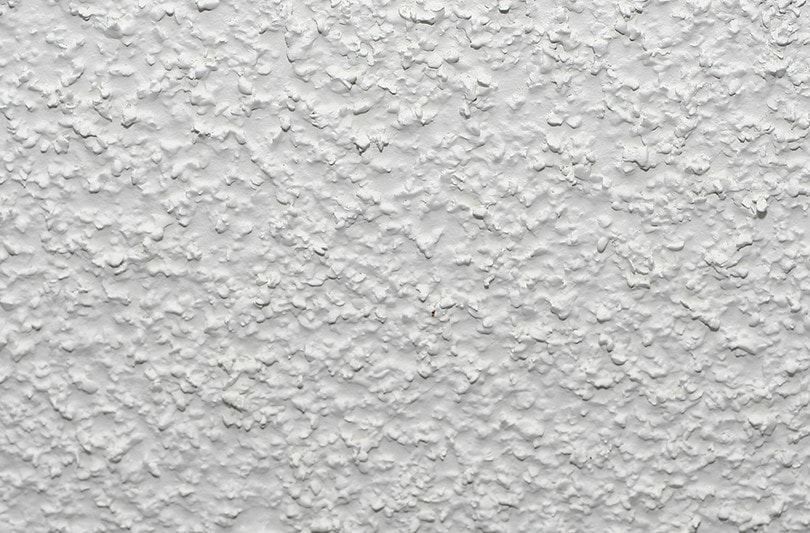
Not only will this brighten up your home with some new paint, but it’ll also cover some of the popcorny-ness!
Luckily, this isn’t difficult to do. While you do need to do a bit more work than usual when painting, it isn’t a massive project.

Before You Begin
Before you start painting, you’ll need to gather everything you need and select the correct paint.
As you might imagine, the paint you use is vital to your success. It is more difficult to cover up a textured surface with paint than it is to paint a flat surface. Therefore, you’ll need to be cautious about choosing the perfect paint for your ceiling.
We recommend acrylic-latex interior paint for covering up your popcorn ceiling. To prevent light from bouncing, it is recommended to choose a flat or matte option. However, semi-gloss or satin is recommended in moisture-rich areas, as it can protect the ceiling from decay.
Because you’ll be painting on a textured surface, you’ll need more paint than you’d typically buy. Usually, one gallon of paint will cover about 250 sq ft of a popcorn ceiling—which is about twice as much as you’d normally use.
On top of the paint, you’ll also need all the typical painting supplies, such as a roller. Don’t forget that you’re painting the ceiling, so a ladder and extension for your roller frame are recommended. In some cases, you’ll also need a work light, but it depends on how the lighting is in your room.
Don’t forget to stock up on roller covers, painters’ tape, and brushes before you get started. The last thing you want is to leave the paint to dry before you’re ready as you rush out to get supplies you forgot
How to Paint a Popcorn Ceiling
1. Prep the Room
After you’ve gathered all your items and chosen paint, it’s time to get started with the painting process. First, you’ll need to prep the room you’re planning on painting. Since you’re painting the ceiling, things are a bit different than if you were painting a wall. You can’t just move all the furniture to one side of the room—and the floor is in much more danger of getting paint spilled on it.
Therefore, it is vital that you do a good job of protecting the room and everything in it. Remove all the pieces of furniture that you can, including furniture, lamps, and any small items. You want as few items in the room as possible—but don’t worry about moving that huge piano!
Next, cover the whole floor with plastic sheeting. It should be at least 4-mil thick, but thicker is also fine. Use painter’s tape to attach the plastic to the floor and walls. You basically want the whole room (except the ceiling) to be covered in plastic sheeting.
If there are obstructions on the ceiling (like light fixtures), remove them if you can. This is where a work light may come in handy since you may not have your usual lighting.
2. Clean the Ceiling
Next, you’ll need to clean the ceiling. You don’t want to paint over all the gunk, after all. The best way to go about this is to use your vacuum. A shop-vac works quite well in this situation, as well. You can also use a feather duster to collect all of the dust and other built-up gunk.
Get the ceiling as clean as possible, as it will make the job of actually painting much easier.
3. Prime the Ceiling
Before you actually paint, you’ll want to prime the ceiling. If you don’t, the popcorn will just soak up the paint. Of course, this will not cover it up in the least and it may actually cause the popcorn to get heavy and fall off.
Therefore, it is absolutely necessary that you prime the ceiling—it’s not just “recommended.”
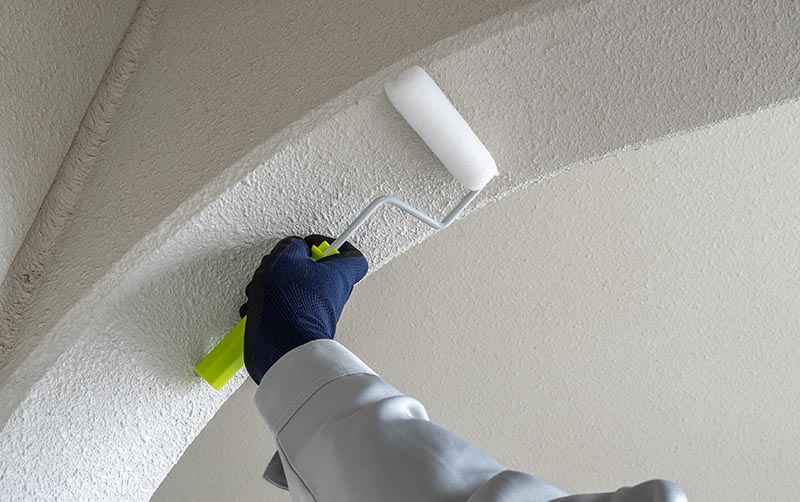
4. Get Painting!
Now that all the prep work is done, it’s time to get painting. You’ll need to paint the ceiling just like you would any other surface. Simply roll the roller across the surface gently to apply the paint. You don’t want to saturate the ceiling in paint. Plan on applying the paint in layers, so don’t try to goop the paint on in the first go.
Once you’re done, let the paint dry completely. Then, apply another coat of paint in the opposite direction of the first coat. You want to paint on all sides of the popcorn, so it is a good practice to work from multiple directions.
Next, let that coat dry. You may need another coat after the second one, as it varies a lot on the paint and ceiling. Simply keep painting until you’re happy with the job.
5. Clean Up
Once you’re happy with the job, it’s time to clean up the room. Remove all the plastic sheeting and bring the furniture back in. Hopefully, the paint hasn’t splattered anywhere. But, if it has, it’s time to clean that up as well.

A Note on Asbestos
Many older homes have popcorn ceilings—and most older homes were made with asbestos. Therefore, popcorn ceilings can contain asbestos, which needs to be carefully removed by a professional. If you think your ceiling may have asbestos, then you’ll need to call someone local to test it or order a DIY kit, which then has to be sent to a lab.
Either way, your health relies on this step, so it is best not to ignore it. If you believe that your ceiling may contain asbestos, it is vital that you seek professional help.

Conclusion
One easy way to cover up a popcorn ceiling is to simply paint over it. If the paint is thick enough, then it’ll easily cover up the popcorn on your ceiling. However, painting your ceiling is much different than painting a wall, so make sure you’re up to it before you begin.
Painting over this texture also requires a bit more paint than usual, so plan accordingly when it comes to buying the paint and planning out the cost of the project.
If you follow our steps carefully, you’ll be rid of that popcorn ceiling in no time!
Featured Image Credit: Lost in the Midwest, Shutterstock
Contents
