
So, you’re finally ready to sell your home. You did everything right with the listing, found a potential buyer, and even talked about the price. But wait—it’s not the time to pop the champagne bottle just yet. There is one final stage to go through: the home inspection. The United States law doesn’t obligate sellers to agree to an inspection.
However, the buyer will ask you for it, and you should 100% comply. The big question here is how do you prepare for an inspection? What’s the best way to get your house ready? How do you pass an inspection successfully? You’ll find all the answers in our detailed guide!
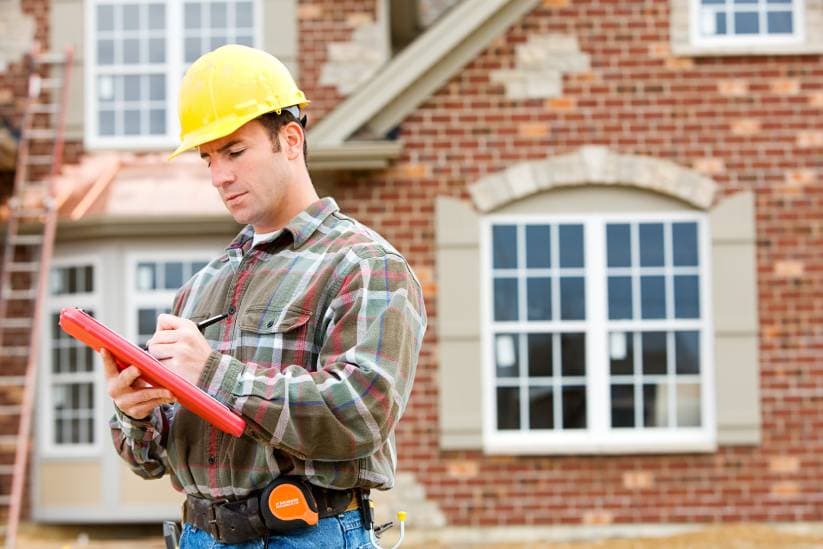
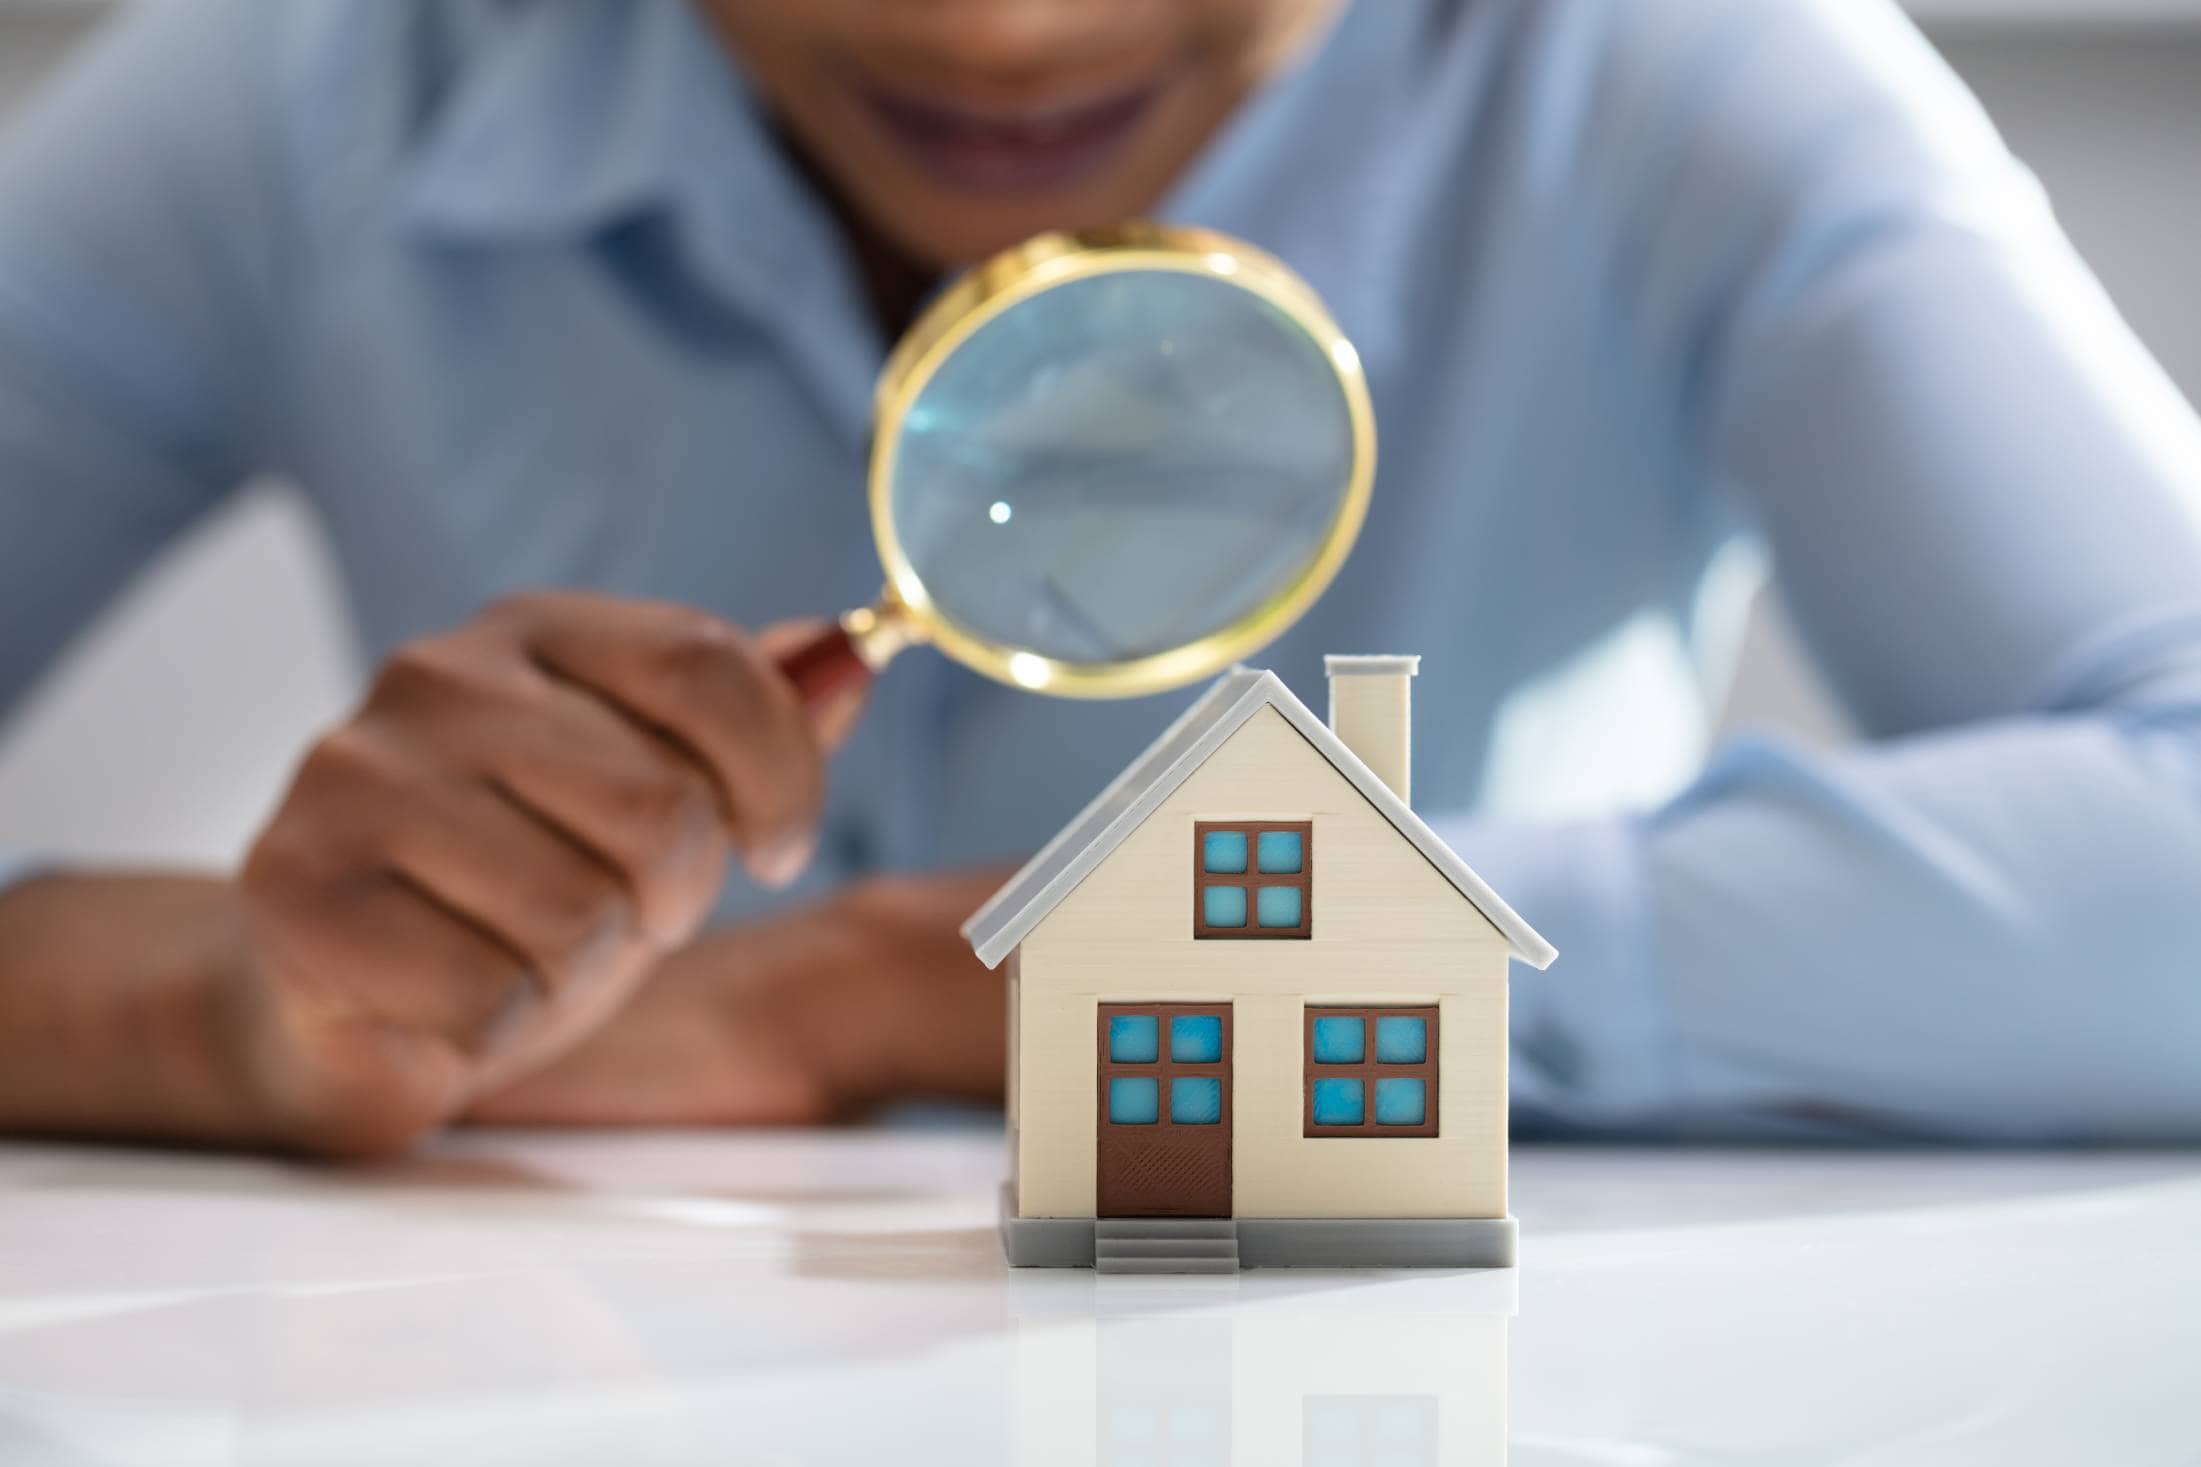
Home Inspectors: How Do They Evaluate a House?
The best word to describe a licensed, experienced inspector is “thorough”. They check every single corner of the house. Usually, the inspection starts with the exterior and the roof. The three major systems—HVAC, electric, and plumbing—come next. Carbon and smoke detectors are also checked, along with the doors and windows. The #1 job of an inspector is to find issues (potential or actual).
The buyer then has the right to back out of the deal or ask the seller to lower the price. In some cases, inspectors send a repair request.
1. Start with the Exterior
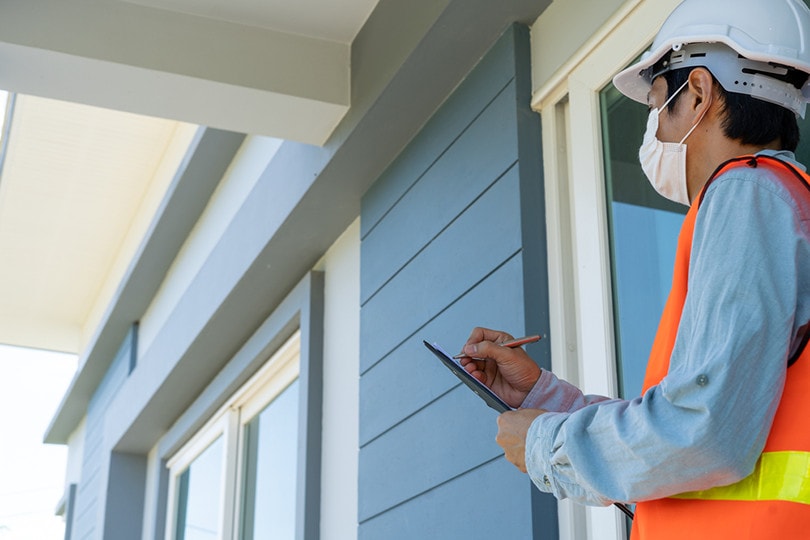
That’s where the inspection will begin. Take some time to check the trims and siding, as well as the doors and the windows (from the outside). Replace any poor-quality window seals and panes. Also, make sure that there isn’t any trash lying around in your backyard. Cans, unkempt bushes, shrubs, and trees should be taken care of next. The idea here is to make the exterior look as welcoming as possible to set the right mood.
2. Check the Roof Next
Did you know that inspectors pay extra attention to the roof? Well, now you do! An old, ramshackle roof equals leaks in the future—that’s why inspectors always include it in their routine. It’s probably been a while since you checked/repaired the roof, right? So, grab that ladder, climb up, and get to work. Over time, roofs get overwhelmed with debris, especially the gutters.
What about the downspouts? Make sure they’re not sagging or anything like that. Also, take a long and hard look at the tile. It could be damaged here and there and should be fixed.
3. Ensure Easy Access to All Rooms

You might think that preventing access to some of the “least attractive” parts of your house is a good idea, but it really isn’t. For an inspector, it’s one big red flag. Provide easy passage to every single corner. We’re talking about sinks, HVAC systems, the basement, and the upper floors. Even if you don’t have anything to hide, there’s probably some stuff blocking the furnace room or the attic. Take care of that ASAP.
4. Make Sure the House is Squeaky-Clean
This one’s simple: the cleaner the house, the better. A common mistake that many sellers make is they let their guard down once an interested buyer comes around. It can take days—if not weeks—to close the deal, though. Therefore, make a habit of keeping your home nice and tidy 24/7. Technically speaking, clean dishes and dust-free floors don’t affect the price of a house.
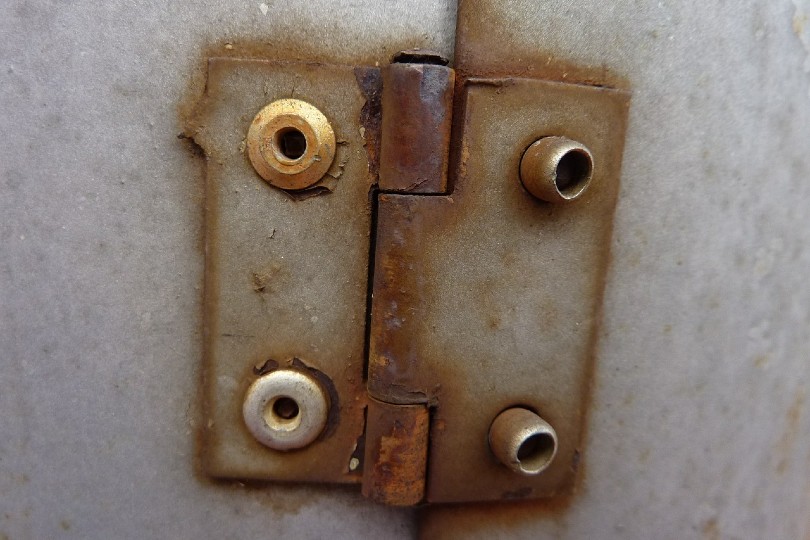
However, a dirty house will make the inspector double-check everything because if you’re lazy about the chores, there’s probably a broken door pull, leaking pipe, or rusty window hinge somewhere.

5. Are There Any Leaks in the House?

Speaking of leaks, it’s always better to eliminate them in advance instead of getting “caught” by the inspection. True, plumbers tend to charge a lot for fixing old, leaky pipes, but this will still be a reasonable investment. Besides, it’s not that hard-to-find leaks. If you’ve got a faulty sink, tub, toilet, faucets, or, say, dishwasher, you’ll see water drops or even tiny pools under or around these appliances and hardware.
And if there was a major leak in the house, chances are, the walls and the ceiling were damaged as well. Sagging and warping—that’s what you should look for (both inside and outside the house).
6. Electricity: Wires and Bulbs
New bulbs don’t cost much. But for an inspector, a blown bulb could indicate potential issues with electricity in the house. And in most cases, they call it a defect in their reports and move on. So, make sure all the bulbs are working; don’t forget to check the bulbs on the exterior as well. Next, turn every single light switch on and off.
And what about the wires? See that the panels are properly wired, the cables aren’t frayed, and that the system is up to code. You might have to hire an electrician to help you with that.
7. The Fuse Box: Labeling Matters
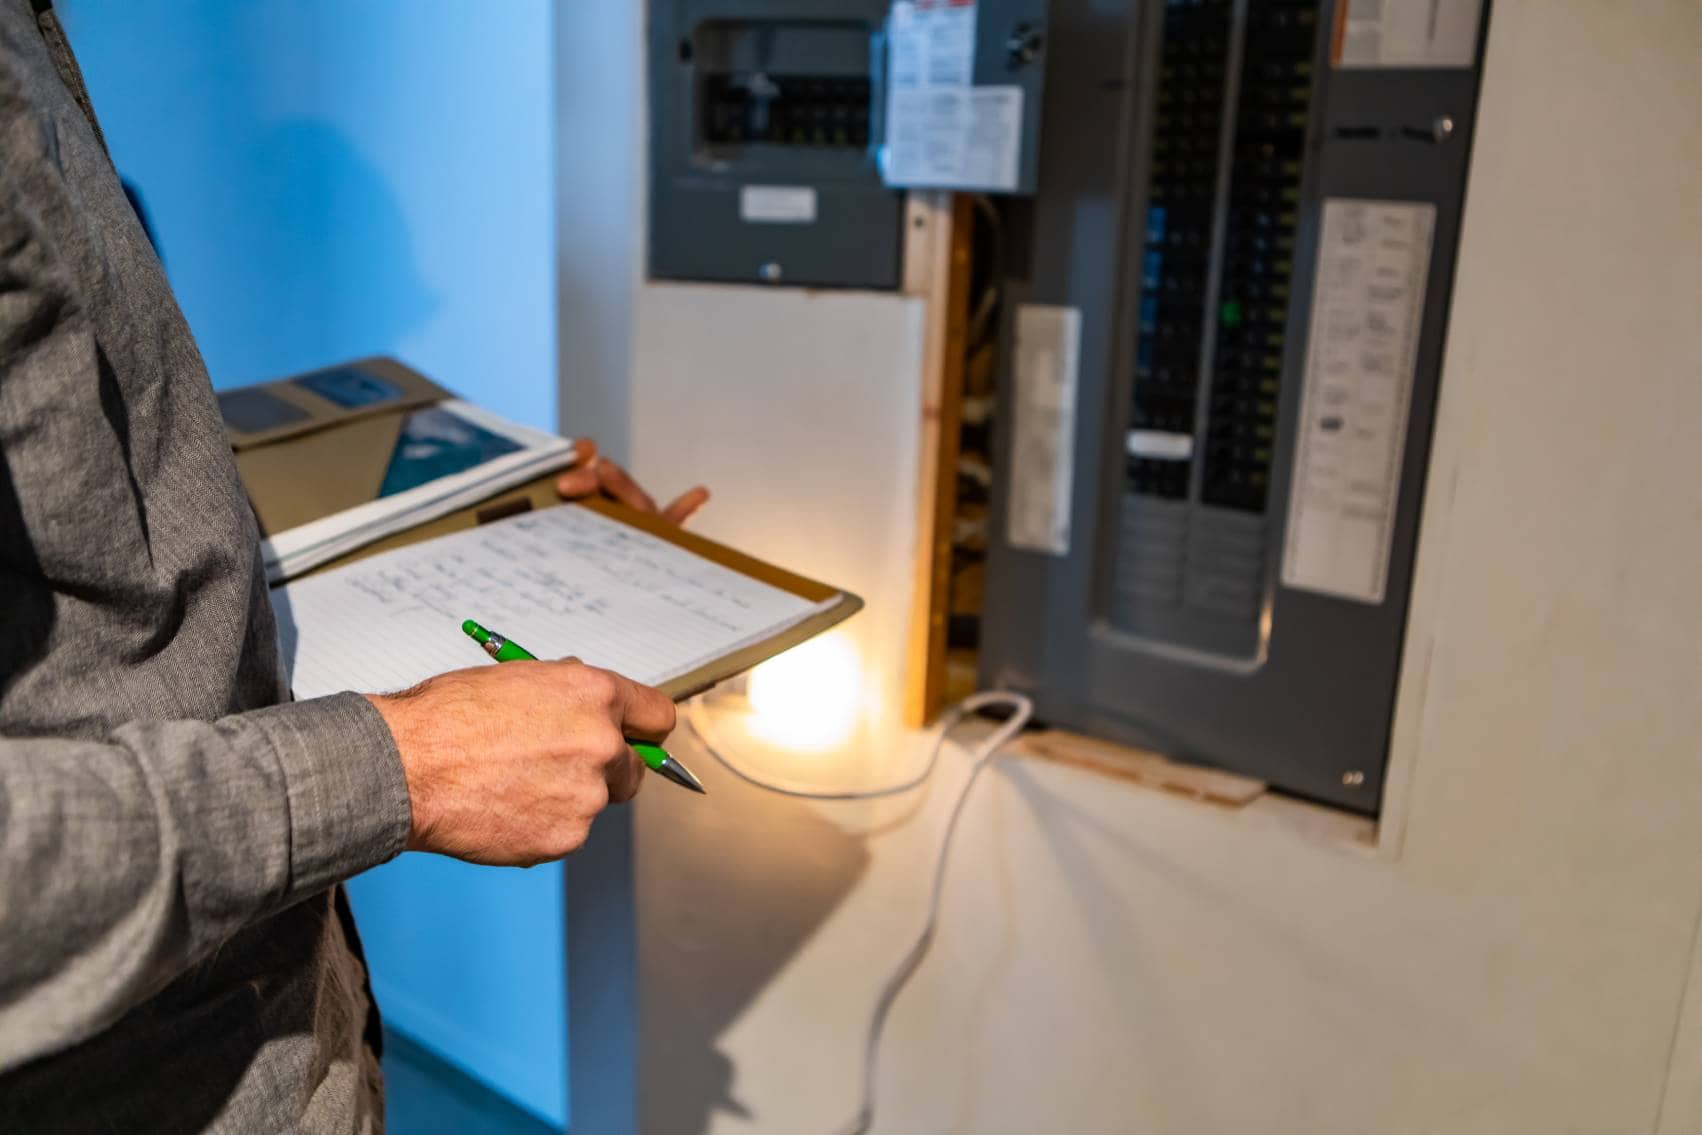
While you’re at it, take a minute to check the fuse box. No, we’re not talking about manually inspecting it or anything like that. Proper labeling is something that many homeowners neglect, though. When the boxes are labeled, that will make it easier to convince both the inspector and the buyer that the electric system in your house is working flawlessly. And if one of the fuses is blown, go ahead and replace it. That will cost as little as $5–10.
8. Check the Furnace and Replace the Filter
The furnace is the “heart” of the HVAC system. Make a habit of constantly checking on the filters and replacing them once every 60–90 days. You can get a whole pack for $40–50, or even cheaper. A fresh filter will change the air quality, make it nice and fresh, which won’t go unnoticed by the inspection. You’ll leave the impression of a good homeowner who takes proper care of the house.
9. What About the Fireplace and The Pilot Lights?

If you’ve got a gas fireplace in the house, go ahead and turn on the pilot light. True, there’s little point in having it on during the summer. Still, we encourage you to check both the fireplace and the light. The pilot light is a small flame in a furnace, water heater, or, as in our case, fireplace, and serves as the igniter. So, when the inspector sees that it is on, that will be a clear signal that the fireplace is in sound condition.
10. Is the Bathroom Working Properly?
Broken or malfunctioning bathrooms can be a major deal-breaker for potential buyers. Even small, insignificant issues like a toilet that runs forever after flushing tend to affect the price of the house. The good news is—running toilets, faulty tubes, bad vents, a-d even a cracked bowl don’t cost a fortune to repair. You can even fix most of these problems on your own if you’re good with your hands.
Say, a new flapper (to ensure the toilet flushes adequately) takes less than an hour to replace. The same is true for the vents and tubes.
11. Carbon and Smoke Detectors
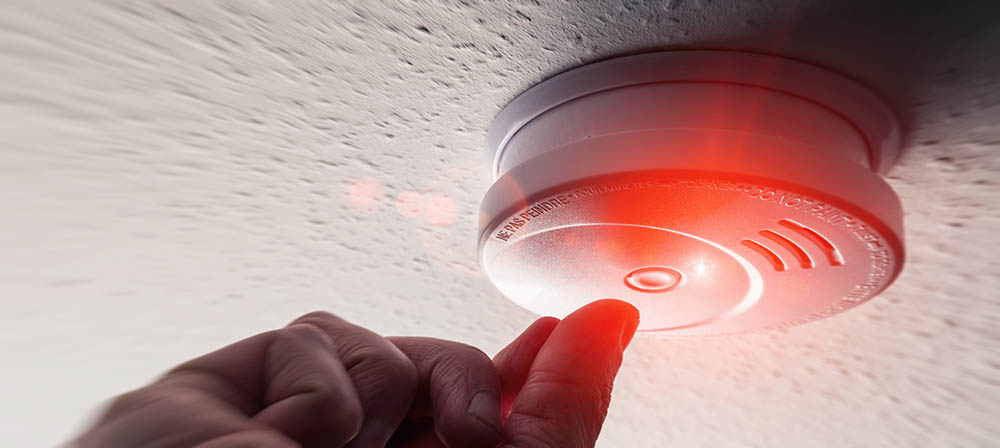
In the US, 95% of homes have at least one smoke alarm; so, your house probably has a detector as well. As for carbon detectors, they’re installed in less than 50% of American households. The inspectors will, most definitely, check whatever system(s) you have. This is especially true if there’s a water heater or furnace running. To test the smoke detector, just press and hold the big “Test” button.
In a second or two, you’ll hear a loud sound: that means it is working. Change the batteries if the alarm is weak. Use the same technique to check the carbon detector.
12. Kitchen Cabinets: Hinges and Knobs
Alright, now let’s see what we can improve in the kitchen. As far as the most common eye grabbers for inspectors go, the cabinets, or, rather, their knobs and hinges are definitely a priority. These tend to get rusty, greasy, scratched, and dented. Or the hinges get loose, and the doors start to sag. Fortunately, just like with the toilet, you won’t need to have a specialist over to fix everything.
Just grab a screwdriver and tighten the screws. New hinges/knobs/pulls, in turn, cost $20–30 (you can get knobs for a lot less).
13. What About the Doors? Locks, Hinges, And Sagging
Speaking of cabinet doors, have a quick look at the interior and exterior doors. This will take a while, but you should open and close every single door in the house and make sure it’s not sagging, tilting, or sticking. Again, use a screwdriver to tighten any faulty doorknob, hinge, and lock. Pay extra attention to the locks on exterior doors: they need to operate flawlessly.
If you live in a hot and humid area, some of the less durable doors might warp a bit, causing problems with opening and closing. Sanding might fix that; or, remove the door and put something heavy on the warped area(s).
14. Wasps, Fleas, And Other Bugs
Nobody likes bugs, especially people that want to buy and move into a new house. A spider here and there or a beetle isn’t going to be an issue, of course. Wasp nets are an entirely different story, and they’re a lot more common than you think. The same goes for ants. These insects usually build their nests somewhere in the backyard. Yes, all you need to do is get your hands on those nests.
Can’t seem to pinpoint them? Call a pest control company: they won’t take long to handle your bug problem.
15. Get Everything Ready for The Big Day
With every single filter, sink, knob, and bulb checked, take a deep breath. Next, see that all the utilities in the house are on. Unlock the doors to the garage, the attic, and, of course, keep the gates open. Or leave keys and remotes for the inspector to find. This is important: inspectors tend to arrive a bit earlier than you expect.
So, do your best to leave the house before the inspection begins. That applies to your family members and pets as well.
What Else Can You Do?
Alright, we just went over the most important things to take care of before an inspector arrives at your house. Here are some more “last-minute” things to check:
- Trim potentially dangerous trees
- Mow the lawn and keep the garden tidy
- Make sure the garage door works properly
- Remove damaged insulation and weather stripping
- Check the attic and basement for mold
- Repair exterior door rot (it will cost $100–150)
- Check the heating ducts and downspouts
- Make sure there’s a fire extinguisher in the house
- See that there are no drain clogs anywhere
- Test all the fans in the house
- Check the stove burners
When does a Home Inspection Take Place?
It happens pre-sale, right after the potential buyer has made an offer to the seller (the owner). The inspection is the last step before the contract is officially signed and the money is transferred to the seller. This isn’t mandatory, though, and some buyers prefer to reach out to an inspector AFTER the contract is signed. However, in this case, it takes longer to finalize the deal.
You might have to change the contract and sign it again (if, say, the inspection reveals issues within the house). That’s why it’s better to do a thorough inspection and only then negotiate and sign the contract. Mostly, this applies to the buyer, but, as a seller, you should keep it in mind as well.
How Much Will It Cost? Who’s Paying for It?
In 99% of cases, it’s the buyer that pays for the inspection, not the seller. On average, in the US, inspectors charge $250–500. This largely depends on the state and the city. For example, in Texas, a thorough home inspection can cost up to $600–700. In New Hampshire or Mississippi, expect to pay $300–450. The size of the house/apartment also matters.
How Long Do These Inspections Last?
The short answer: not that long. An experienced inspector will be able to examine and evaluate an average-sized home in 2–3 hours. In some rare cases, they will request an extra day or two, especially if the house is old and big. In any event, you should NEVER rush it, because that will look suspicious in the eyes of both the potential buyer and the inspector.
What’s a Pre-Listing Inspection? Why Is It Important?
As the name suggests, it’s a form of inspection that takes place before you list your house. And to anticipate your question, yes, it’s the seller who has to pay for it. That’s why many homeowners skip pre-listing inspections. But we recommend considering it. This way, you’ll be able to discover potential issues with the house that will be a big “turn-off” during the official inspection but won’t necessarily be hard (or expensive) to fix.
A pre-listing inspection can not only save your nerves but also help strike a significantly better deal with the buyer.
Conclusion
Alright, that’s how you get your house ready for a home inspection! If you follow these tips, you’ll be able to pass even the toughest test with flying colors. Yes, we know that some of these steps require financial investments, while others might take time and energy to complete. However, it will all be worth it. So, before you finalize the deal and call a moving company to handle your boxes, do your best to fix the house.
The sooner you pass an inspection, the sooner you’ll be able to sell the house—and at a better price, too!
See Also:
Featured Image Credit: Sean Locke Photography, Shutterstock
Contents
