How to Remove Magnetic Paint in 3 Simple Steps
-
Codee Chessher
- Last updated:

Magnetic paint uses tiny metal flakes mixed in regular paint to achieve a weak magnetic effect capable of holding small kitchen magnets. When it comes time to repaint, though, you may be wondering how easy it is to remove and repaint.
The good news is that magnetic paint typically requires no extra work, but some brands may be hardier than others. Let’s check out how you can easily remove magnetic paint for repainting.
What Is Magnetic Paint?
Magnetic paint may also be primer applied before a different coat of paint. What they have in common is a high concentration of magnetic iron flakes mixed in. As a result, magnetic paints have much more surface area than the average paint. Anyway, the point is to make the wall magnetic! Just how strong is that effect, and what’s it used for?
It’s not as strong as you’d think, but most magnetic paints, if applied correctly, can support a handful of standard fridge magnets. It’s a gimmick for some offices or businesses, and chalkboard paint can serve a similar but distinct purpose.
Before You Begin

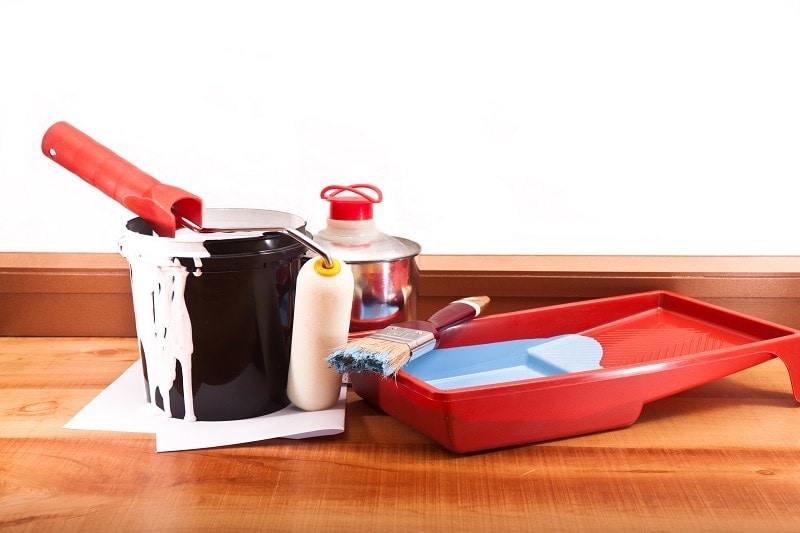
Because some magnetic paint is tougher to remove than other types, we’ll help you pull out all the stops here. You’ll need to gather some tools and supplies for your task, so let’s briefly cover what you need.
- Paint thinner
- Spatula/5-in-1 scraper tool
- Wire brush
- Rough and fine-grit sandpaper
- Rags
- Painter’s tape
- Sander (optional but highly recommended)
- Primer
- Paint
Once you have everything on hand, it’s time to get into our step-by-step guide for magnetic paint removal.
The 3 Steps to Remove Magnetic Paint
1. Pretreat the Painted Area
Whether the whole wall is coated or just a specific area, you should pretreat the magnetic paint with paint thinner to soften and loosen it. While removal doesn’t differ from regular paint, magnetic paint is very high-coverage paint, and it tends to go on very thick.
Letting paint thinner sit on it will help give your next steps a better chance of success, but take care to ventilate the room—open a window, turn on a fan, and if possible, wear a mask.

2. Sand & Scrape
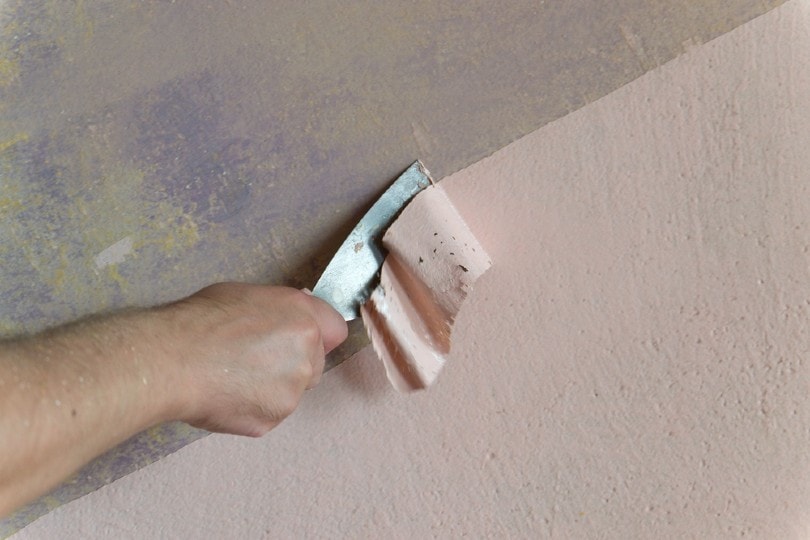
This is the hard part, so get out your elbow grease and get to work. A sander is very helpful here, but not strictly required. First, use rough-grit sandpaper to roughen the surface of the magnetic paint, then fine-grit to clean it up afterward.
If the magnetic paint is poorly applied, there may be tough bubbly spots, which is where your wire brush comes in handy. You may apply more paint thinner to help if you get really stuck, but again, be careful to thoroughly ventilate the area and consider wearing a mask. Once you’ve removed the magnetic paint, it’s time to prime and paint.
3. Prime & Paint Over the Clean Wall

This is where you test the waters. Take a small amount of primer and apply it to the wall, testing various areas to make sure you’re getting good coverage. If you can see any magnetic paint, you may want to repeat the sanding process more thoroughly before priming. You should have no bubbles, spots, splats, or any other sign of the old paint. Once you’re satisfied that the wall is ready, you can prime and paint it at your leisure.
Conclusion
Magnetic paint is thicker than regular paint, so it’s easy to overuse it and end up with ugly, bubbly walls. Even carefully applied magnetic paint can be tough if there are too many coats. With the right supplies, tools, and a little hard work, it’s fairly easy to clean and repaint right over that old paint, though.
Featured Image Credit: Tomas Mikl, Shutterstock
Contents
