How To Replace a Garage Door Spring In 20 Steps
-
Pete Ortiz
- Last updated:

A garage door is a very important part of the house, it helps you keep your car safe while also working as a secondary door to your home. What many people don’t know is that the garage door is often quite heavy, ranging anywhere from 200 to 300 pounds. As a result, many times the spring system used to lift this heavy door can wear out or even break.
If you ever find yourself in this situation due to a spring mishap or have simply been wanting to change the garage door spring due to nerve-wracking noise, here is a simple guide on how to do so.
A Brief Description of The Mechanism
The springs in your garage door are an essential part of the mechanism, as they provide the necessary lifting force for the door to go up. When a spring breaks it can be dangerous because they carry a lot of weight, therefore a lot of pressure can be released and potential damage can be caused.
When changing your garage door springs, the parts that you need to get acquainted with are:
- Spring: The part that you´re going to change, it has a coil/spiral shape
- Winding Cone: A tiny piece next to the spring used to keep the spring in place around the torsion tube
- Torsion Tube: The tube the spring goes around
- Central Bracket: Located at the center of the mechanism, it’s what joins both sides together
- Cable Drum: Located at the extremes of the door between the door and the springs, this helps with the door´s movement
Materials You Need to Replace a Garage Door Spring
- Wrench
- Clamps
- Hammer
- 2 Winding Bars
- Safety Goggles
- New Springs
- Leather Gloves
- Ladder
- Tape Measure
- Garage lubricant spray
Part 1: Removing The Old Spring
1. Put on any protection equipment you will need.
As this is not a particularly dangerous thing, you might only need to use leather gloves and a pair of protection glasses during the whole time, but feel free to use as much safety equipment as you like.
2. Turn off the power.
One of the most important pieces of information one should have when working with electrical systems and delicate machinery is to always turn off the power. If it runs on the house´s electricity, then turn that off.
If you don’t know how there is probably an on/off switch next to the fuse and that’s enough. This is an important way you can avoid damage to the machine and yourself.
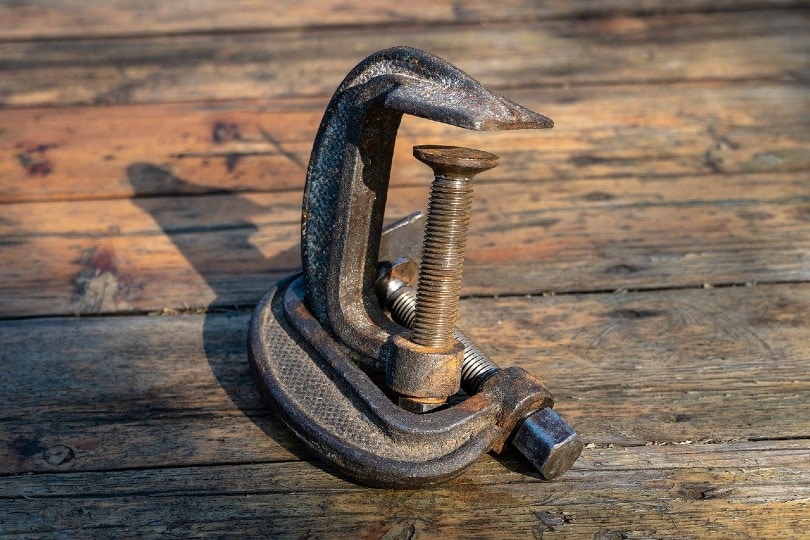
3. Use C-clamps to lock down the door’s position.
It is very important that you secure the door’s position and make sure it doesn’t move around as even the slightest unexpected move could be very dangerous.
Using the C-clamps, you should secure the door to the rail so it doesn’t open when the springs are released.
4. Loosen the screws holding the springs.
A spring naturally has a lot of pressure, and when it’s suddenly released, sometimes it can come out very fast, which could be very dangerous. When carrying out this particular step, you should position yourself next to, but not directly in front of the spring, to avoid any accidents.
Insert the winding bar into the bottom hole of the winding cone outside one of the springs. To keep the spring from releasing all the tension, be sure to keep pressure with the winding bar. Then, slowly start to remove the screws around the cone.
Do the same for the spring on the other side.
5. Uncoil the spring.
For this step, you´ll need a second welding bar. Place it so it forms an “L” shape. Then slowly start to twist each welding board one-quarter of a turn at a time, make sure to switch the welding bar to the next open position, keeping the “L” shape to properly uncoil all sides.
6. Disconnect the springs from the bracket and remove the nuts and bolts holding it together.
This step is particularly straightforward, as you´ll only need your wrench. Remove the nuts and bolts holding the spring to the central bracket, then slide each spring in towards the outside to release it.
7. Secure the torsion tube to the central bracket and remove cable drums.
To prevent any movement from the torsion tube, use C-clamps to secure it to the central bracket.
Using a wrench, remove the screws holding the cable drums together, once disconnected and loose, separate both the springs and cable drums from the torsion tube by sliding.
8. Measure the relaxed springs.
It is extremely important that when you put a new spring in it’s the right size. if not, it won’t fit properly, which could be dangerous. Be sure to measure everything, length, outer diameter, thickness, and inner diameter. In order to get this exact, it would be best to use a measuring tape.
9. Check for any other extra damage or additional pieces to replace.
You can easily find the spring you need at any hardware store. As you are looking to buy new parts, be sure to check that everything else is in good shape. If you notice something else needs replacing, this is a good time to replace that as well.
Part 2: Adding the New Spring
10. Insert both springs into the torsion tube, starting with the left one.
For this step, you’ll need to slide the spring into the torsion tube. Be sure to check that the stationary cone faces the center part of the door, insert the cable drum on the outer part of the torsion tube, and place it on the left bearing bracket.
Then repeat this exact process on the right side. If you do it correctly, it should look exactly opposite to the left side.
11. Connect both sides to the center bearing, reinstalling the previously removed nuts and bolts.
Connect the brackets on both sides to the center bearing, then secure it by reinstalling the same nuts and bolts you previously removed.
Before tightening, make sure that everything fits into place and is in the correct order.
12. Place the lift cables.
Be sure to place the lift cables exactly between the rollers and the doorjamb, slide the cable, and connect it to the slot on the drum.
Use C-clamps or pliers to hold the torsion tube steady, then spin the drum to secure the cable into the grooves, and finally tighten the screws with equal strength on both sides.
13. Coil the spring.
Using two welding bars, make the exact “L” shape as before, this time to tighten the spring. Be sure to carry out the same movement as last time, a one-quarter turn, continually rotating between the holes until properly and equally tightened.
A word of caution: don’t tighten the spring too much as it could also break and in the process and potentially injure you.
14. Stretch the springs.
Keep one of the winding bars inserted. Using a hammer, gently hit the winding bar so the spring can stretch, it should be a really gentle movement as the spring should not stretch more than ¼ inch.
Make sure to do this on both sides and try to be as equal as possible regarding the movements.
15. Tighten the screws in the winding cone.
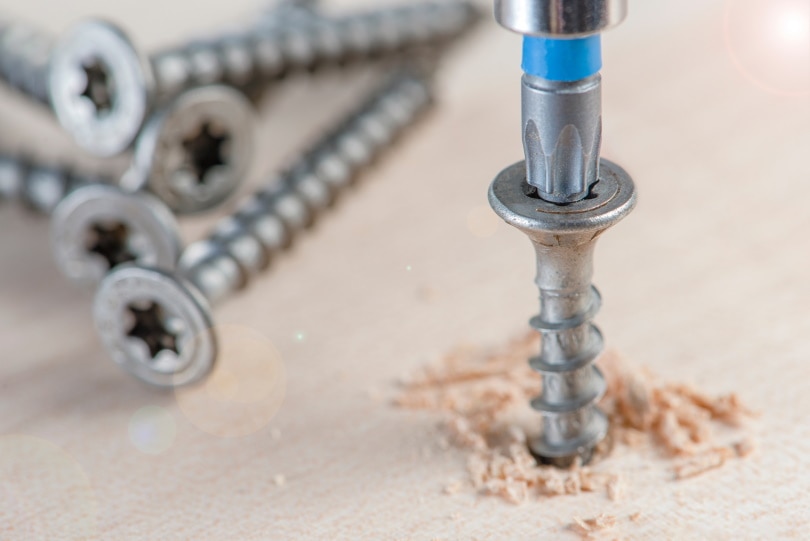
Use your fingers to gently place the screws into the winding cone, be sure that while securing the screw it doesn’t go too far as to puncture the torsion tube. Generally, it should be a light rotation, of around three-quarters of a turn.
16. Lubricating the springs.
New springs often need a little extra oil to make sure everything goes in order during the first few times the spring is used.
Place a paper or piece of cardboard behind the springs so there is no damage to the door. Then spray both springs with some garage door lubricant, be sure to wipe off the excess.
17. Remove any tools.
You can finally remove any clamps or pliers as everything should now be steady and secure.
18. Run a quick test
Before you go and take a well-earned break, you should indeed test how the mechanism works. You can lift the door to approximately 3 feet and let it go. If it stays in position, it means you were successful. If it doesn’t, you should add another one-quarter turn to the screws as seen in step 14.
19. Turn the power back on.
Now you should turn the power back on and check if the door´s electric system works.
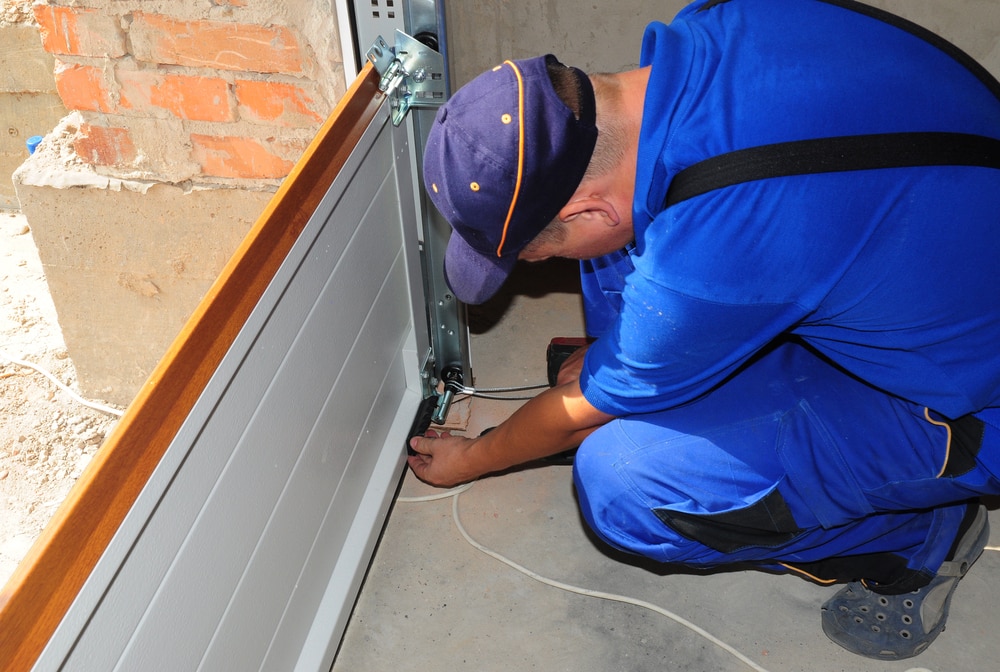
20. Optional: call a professional.
After you’ve tried everything by yourself, if it doesn’t work, it may be time to consider getting a professional involved in order to get the job done in a safe, efficient, and secure way.
Conclusion
Changing the springs in the garage door can be done in a very easy way, you only need to follow these simple steps and have a couple of tools and some initiative.
While true, it’s not entirely easy to do, it is not impossible to achieve. If you don’t feel totally capable of doing this, your best bet is without a doubt to call a professional, as you could get injured or cause even more damage.
Featured Image Credit: Emil Diallo, Unsplash
Contents


